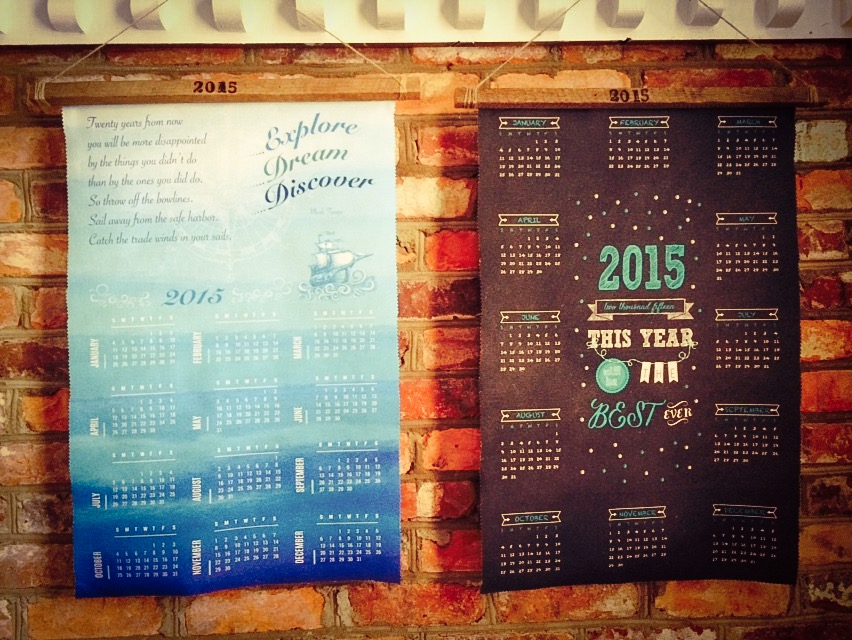
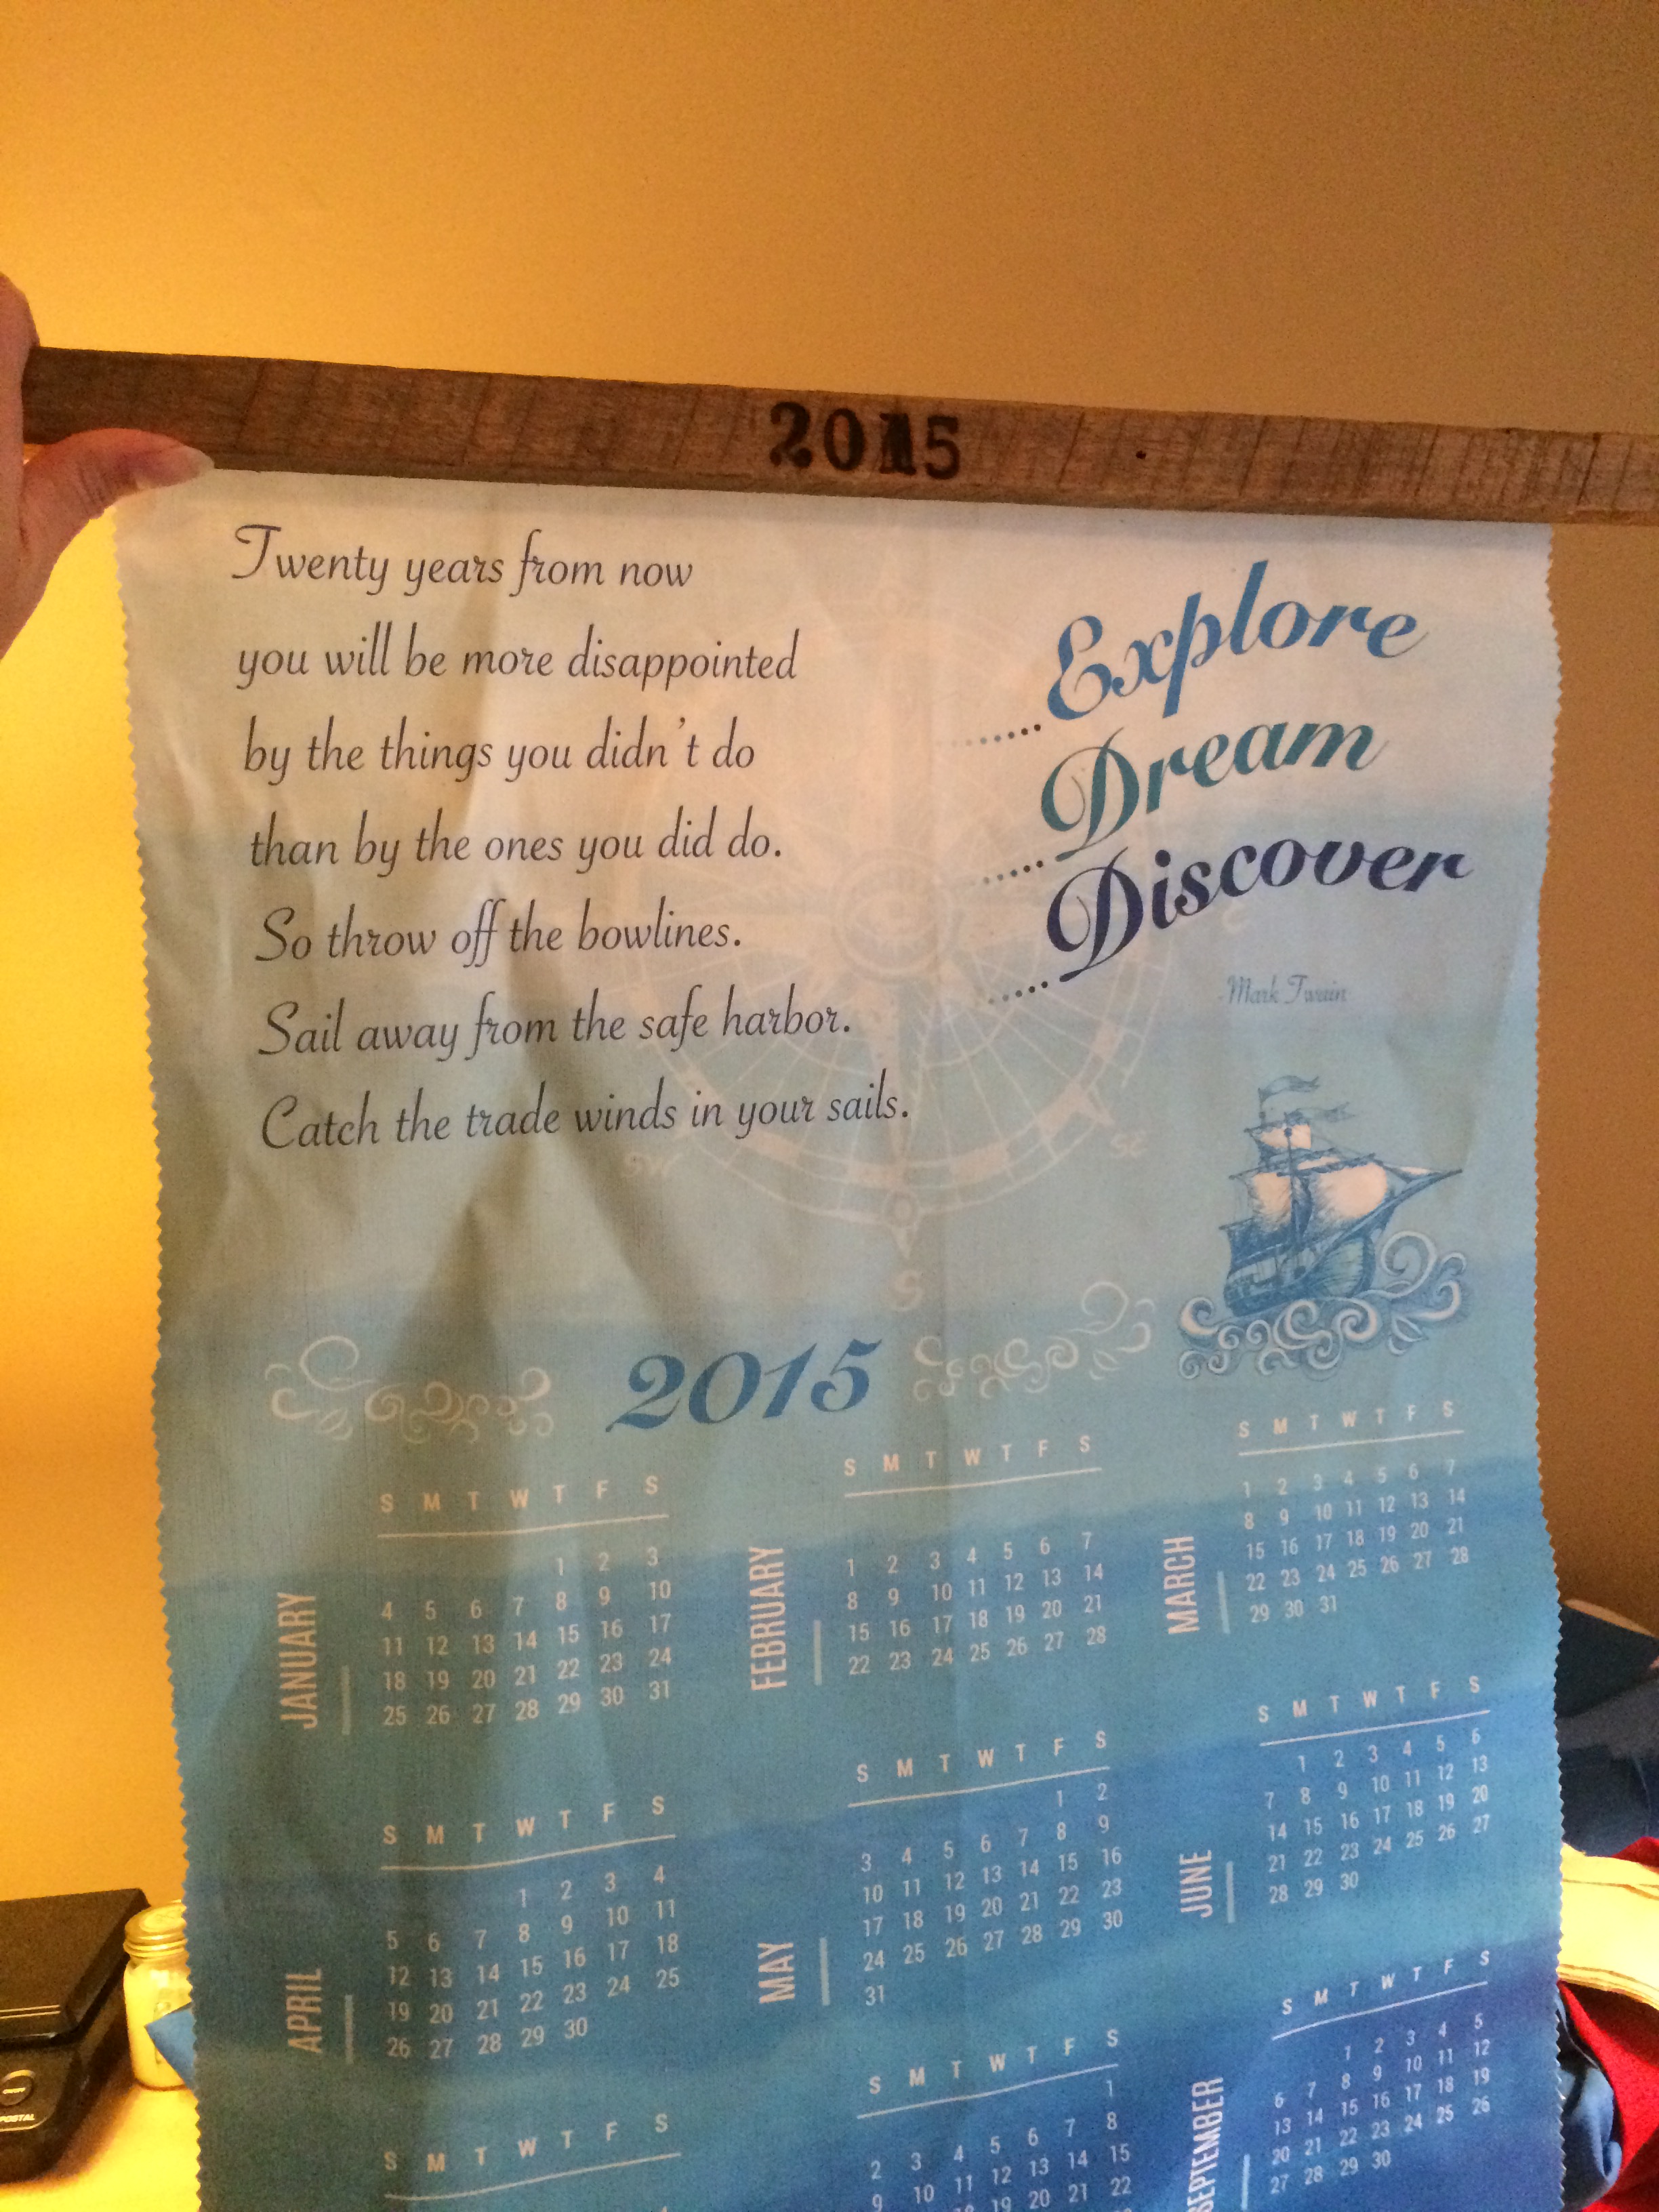
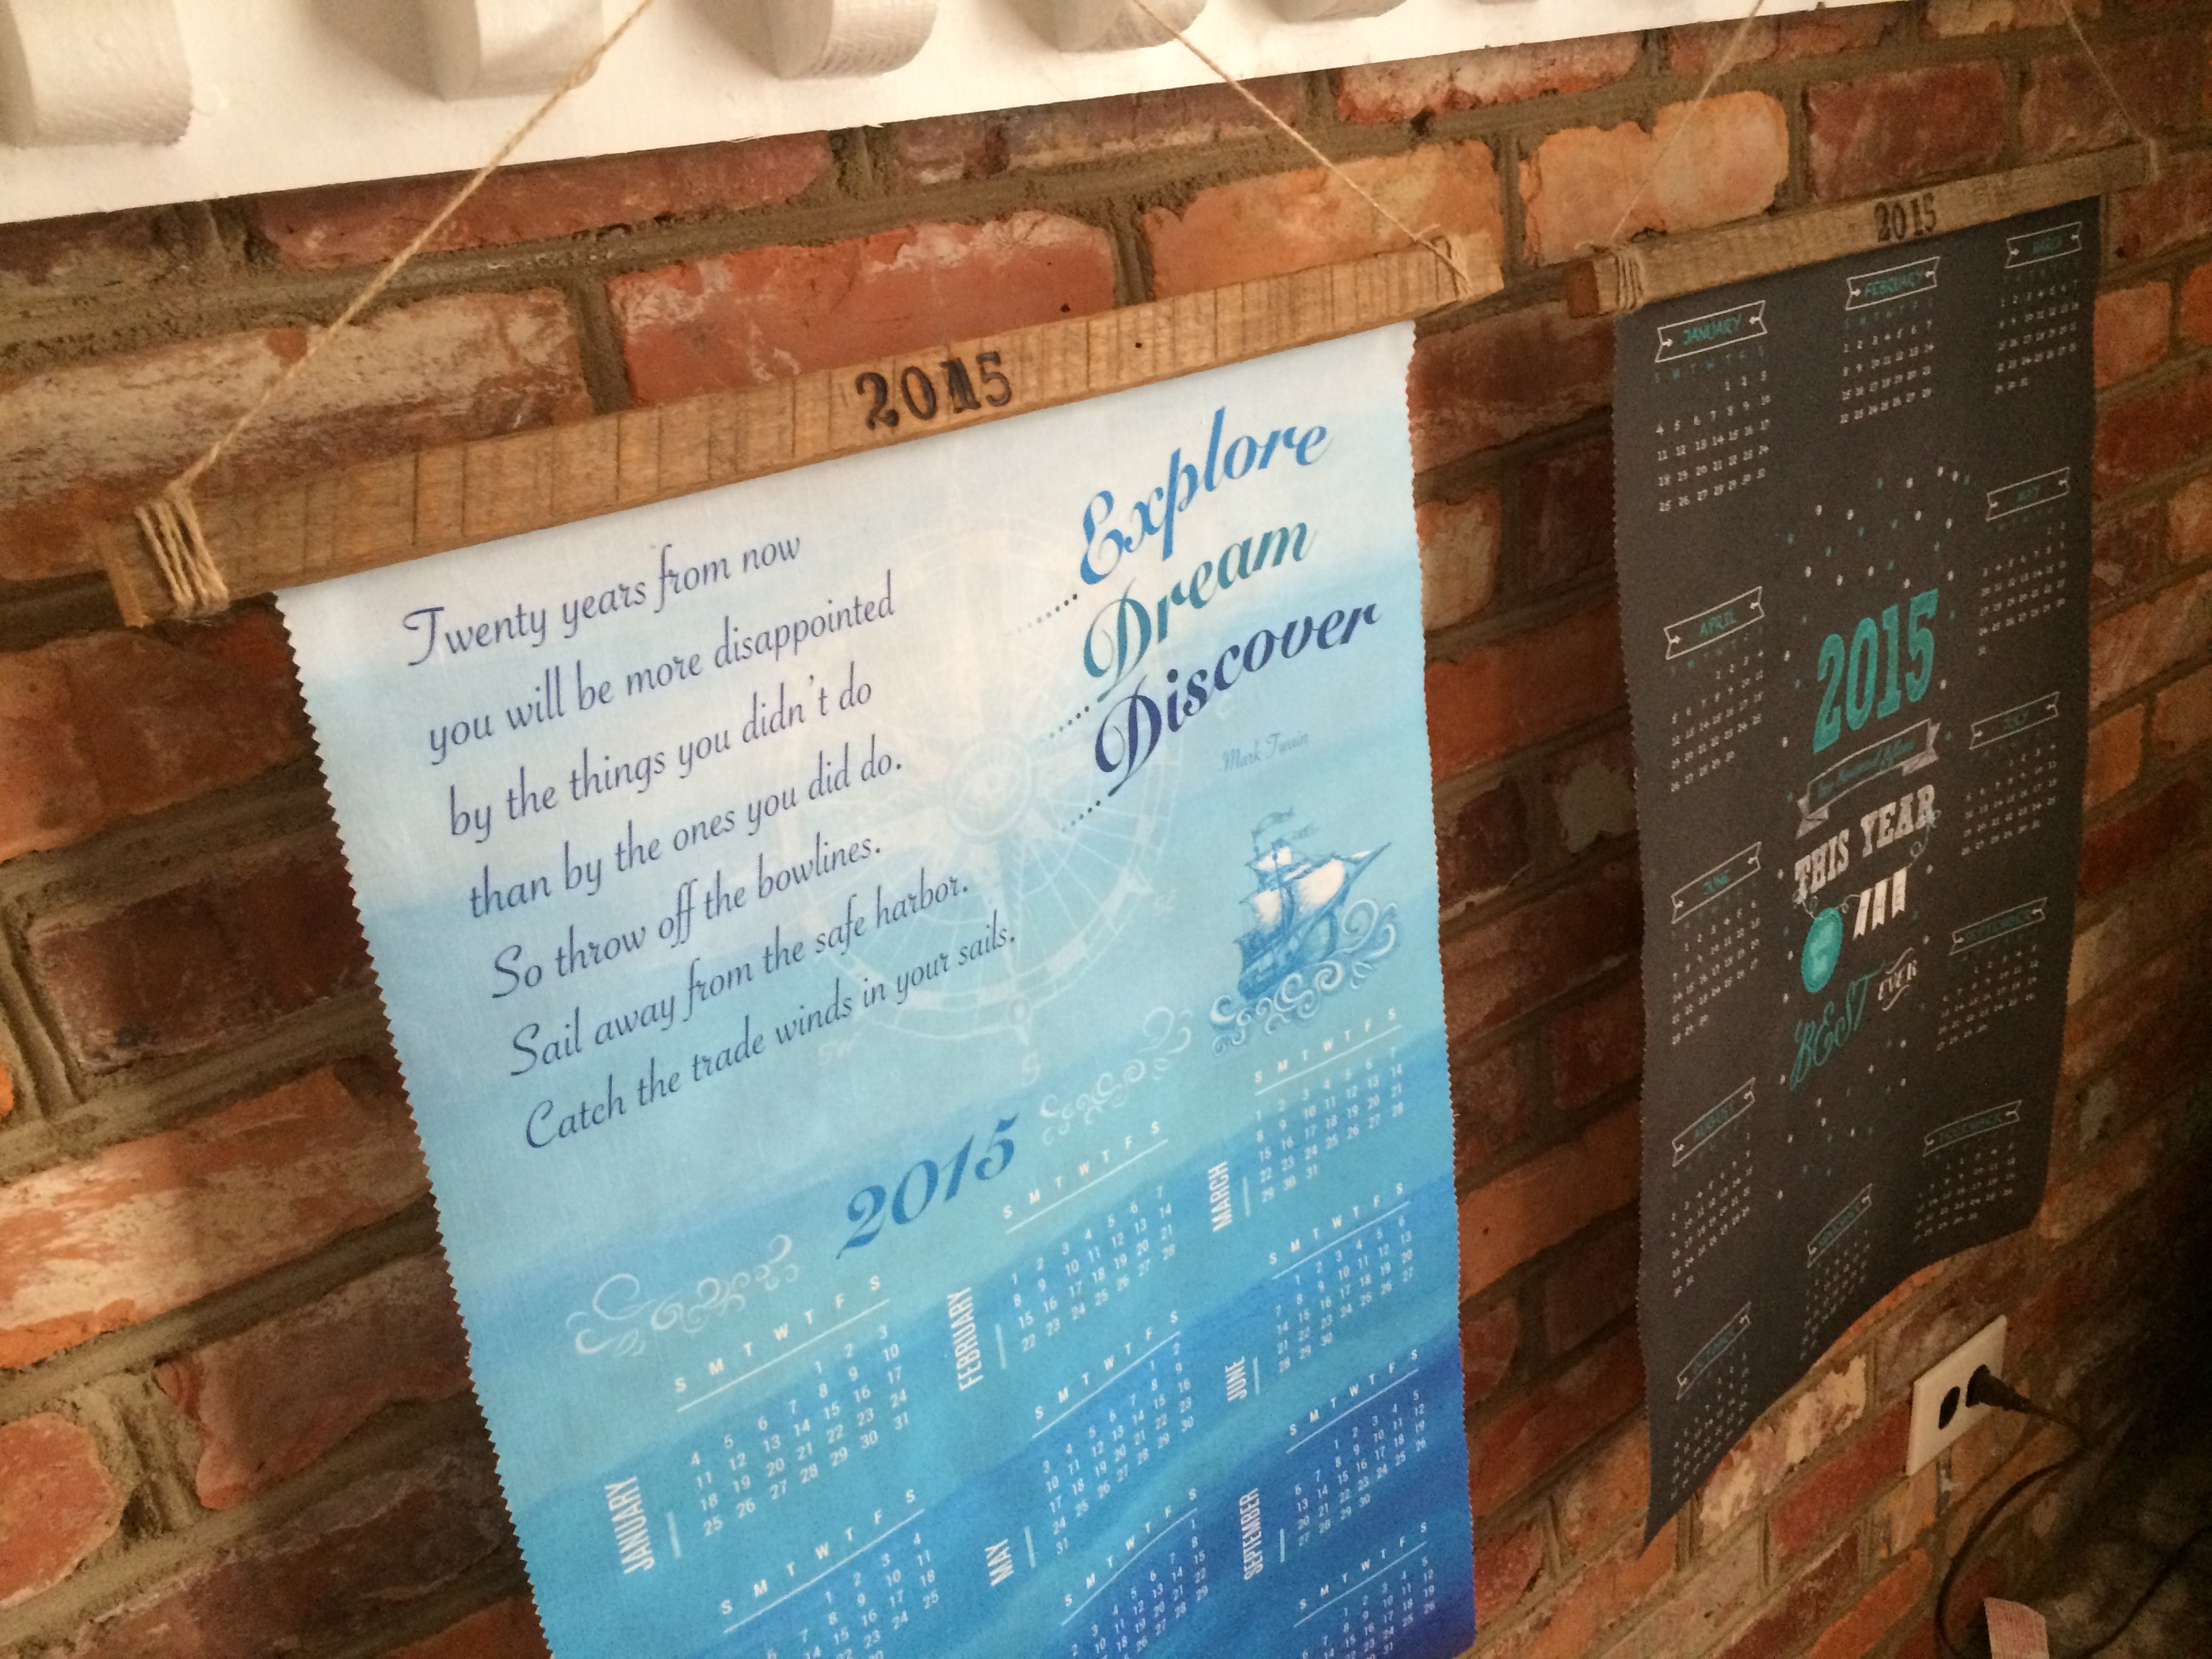
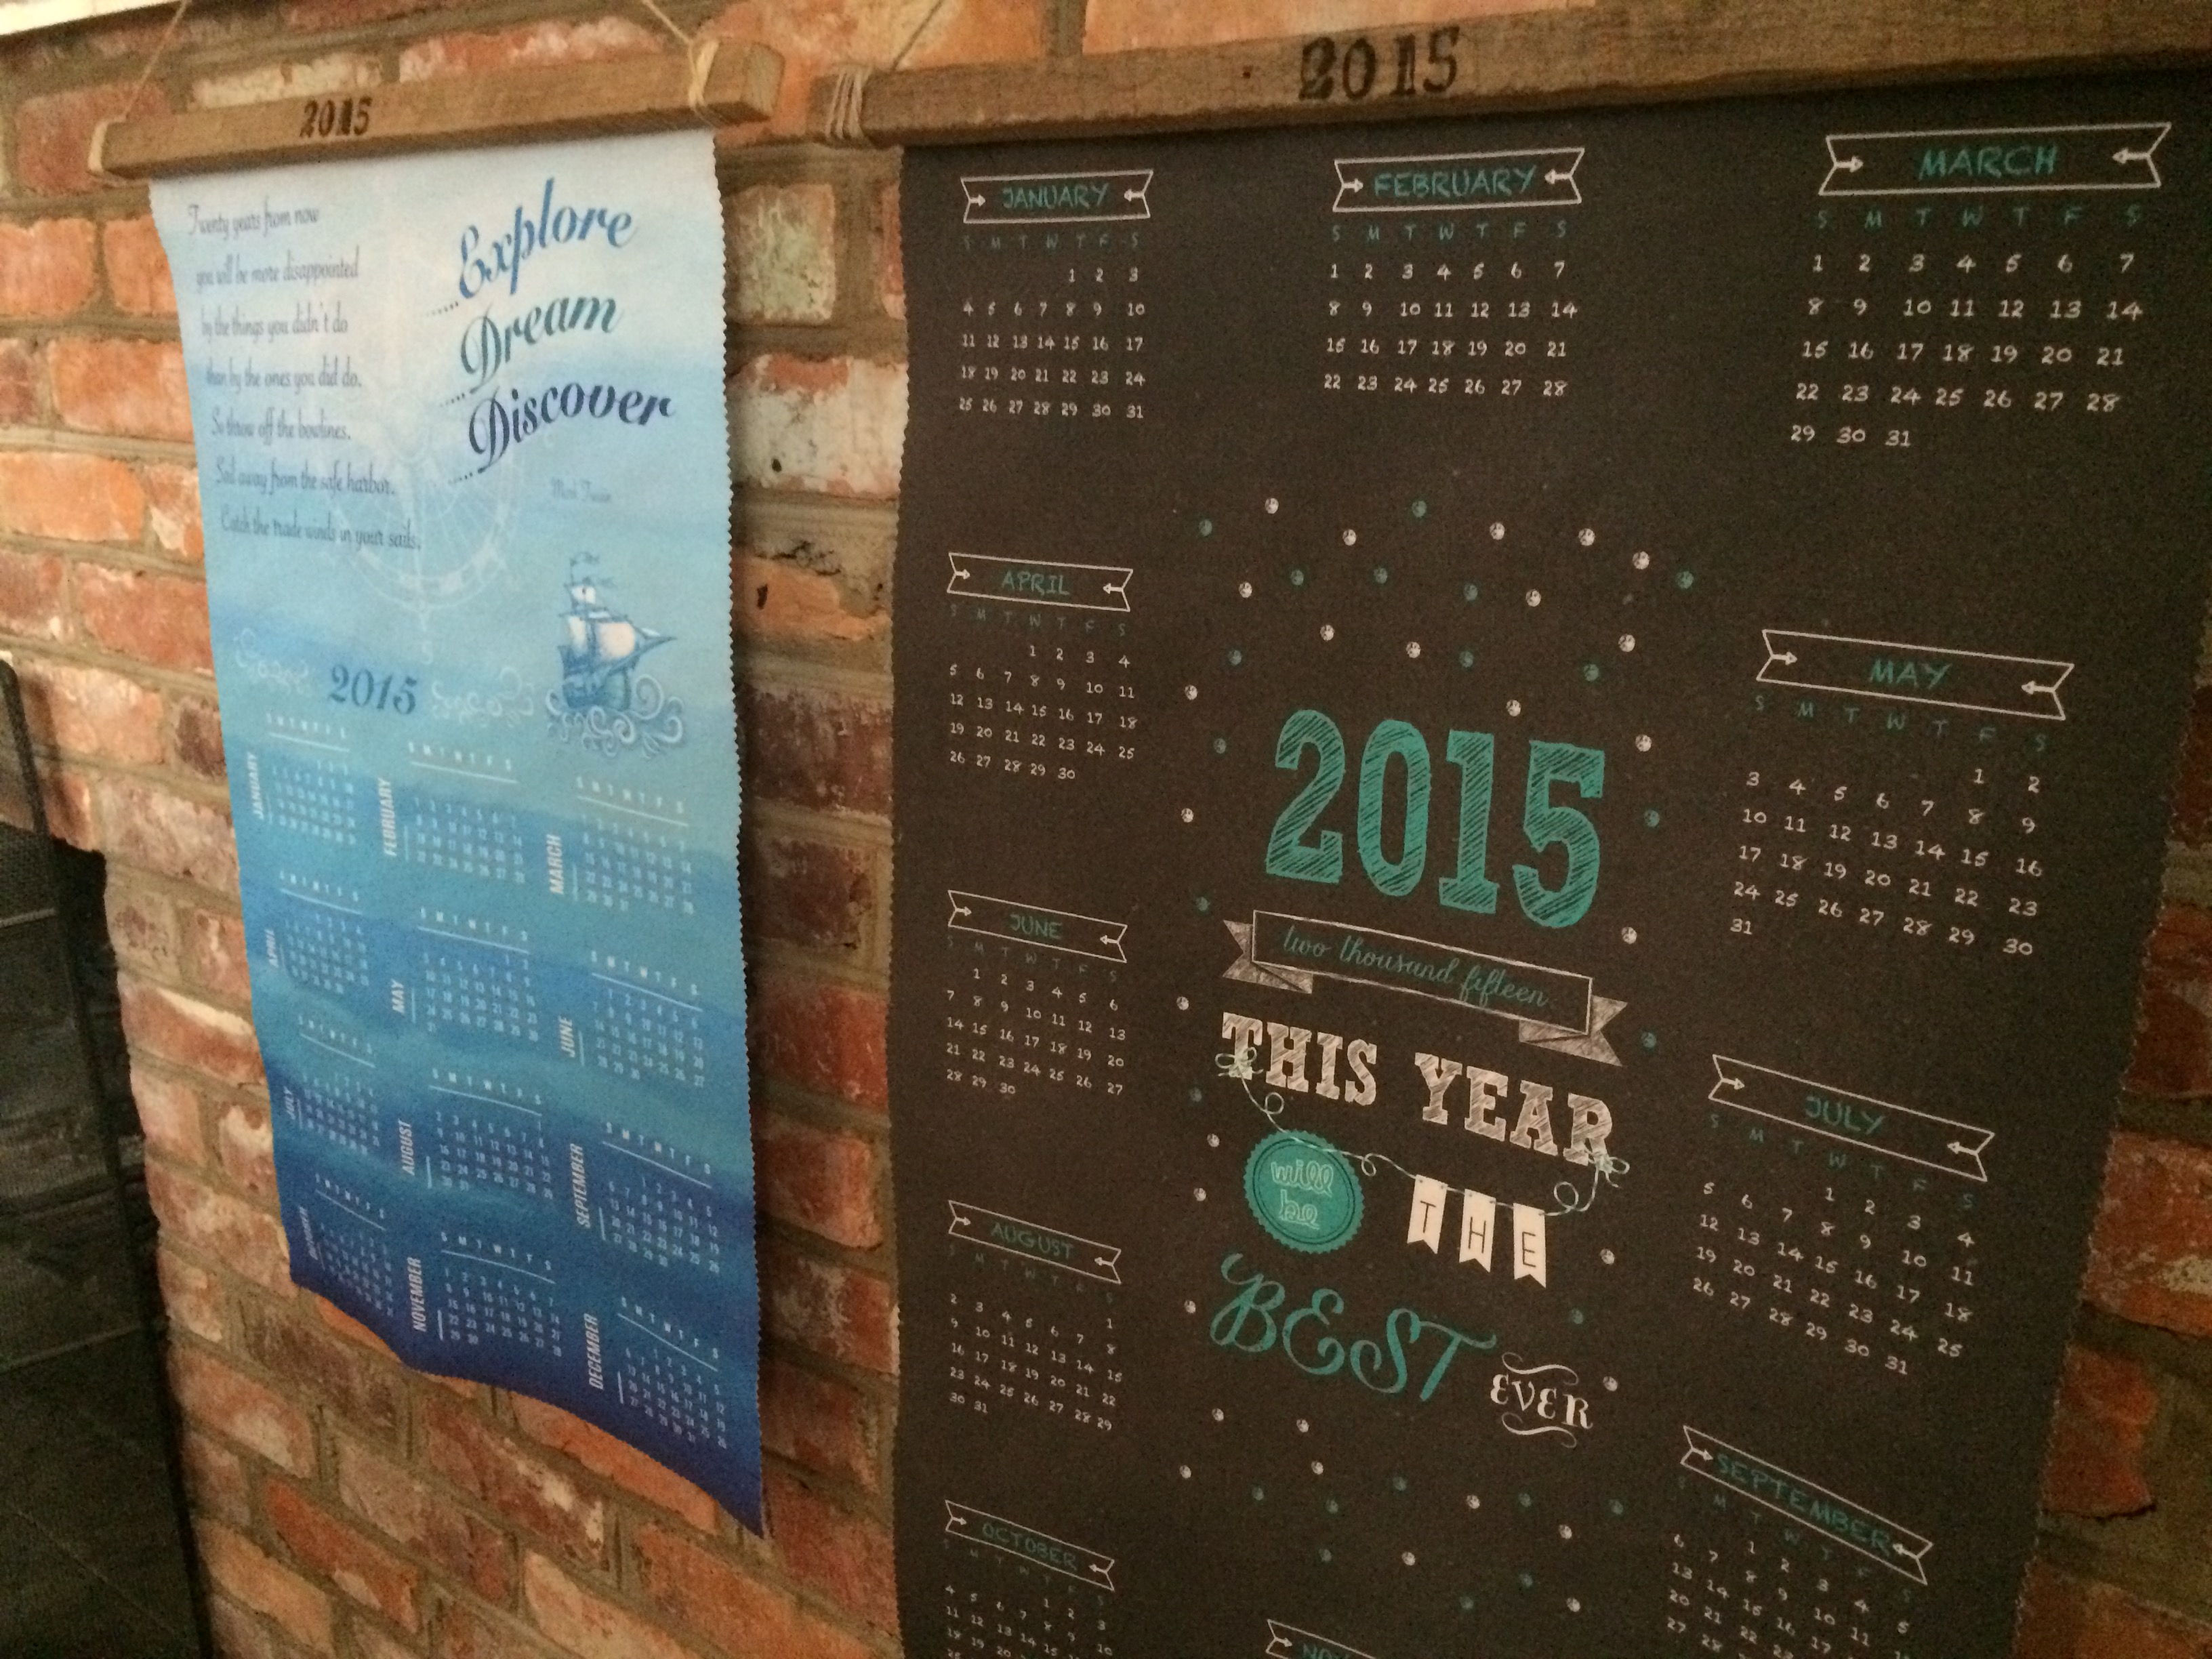
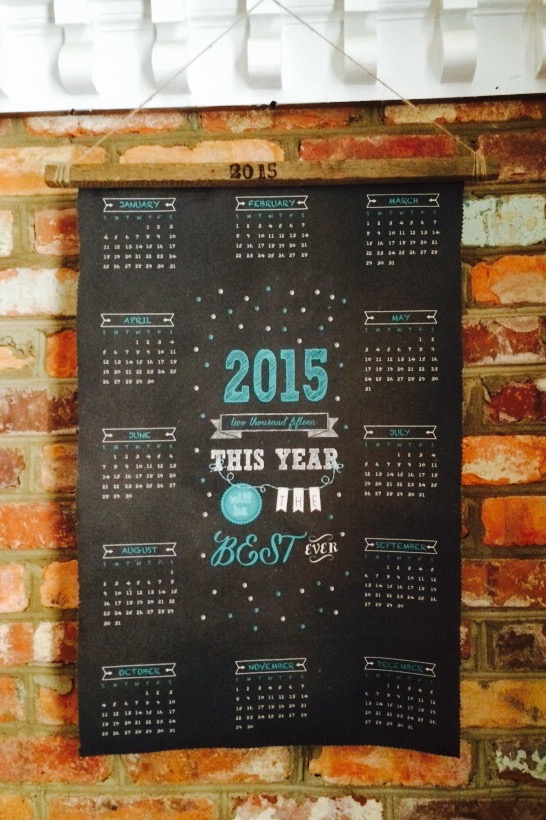
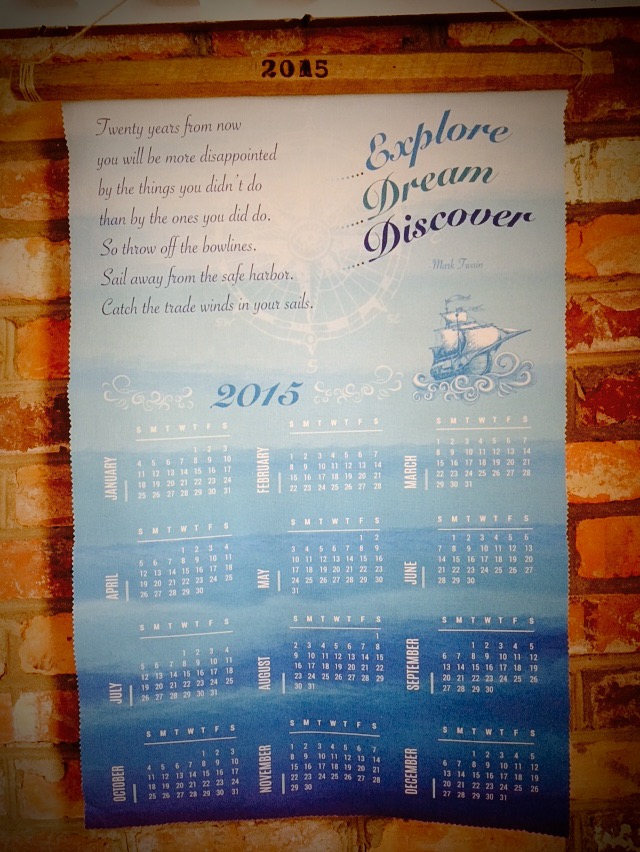
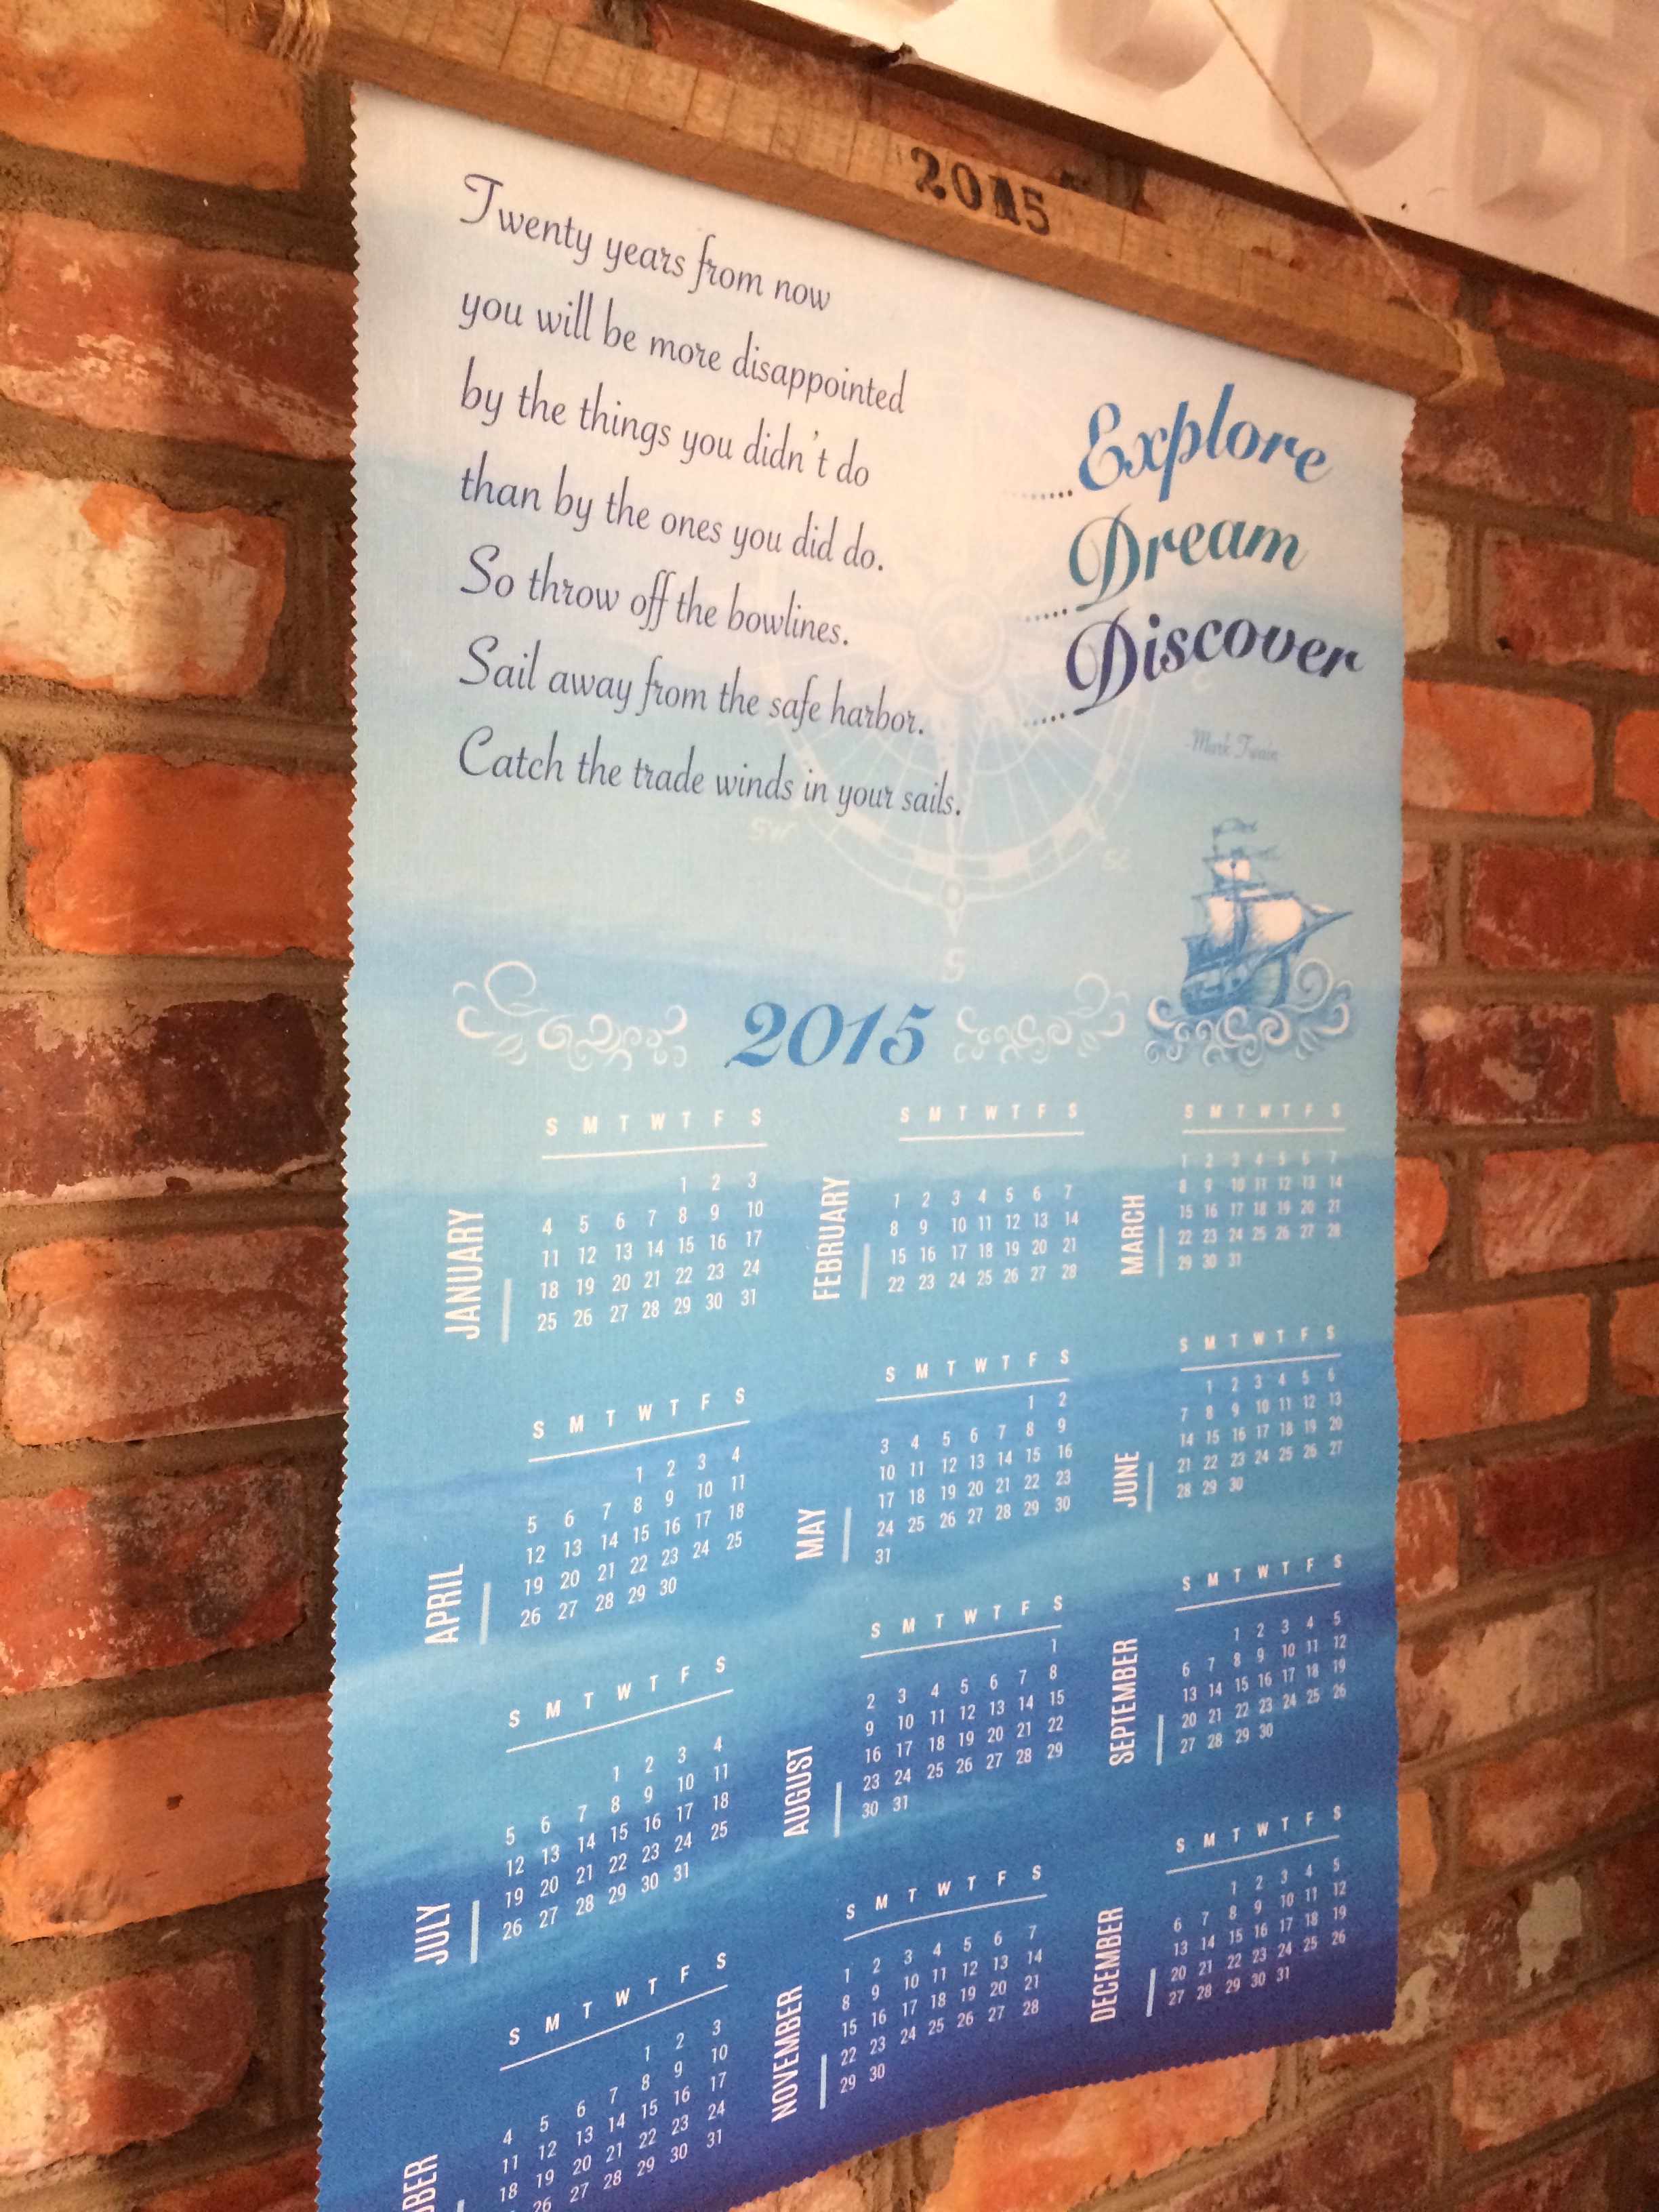
The completed project
Are you a fan of Spoonflower yet? Because I sure am! Spoonflower is a company right in Durham that makes it possible for you to design, print and sell your own fabric, wallpaper, decals and gift wrap. I just happened to come across Spoonflower’s post with the top ten 2015 tea towel calendars and was inspired by some of the winner’s amazing designs! I decided I needed to make my own tea towel calendars for 2015!
Here’s a little tutorial on creating your own tea towel calendar for next year! If it’s too late to design and make your own calendars or your not feeling too crafty, you can order one of mine on my Etsy shop!
Step 1:
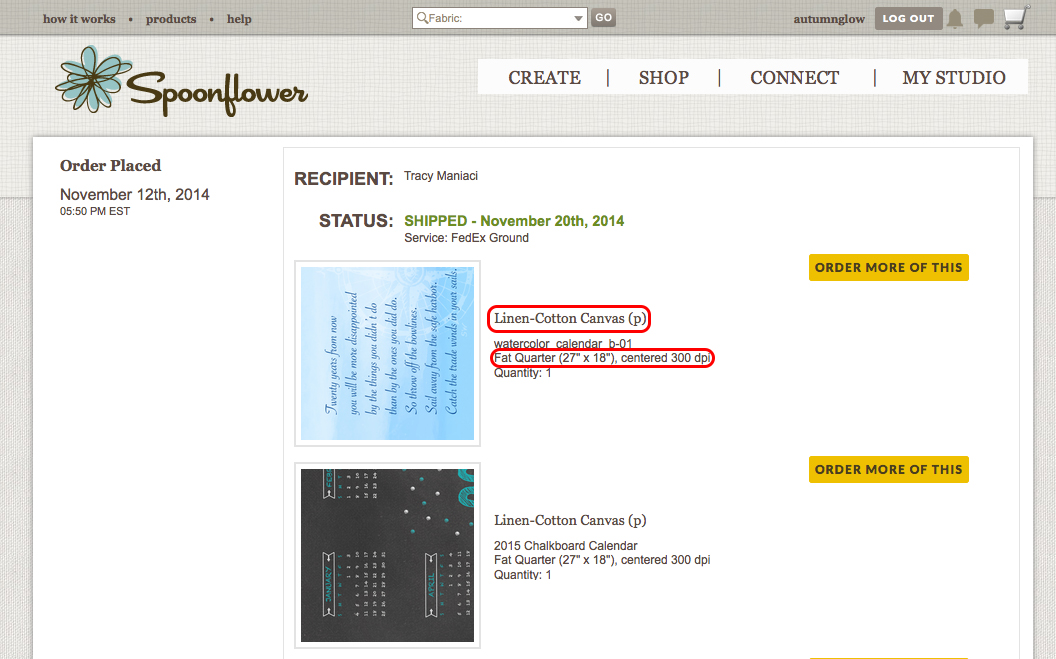
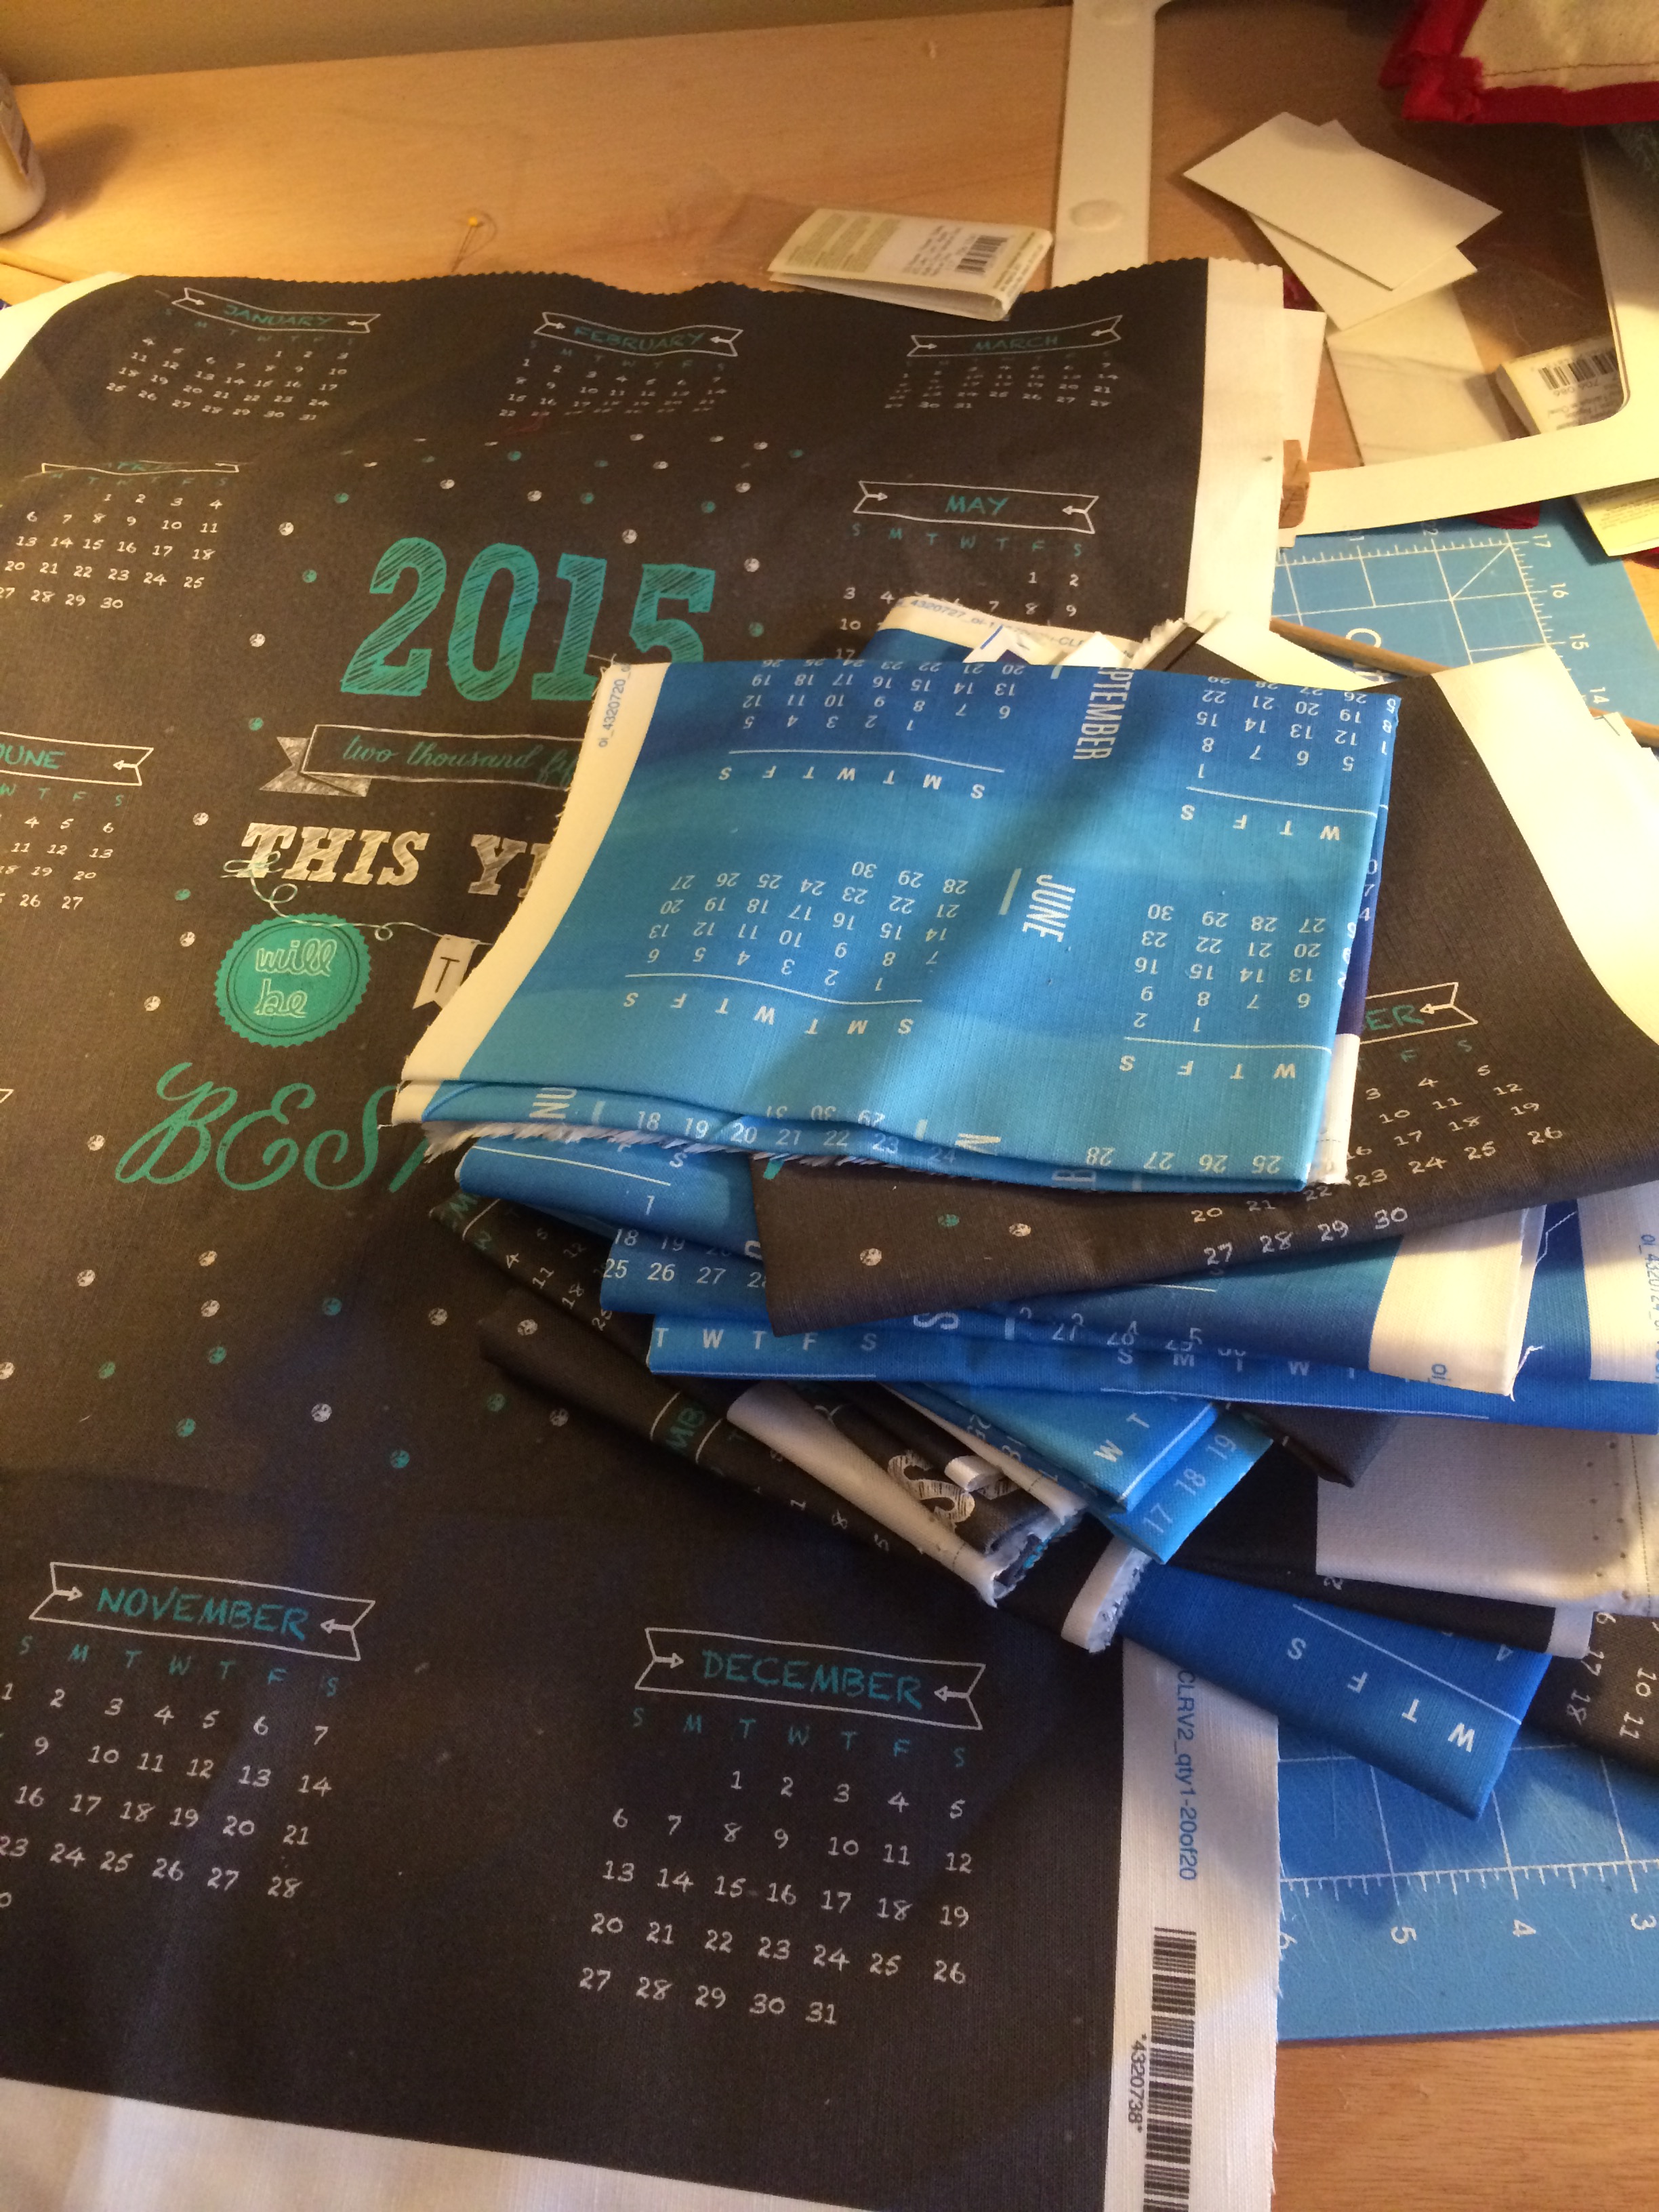
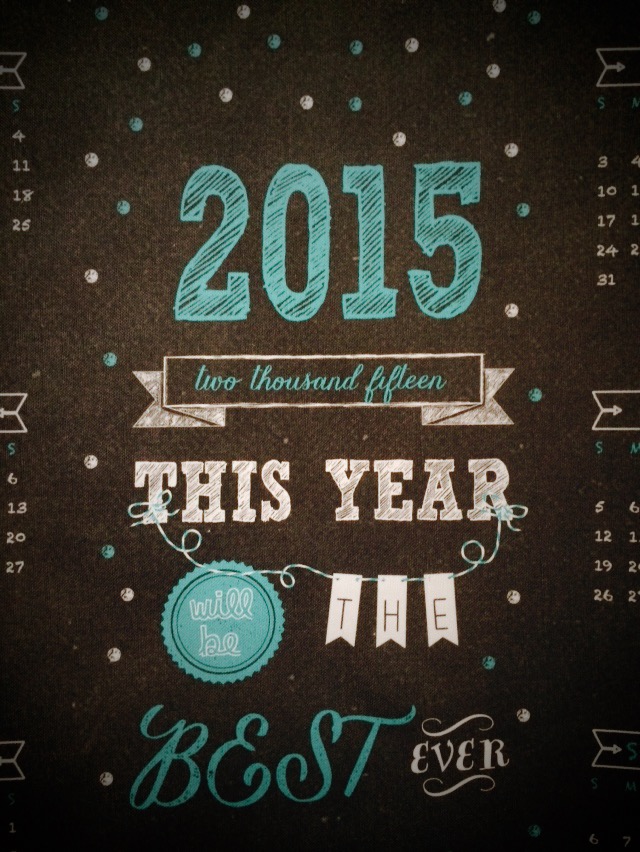
Design your fabric! Spoonflower has a lot of information on their website with tips and tutorials on creating the best design for use with their products. The most important thing to know about creating a design for the tea towel is that you will be ordering a Fat Quarter (27”x18”), centered and printing it on the Linen-Cotton Canvas fabric.

Step 2:
After placing your order, impatiently wait for it to arrive, and when it does, do a happy dance!
Step 3:
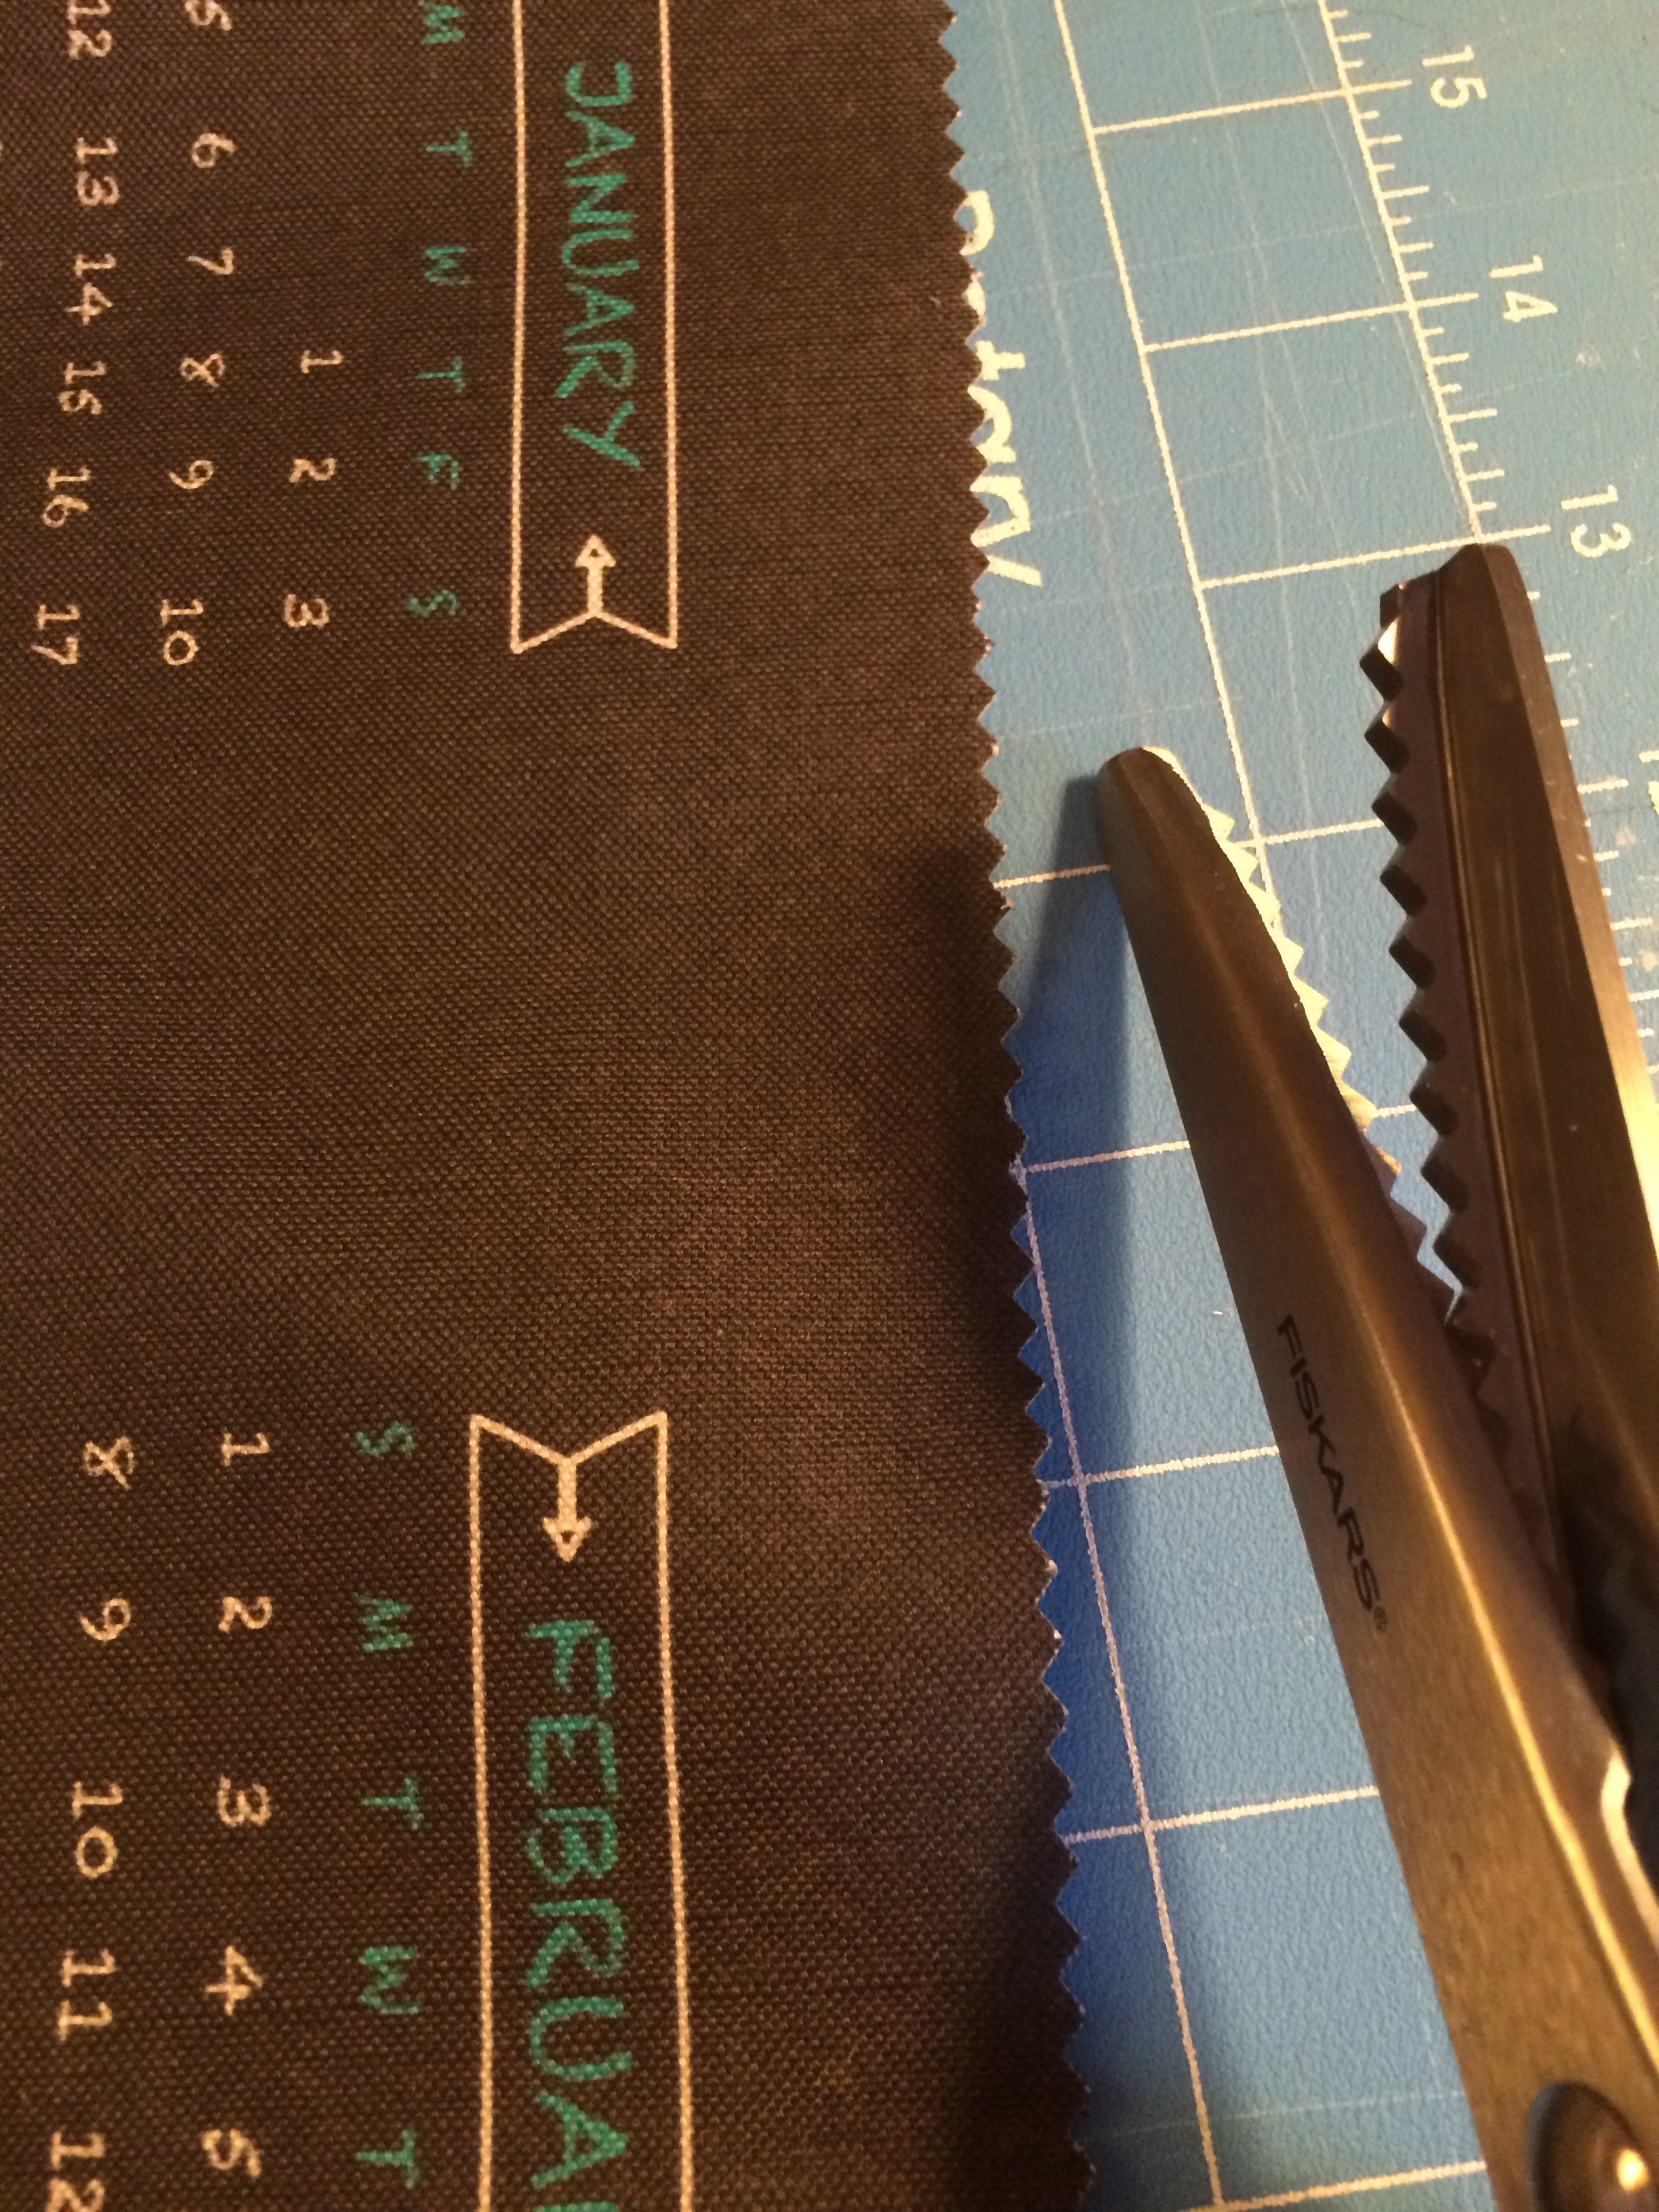
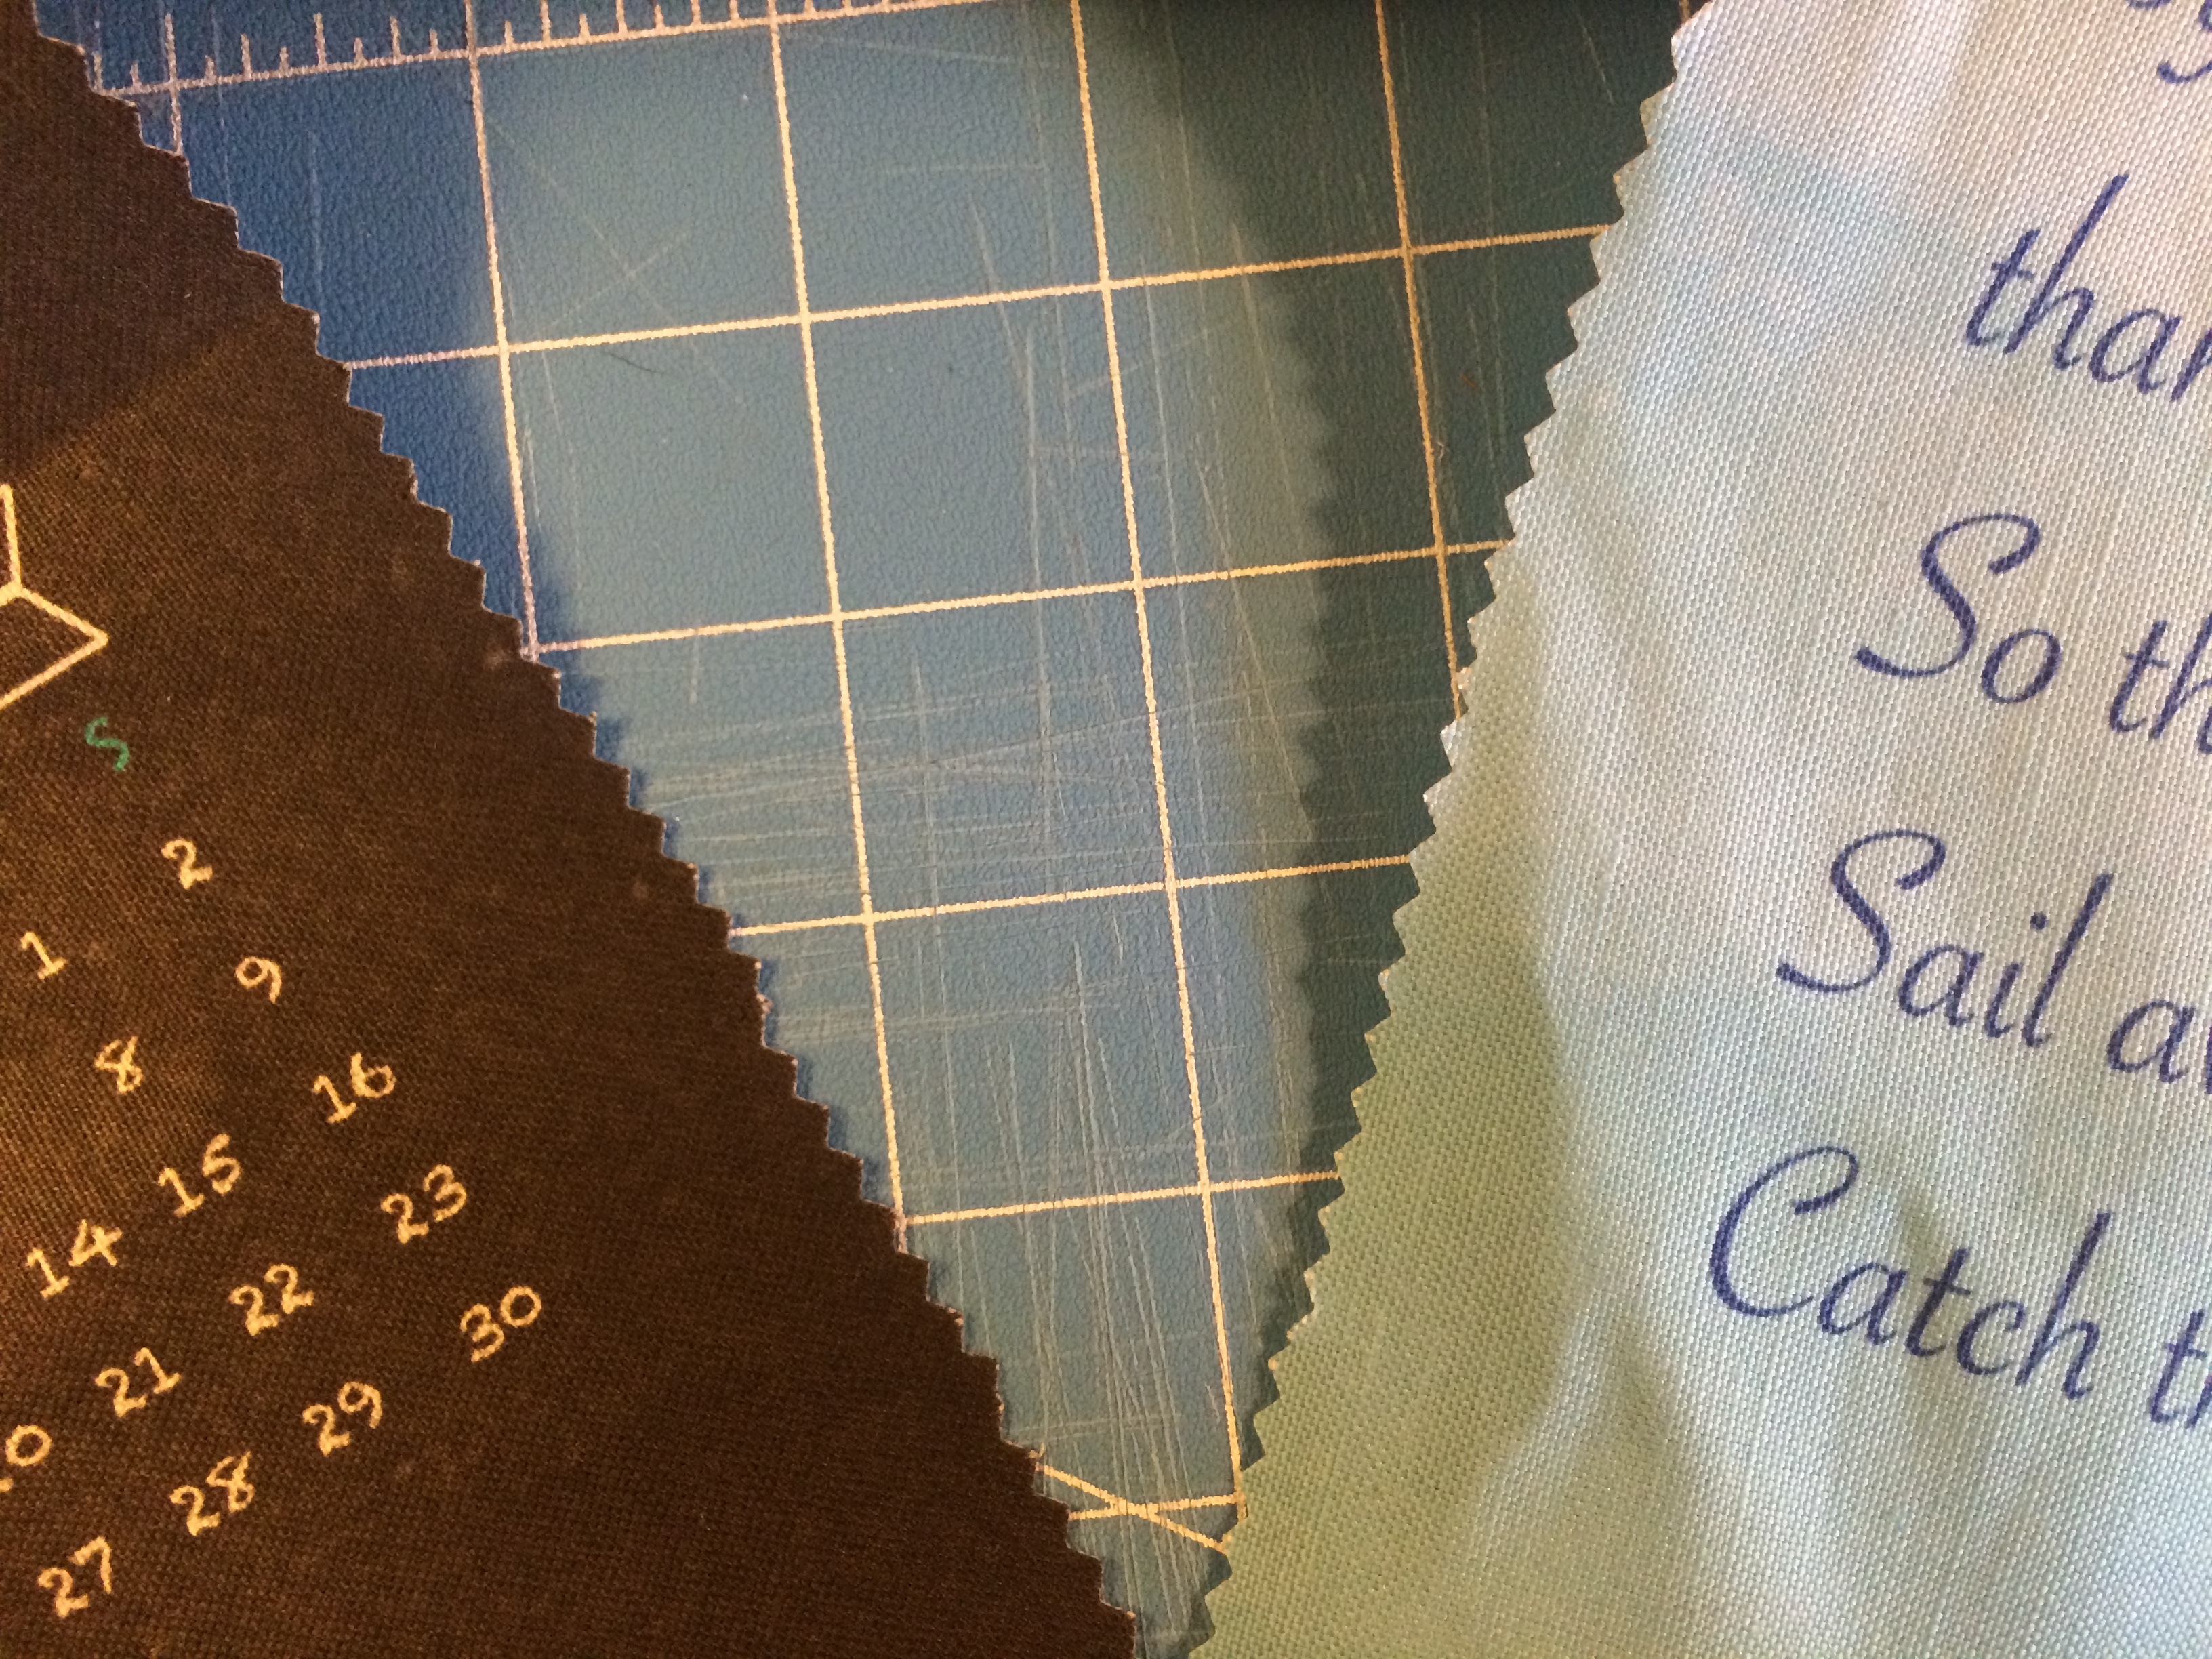
Get your fabric out, admire it, and then trim the white edges off with pinking shears. Don’t know what pinking shears are? Neither did I until recently! Pinking shears are scissors, the blades of which are saw-toothed instead of straight. They leave a zigzag pattern instead of a straight edge. They can be found at any fabric store.

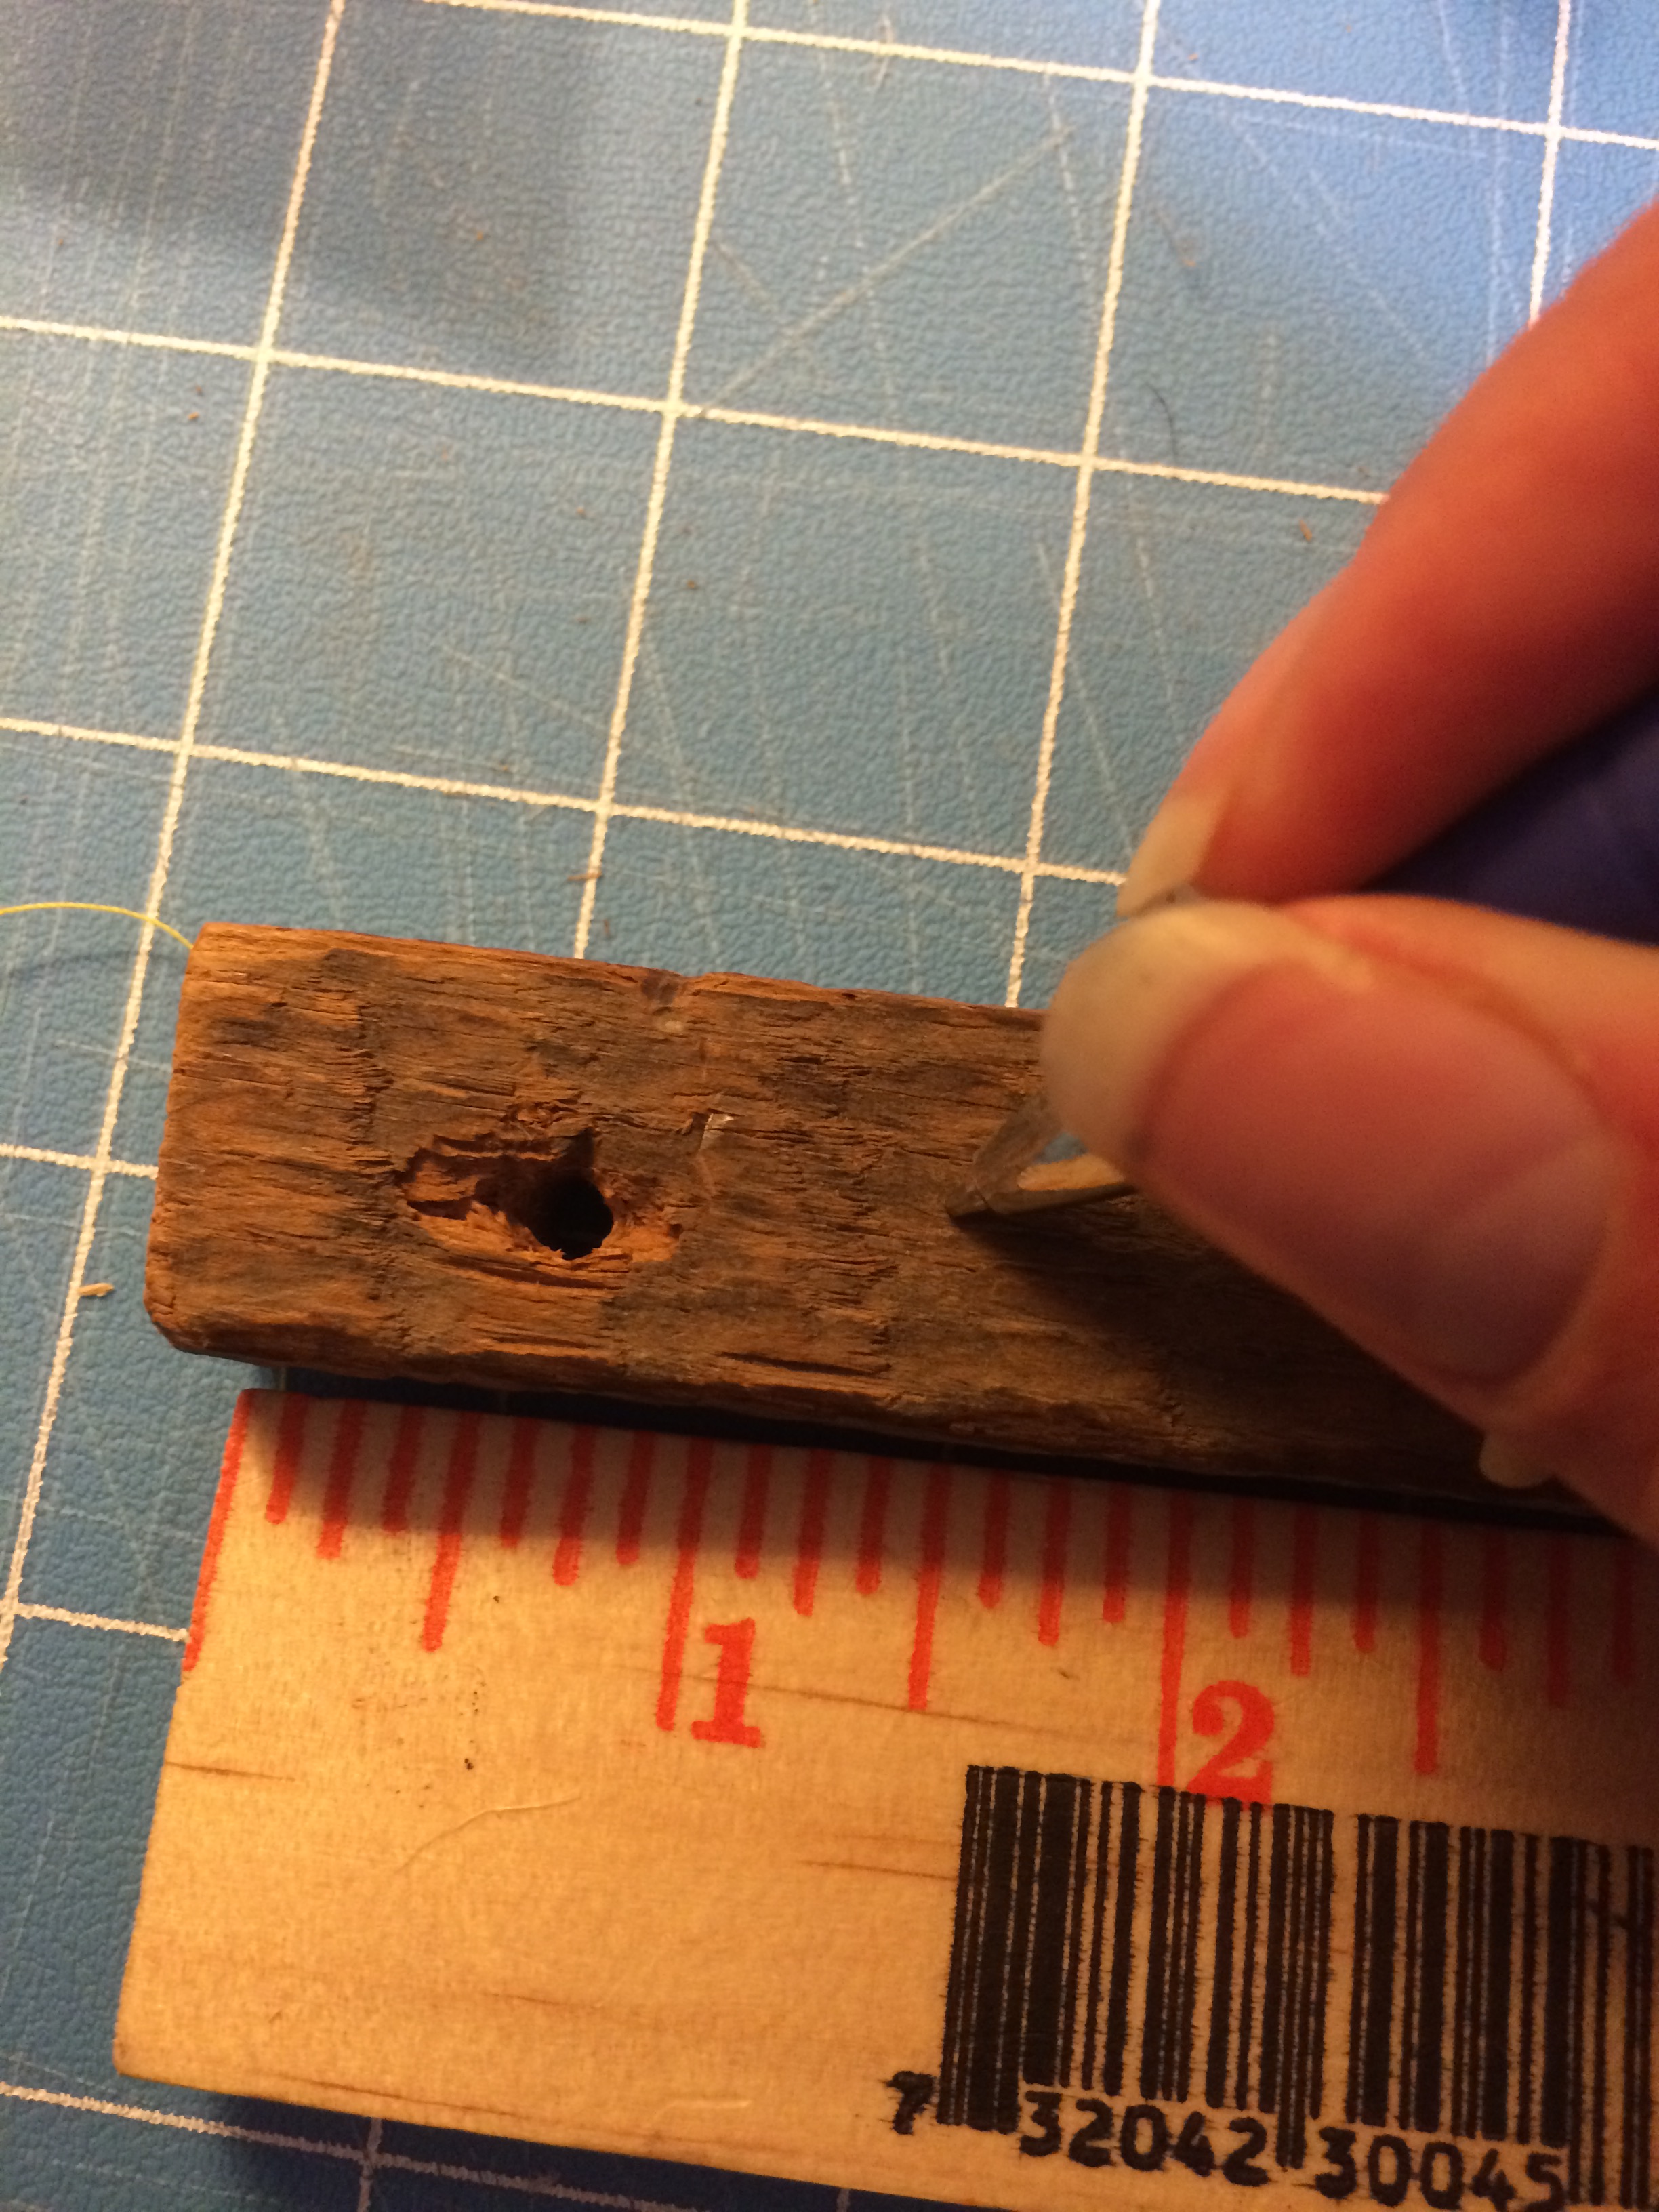
Step 4:
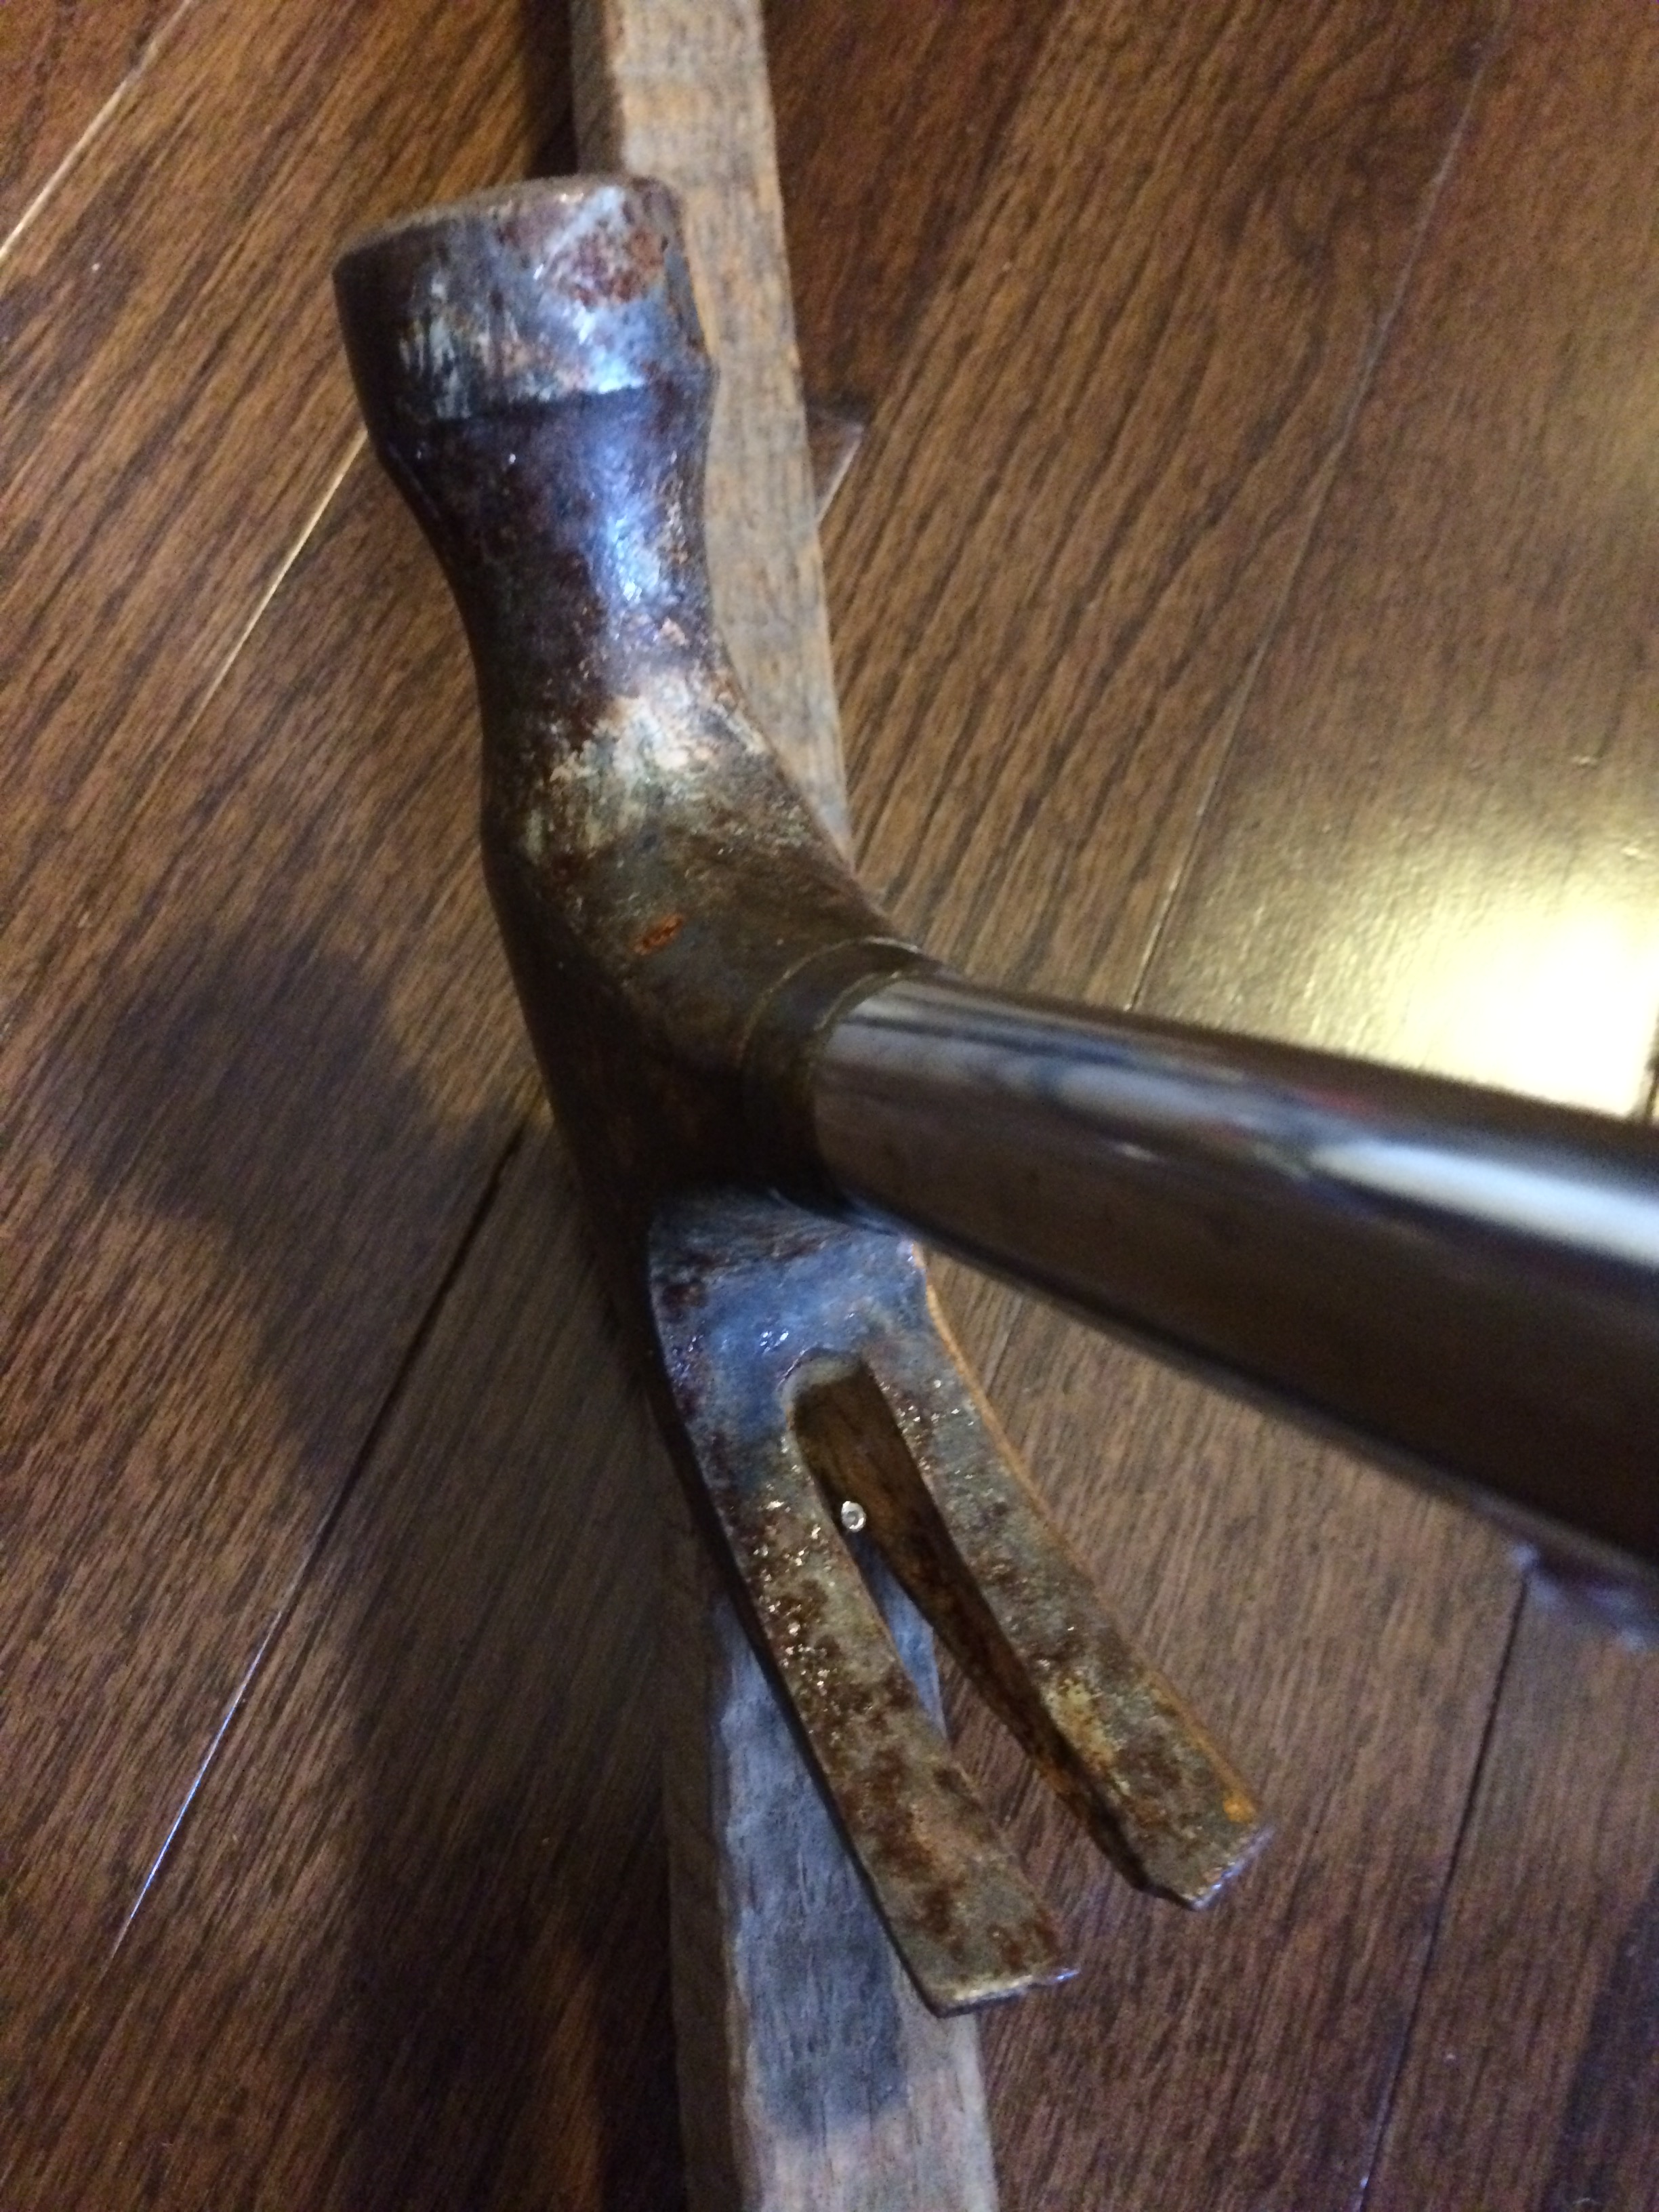
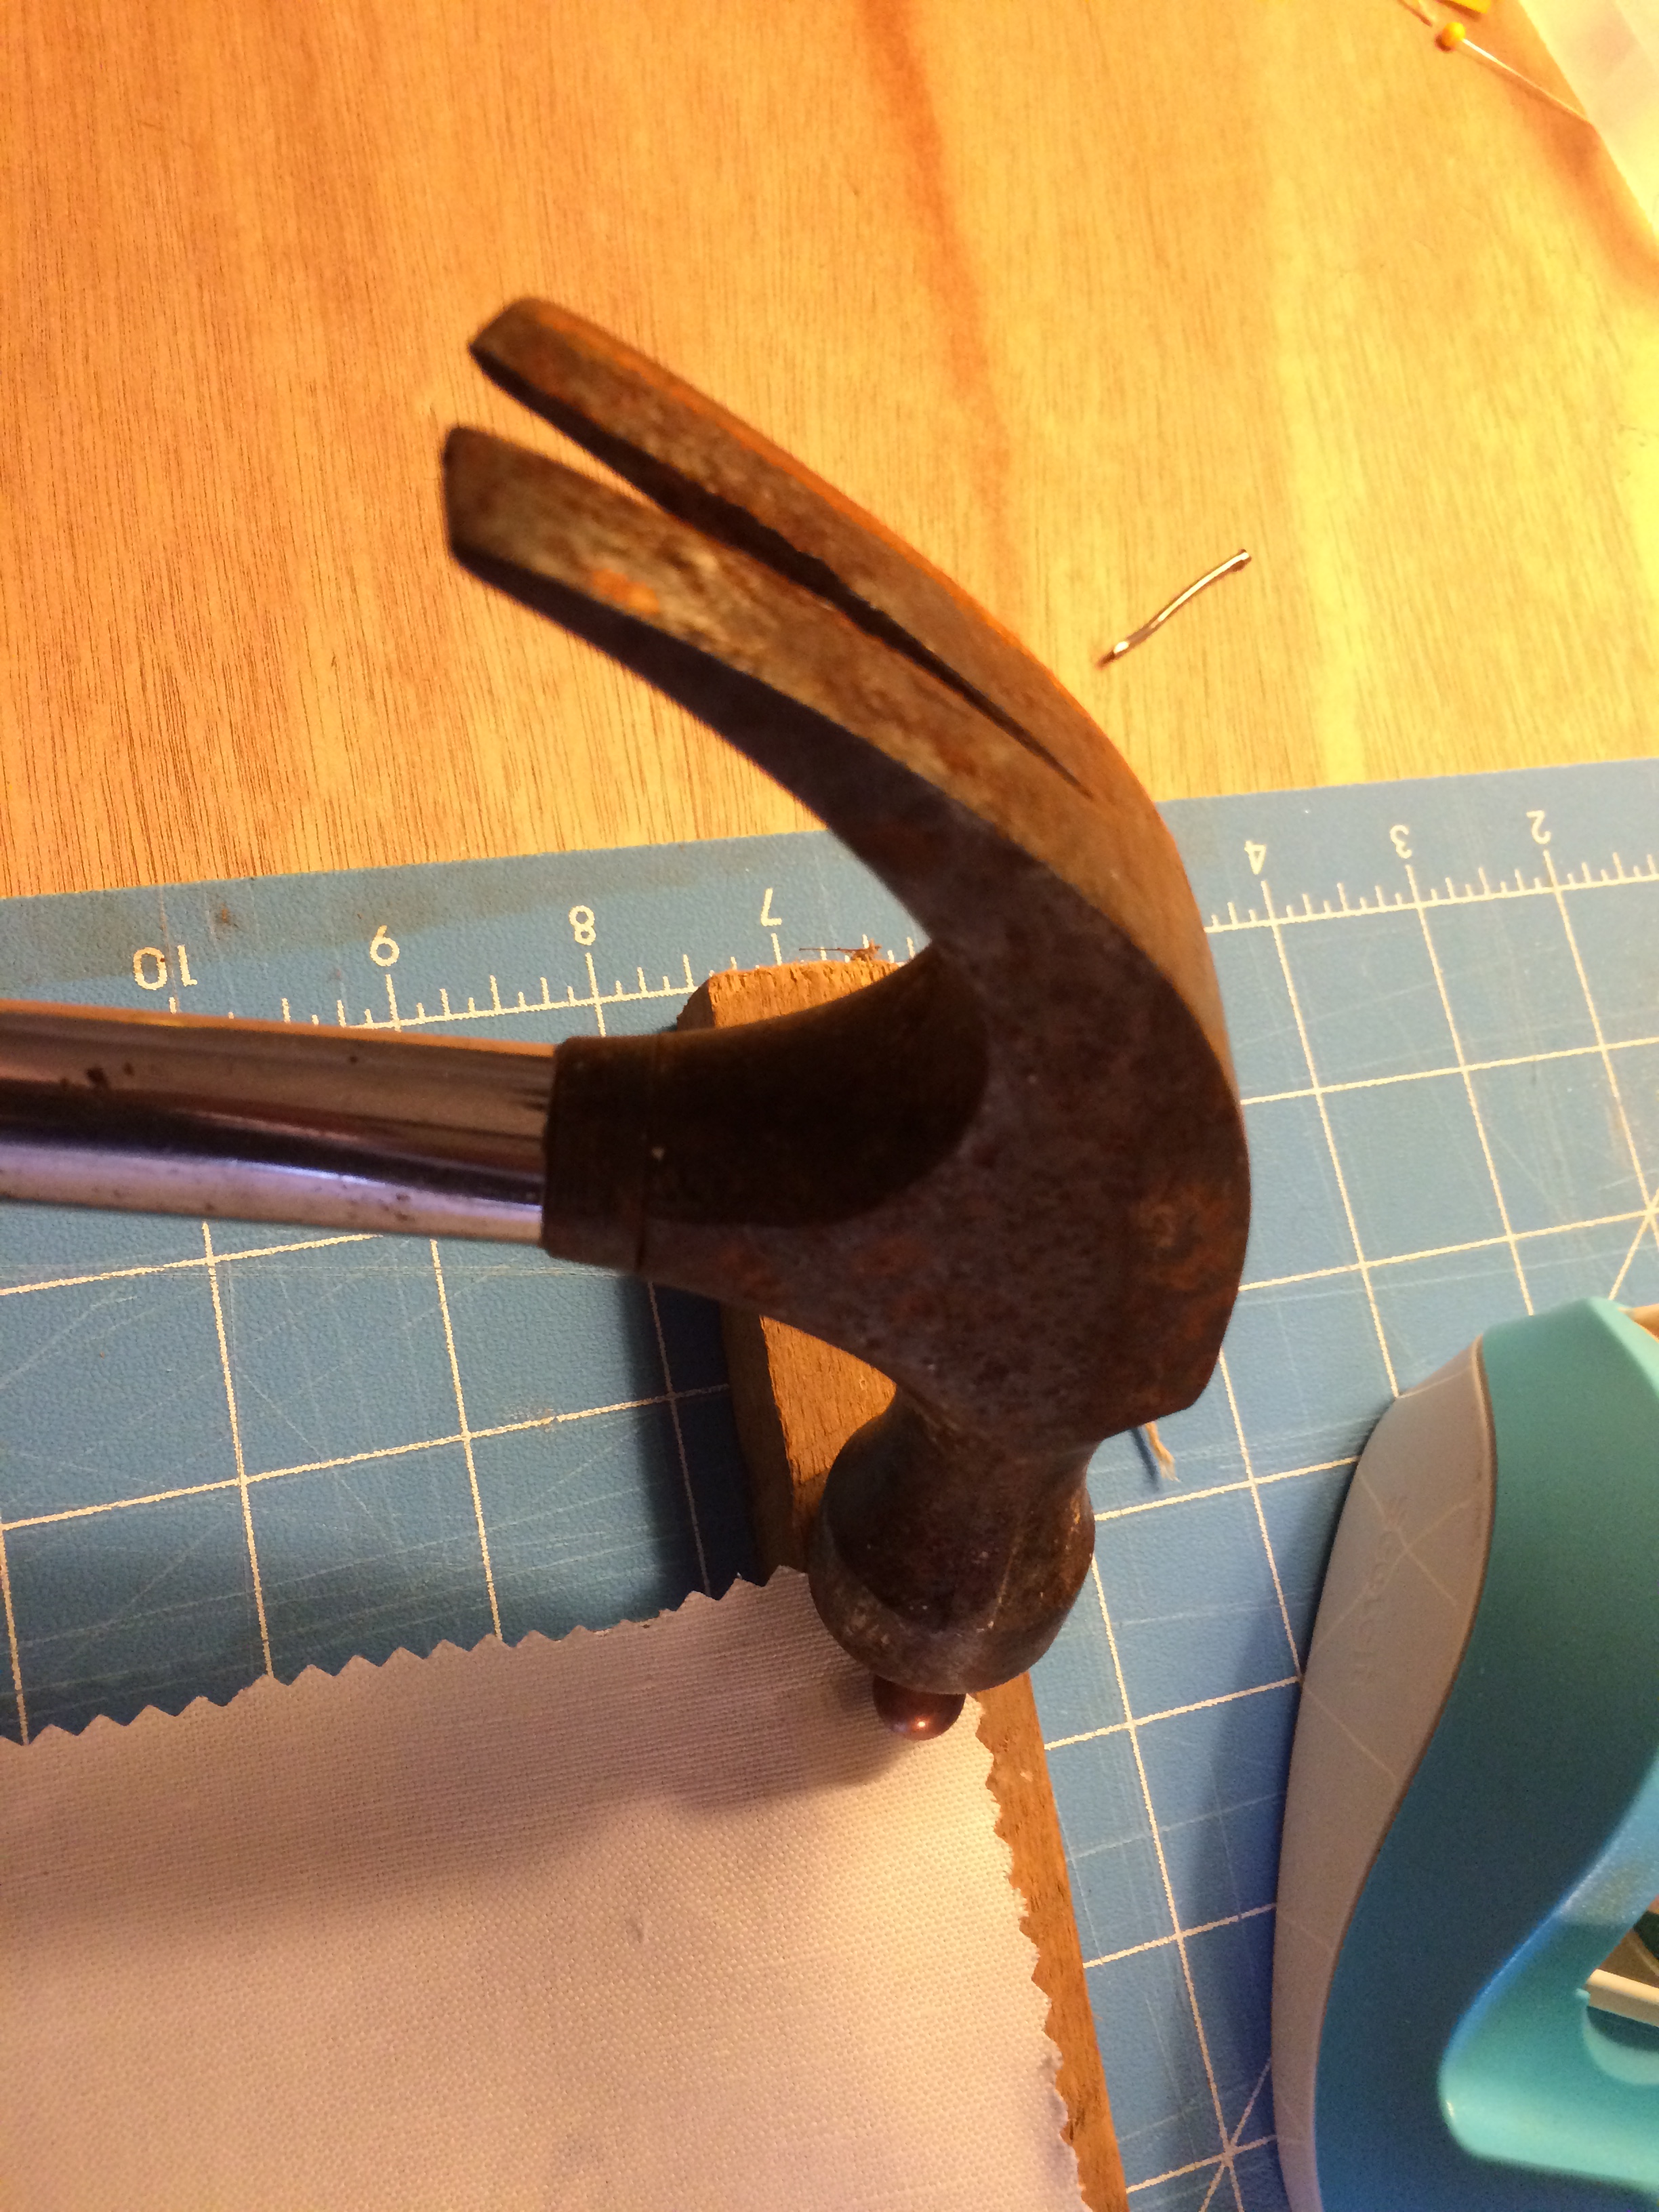
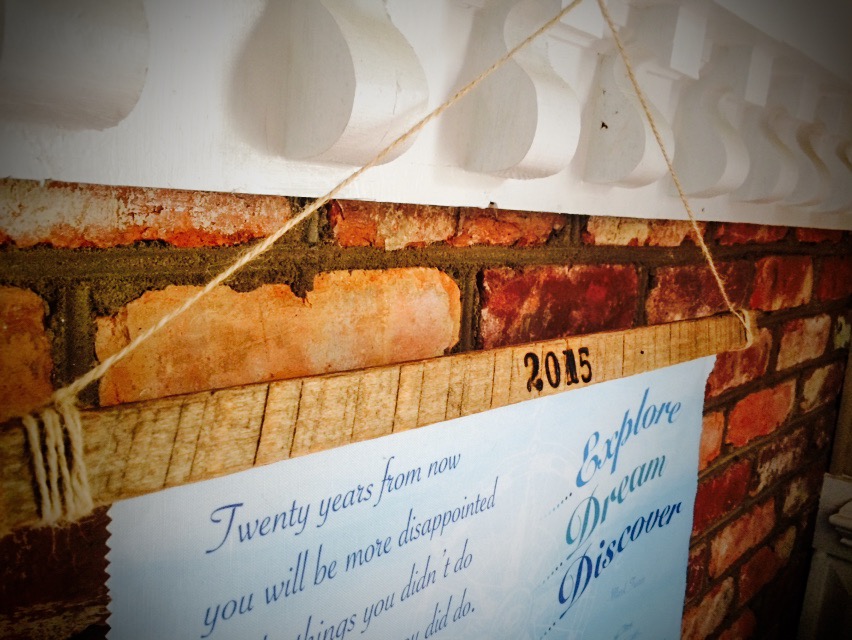
Get your tobacco sticks ready! I found mine on Craigslist from Raleigh Reclaimed. Since tobacco sticks are rustic by nature, they may have blemishes, holes, nails, etc. in them. This adds to the character! Except for the nails…those guys have to go! Take a hammer and knock/pull any nails out of the boards. Depending on what your sticks look like, you might also want to stain them.


Step 5:
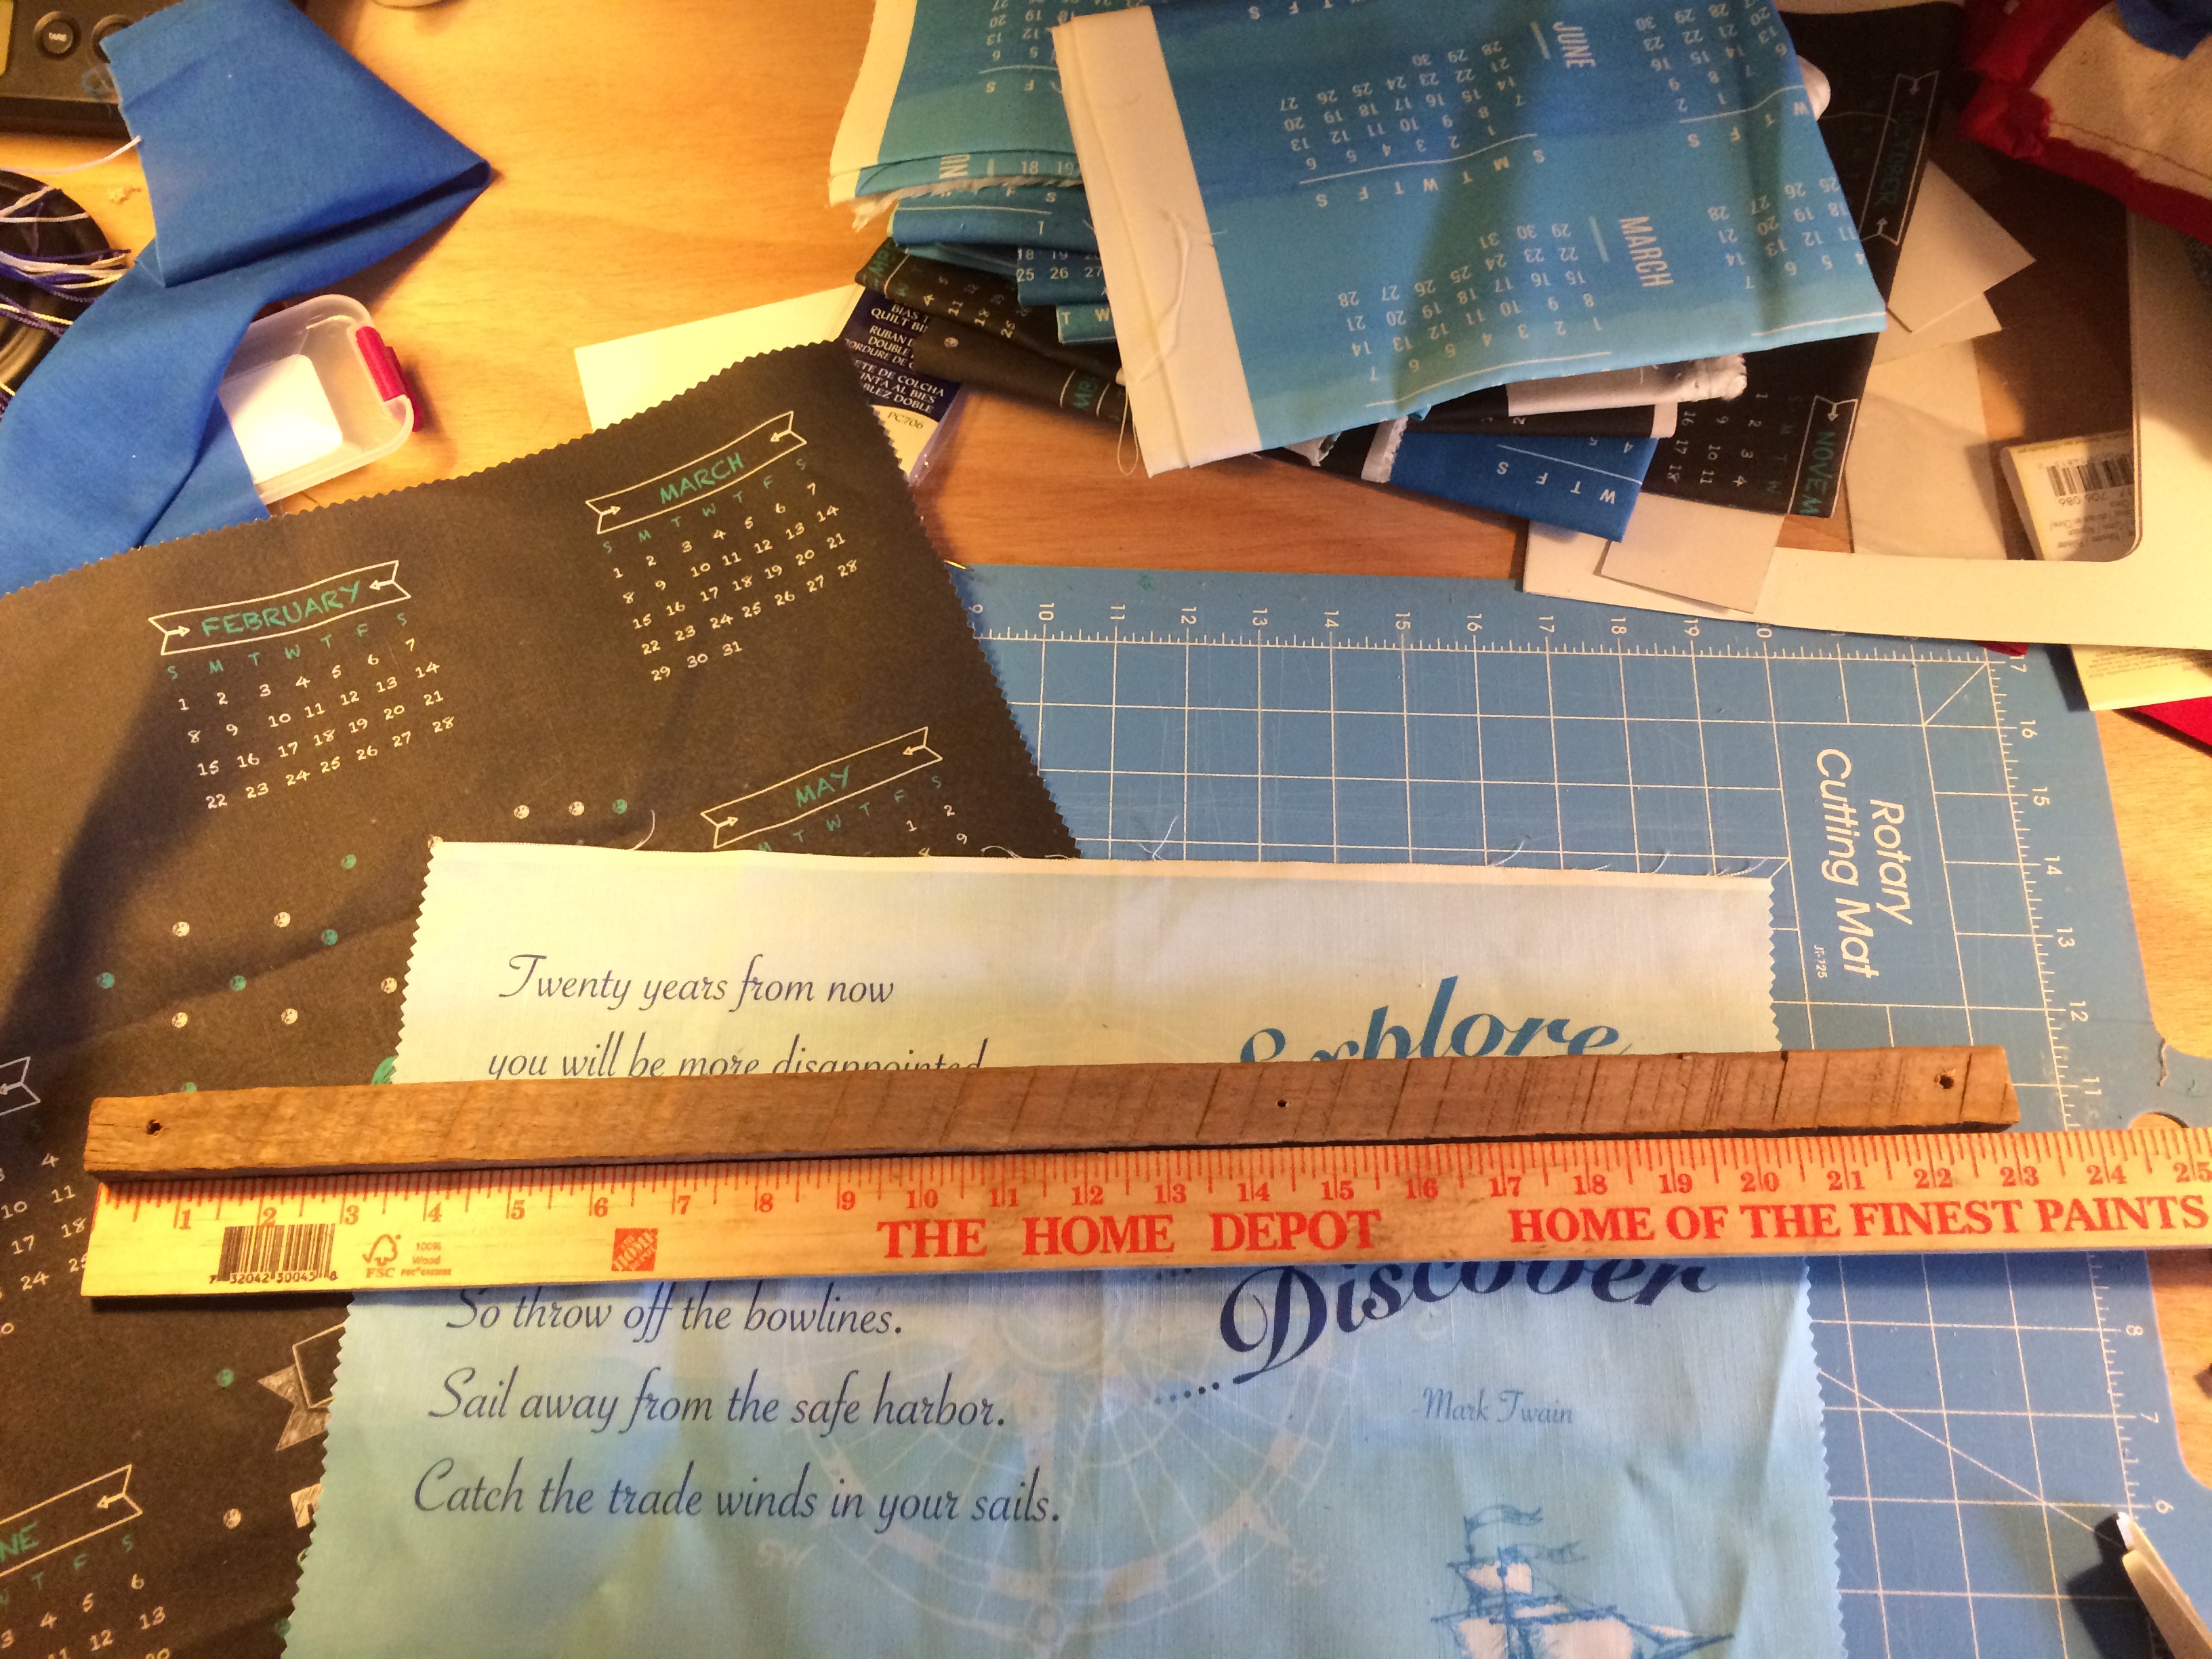
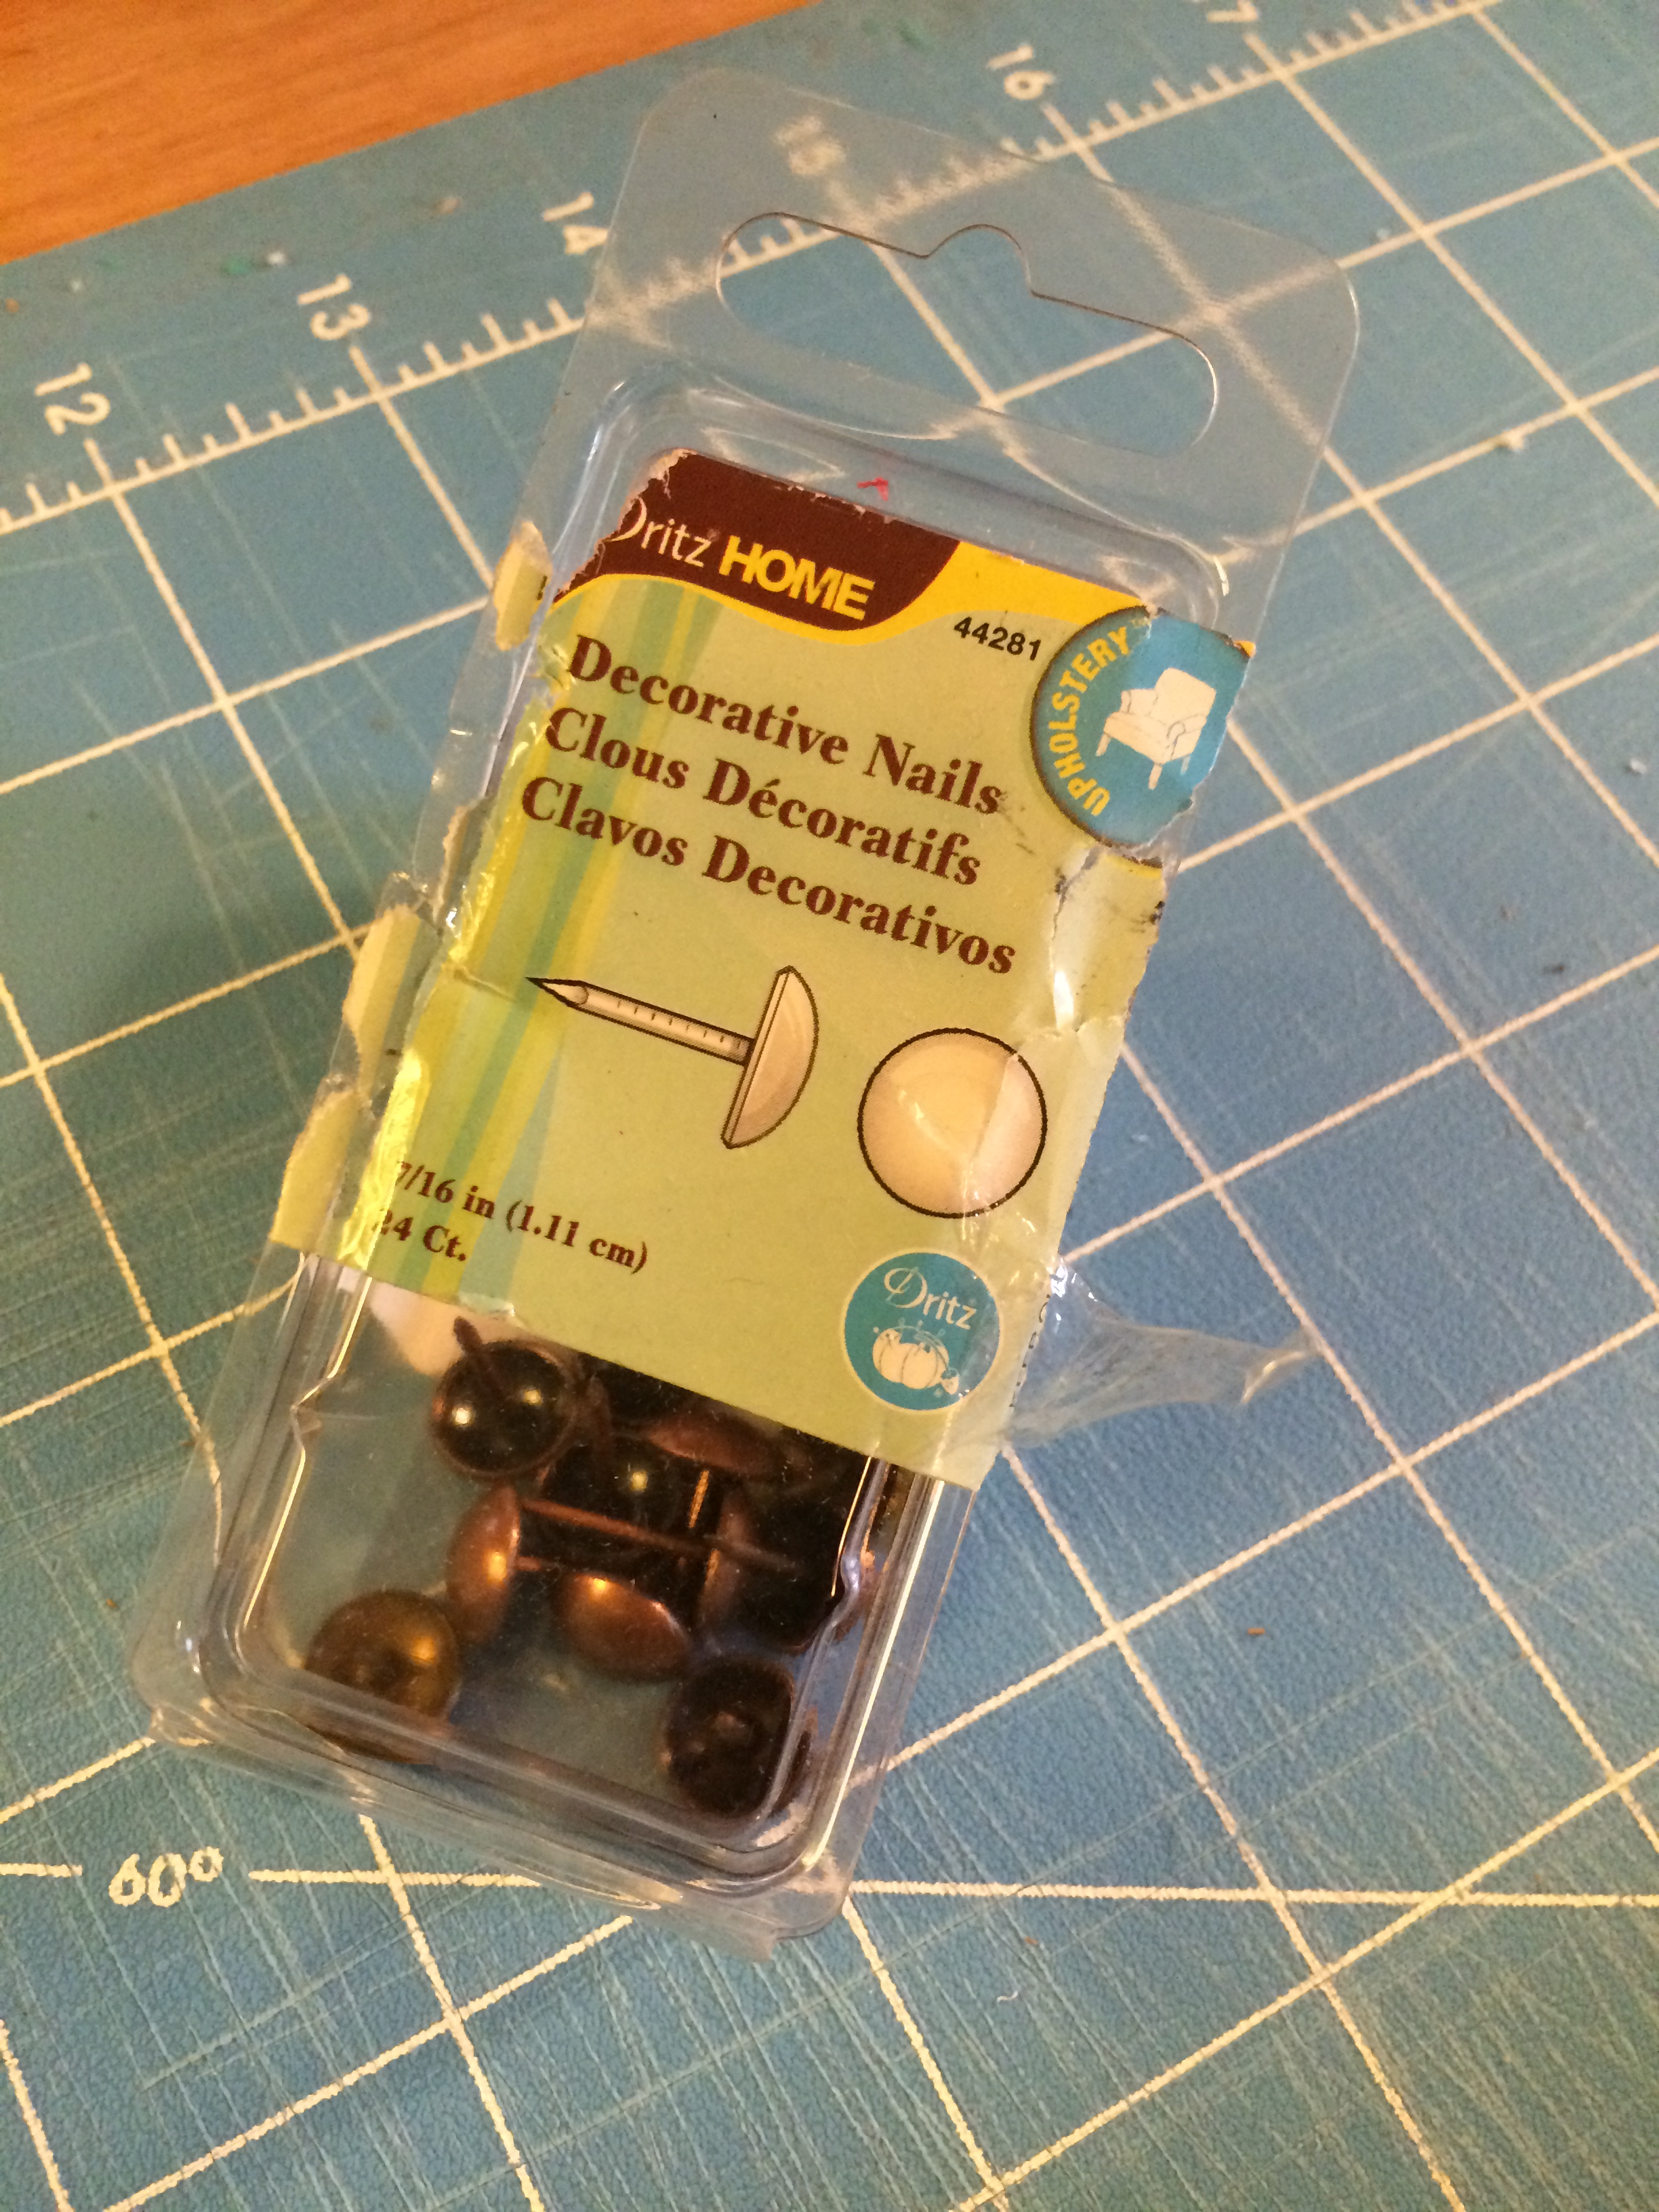
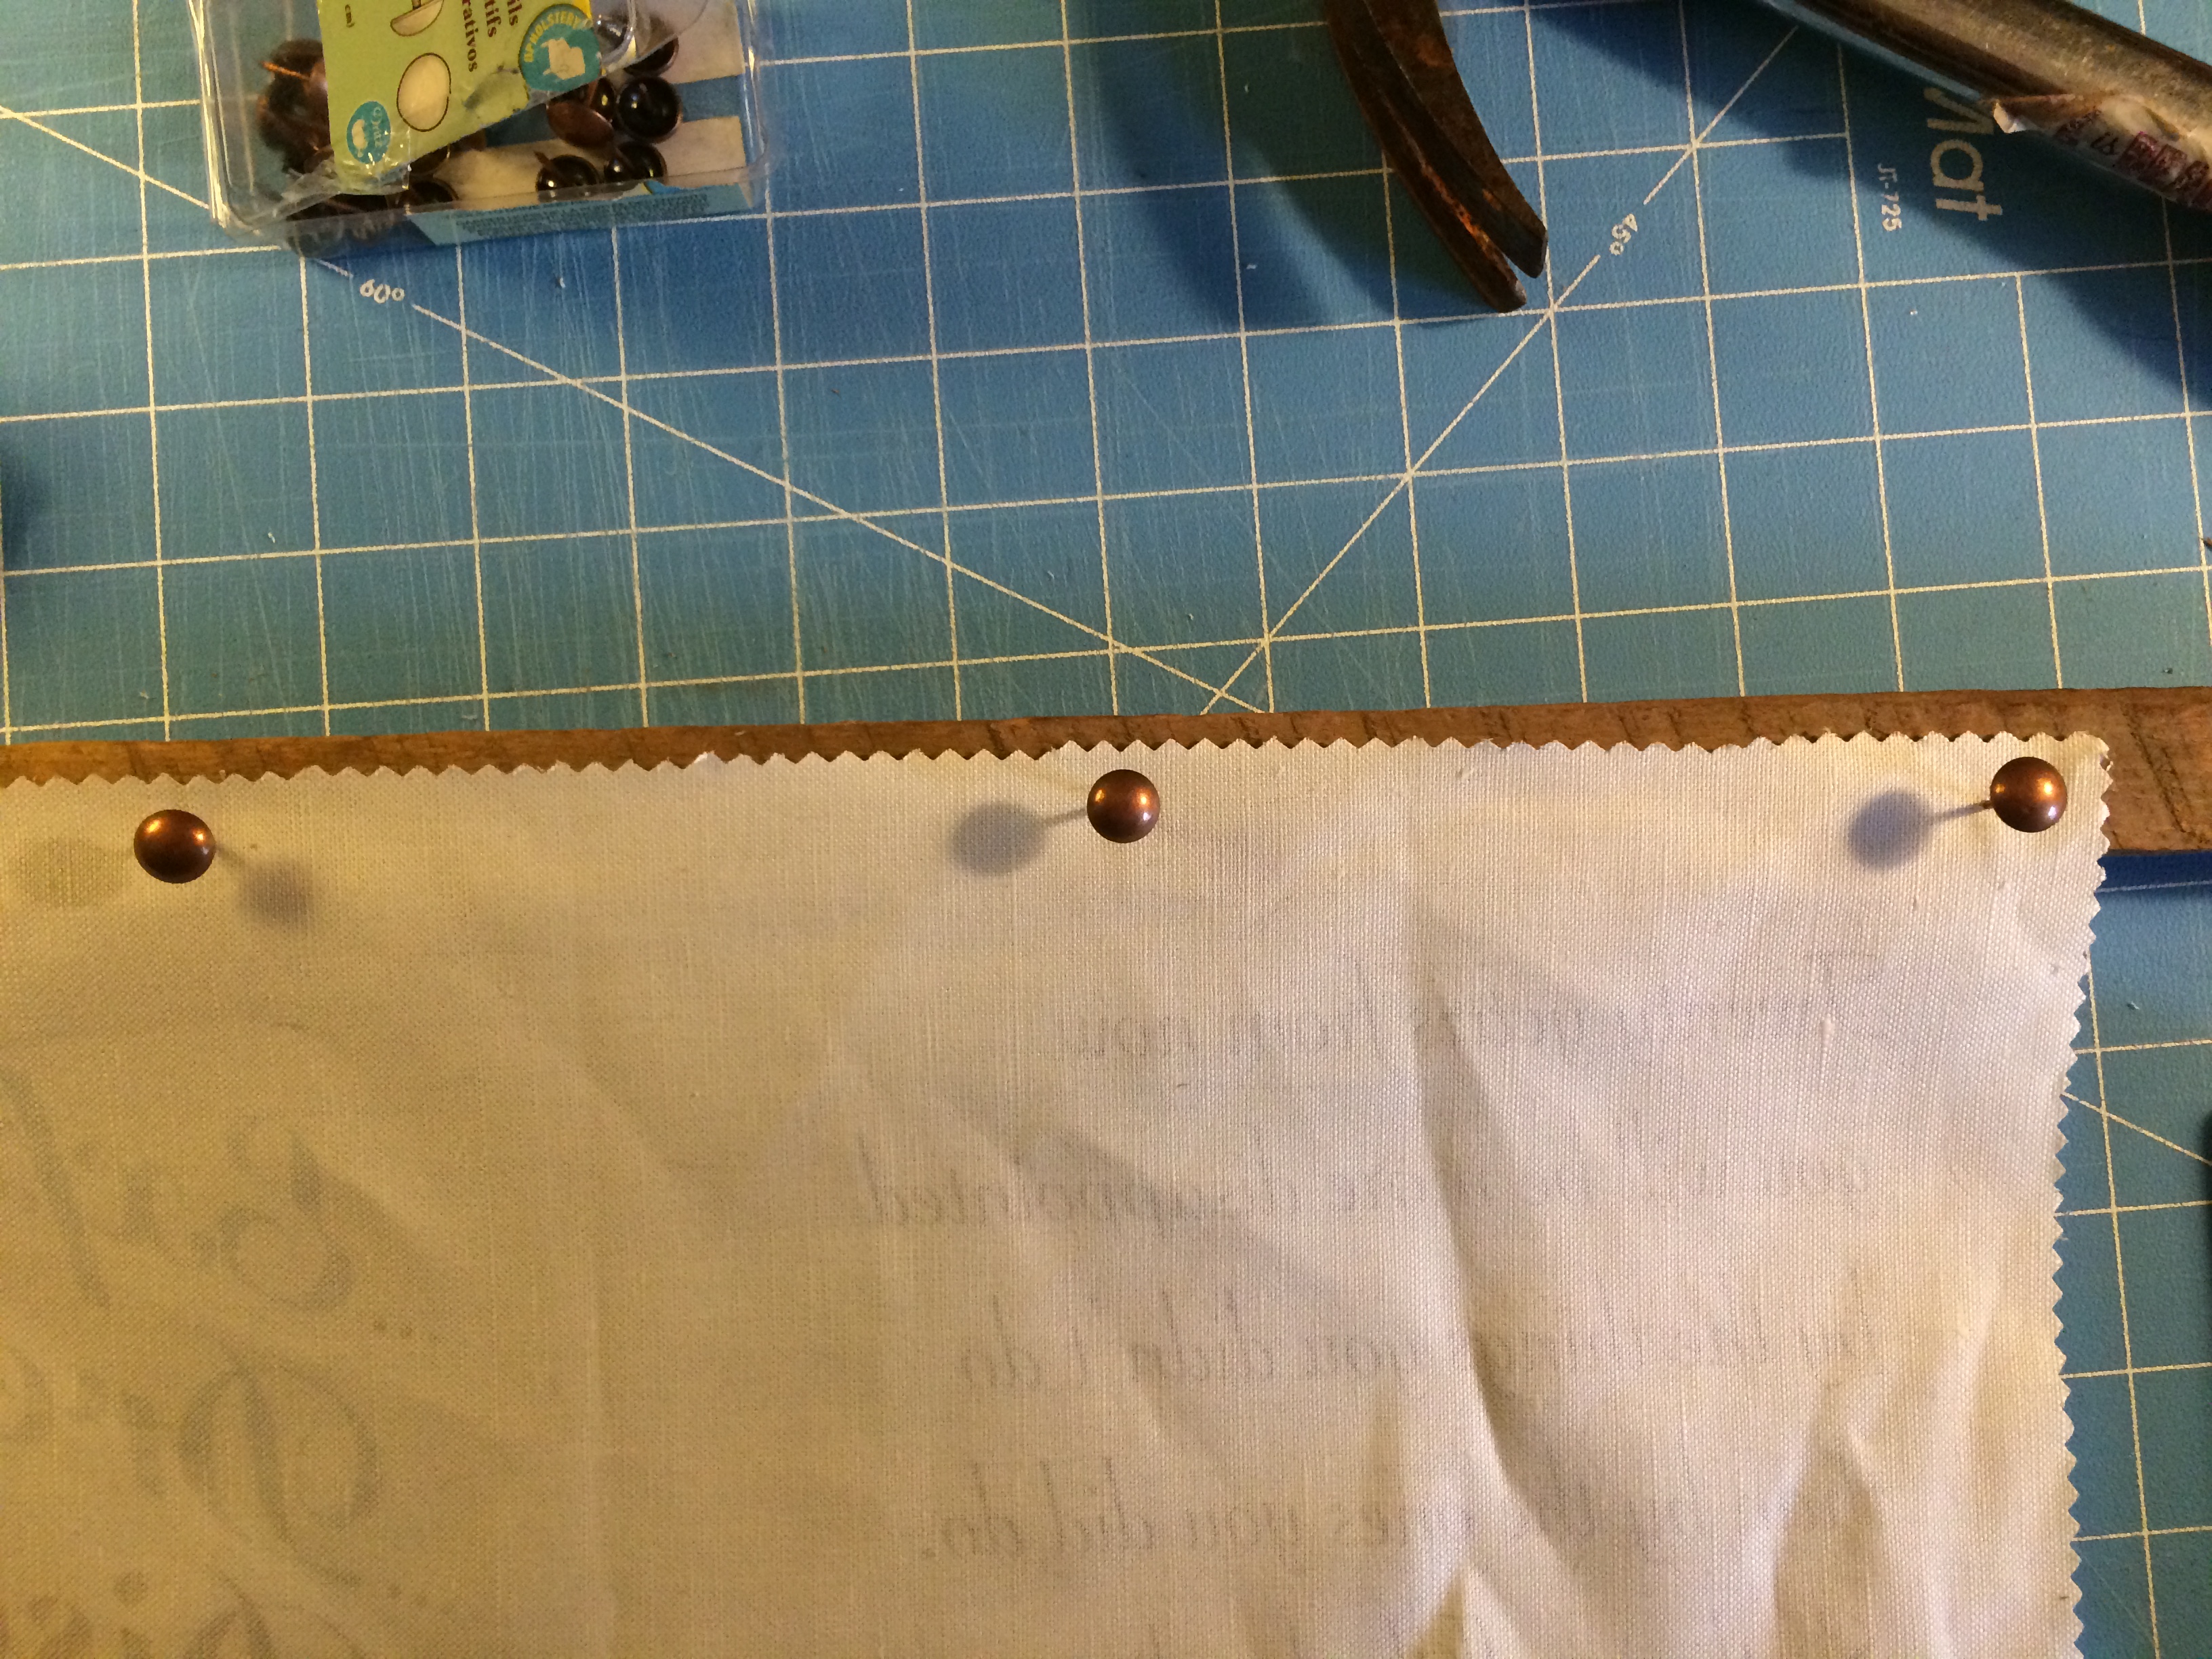
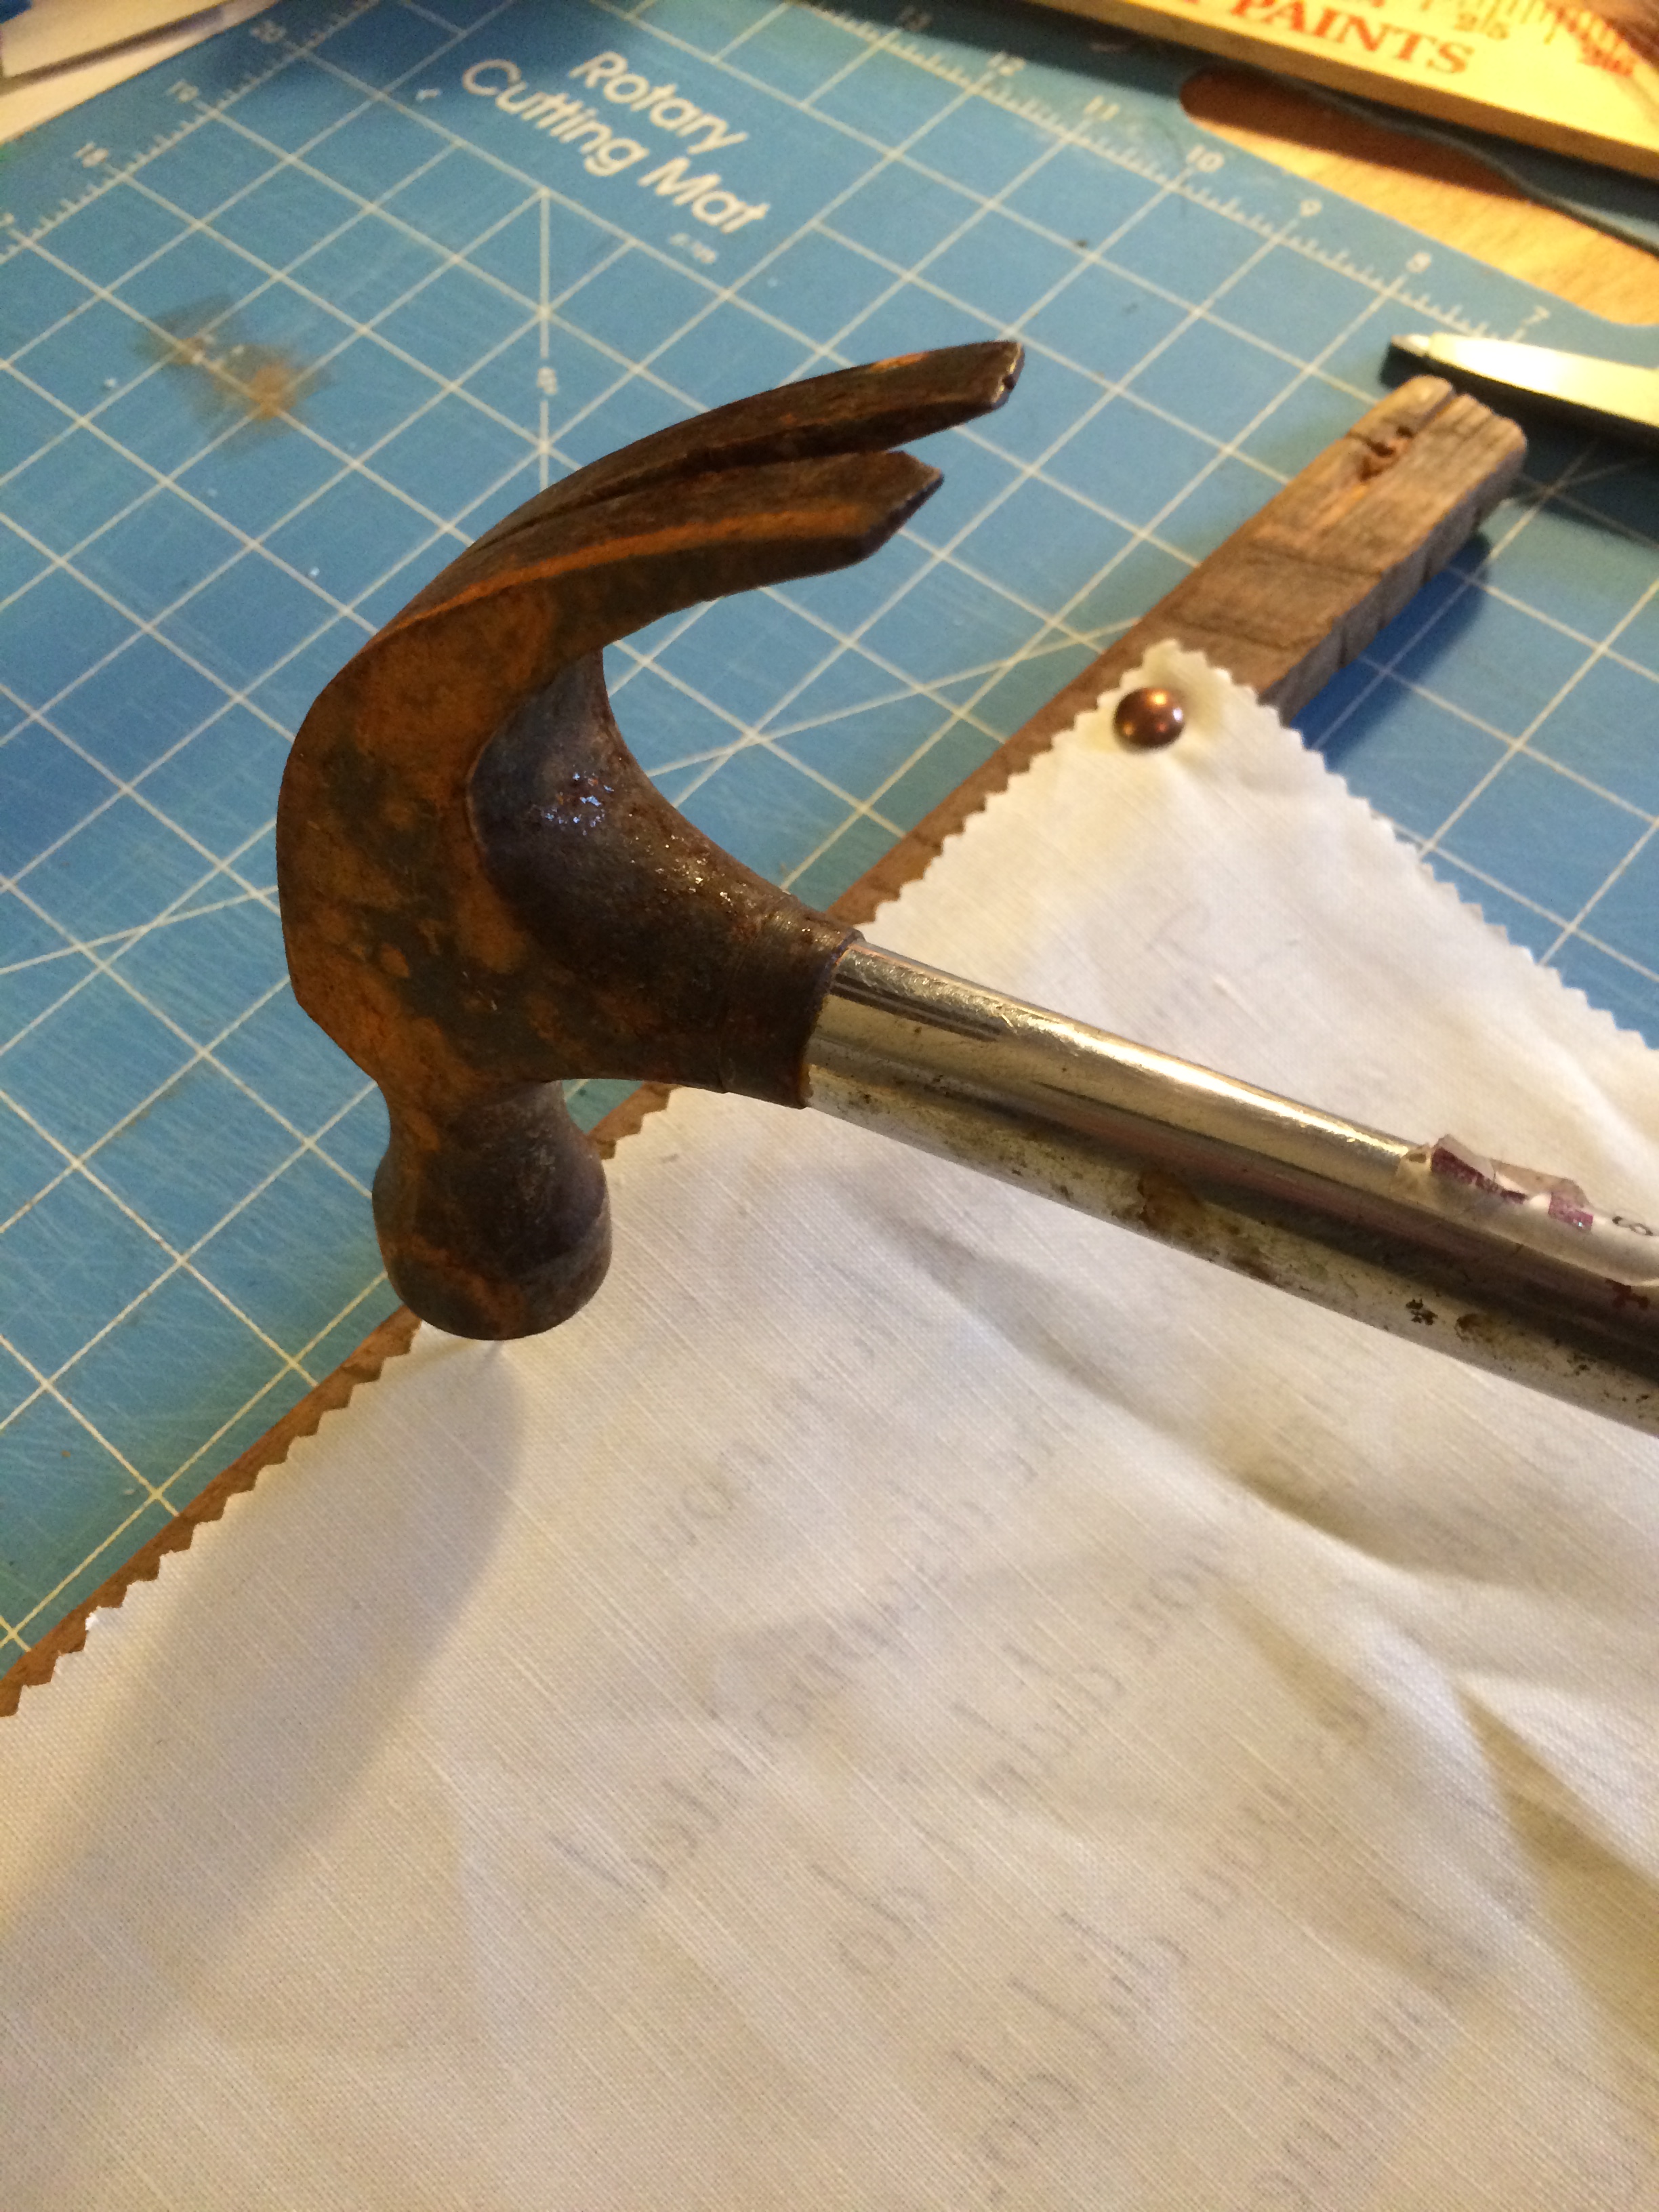
Measure your calendar and tobacco stick and center the calendar on the tobacco stick making sure there’s at least a 1.5” overhang on both sides. Next, nail the tacks/small nails in halfway. Turn your calendar over to make sure it looks even and hangs right, and then nail the tacks in the rest of the way.


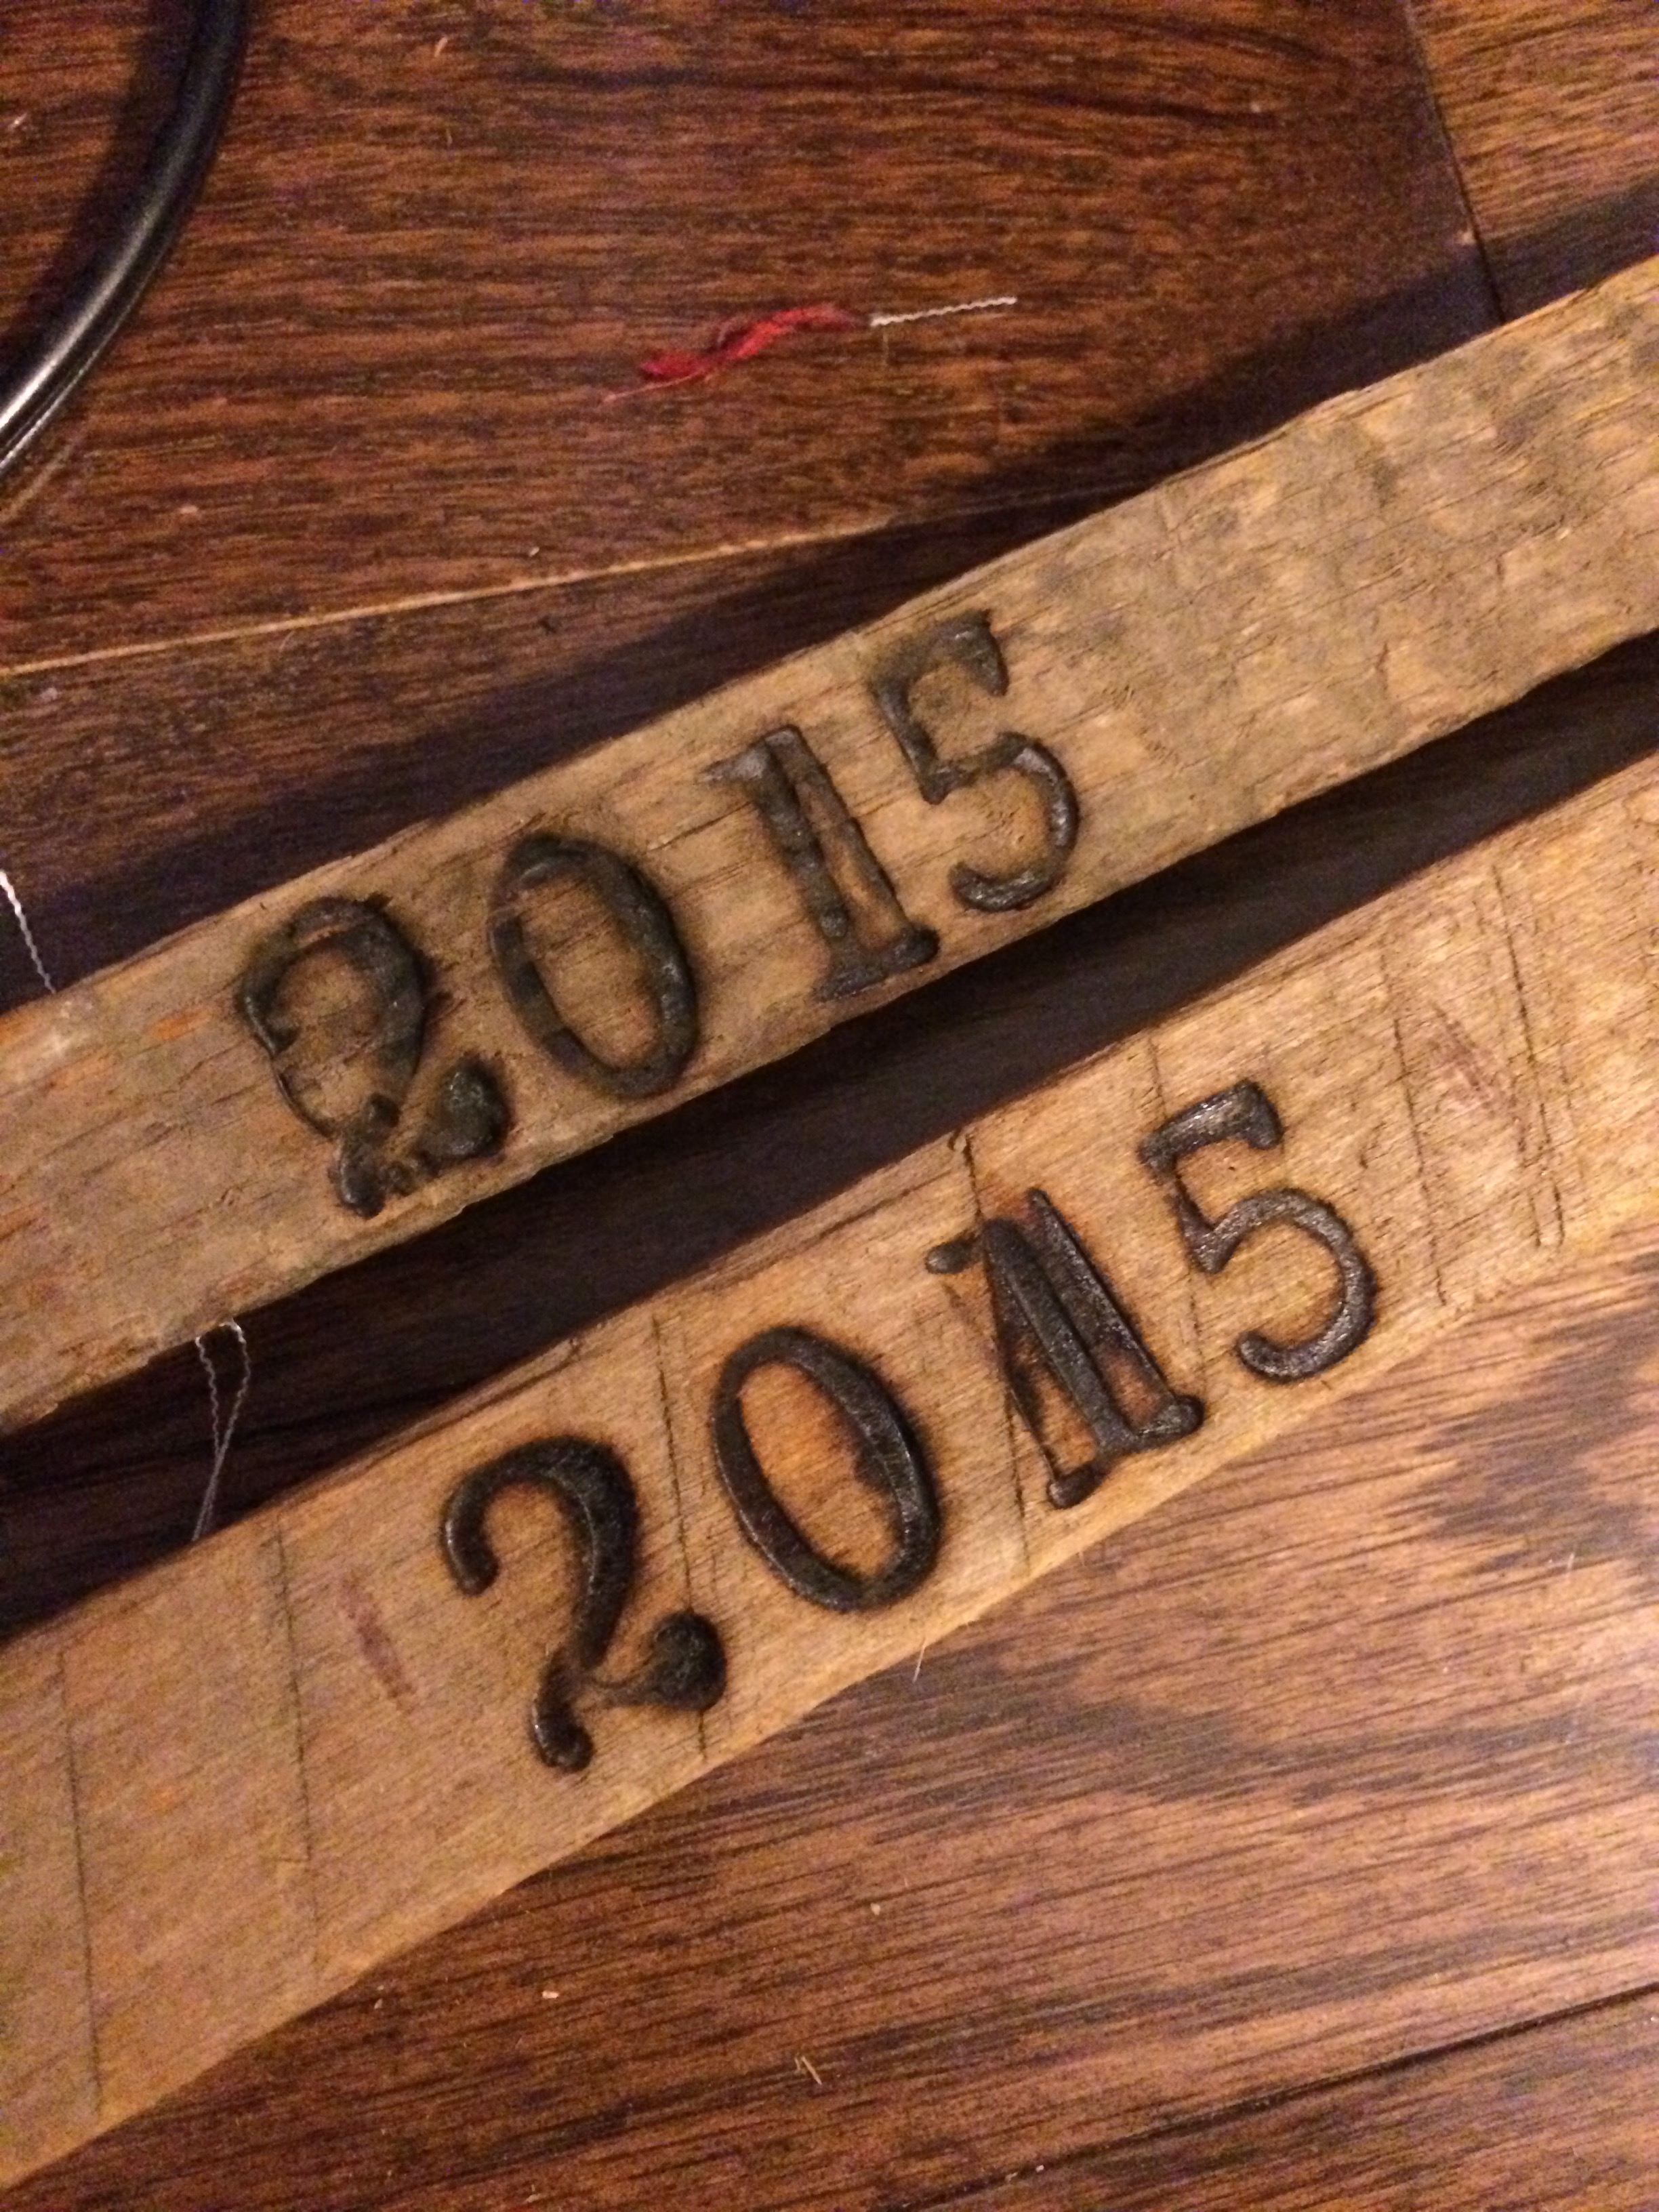
Step 6:
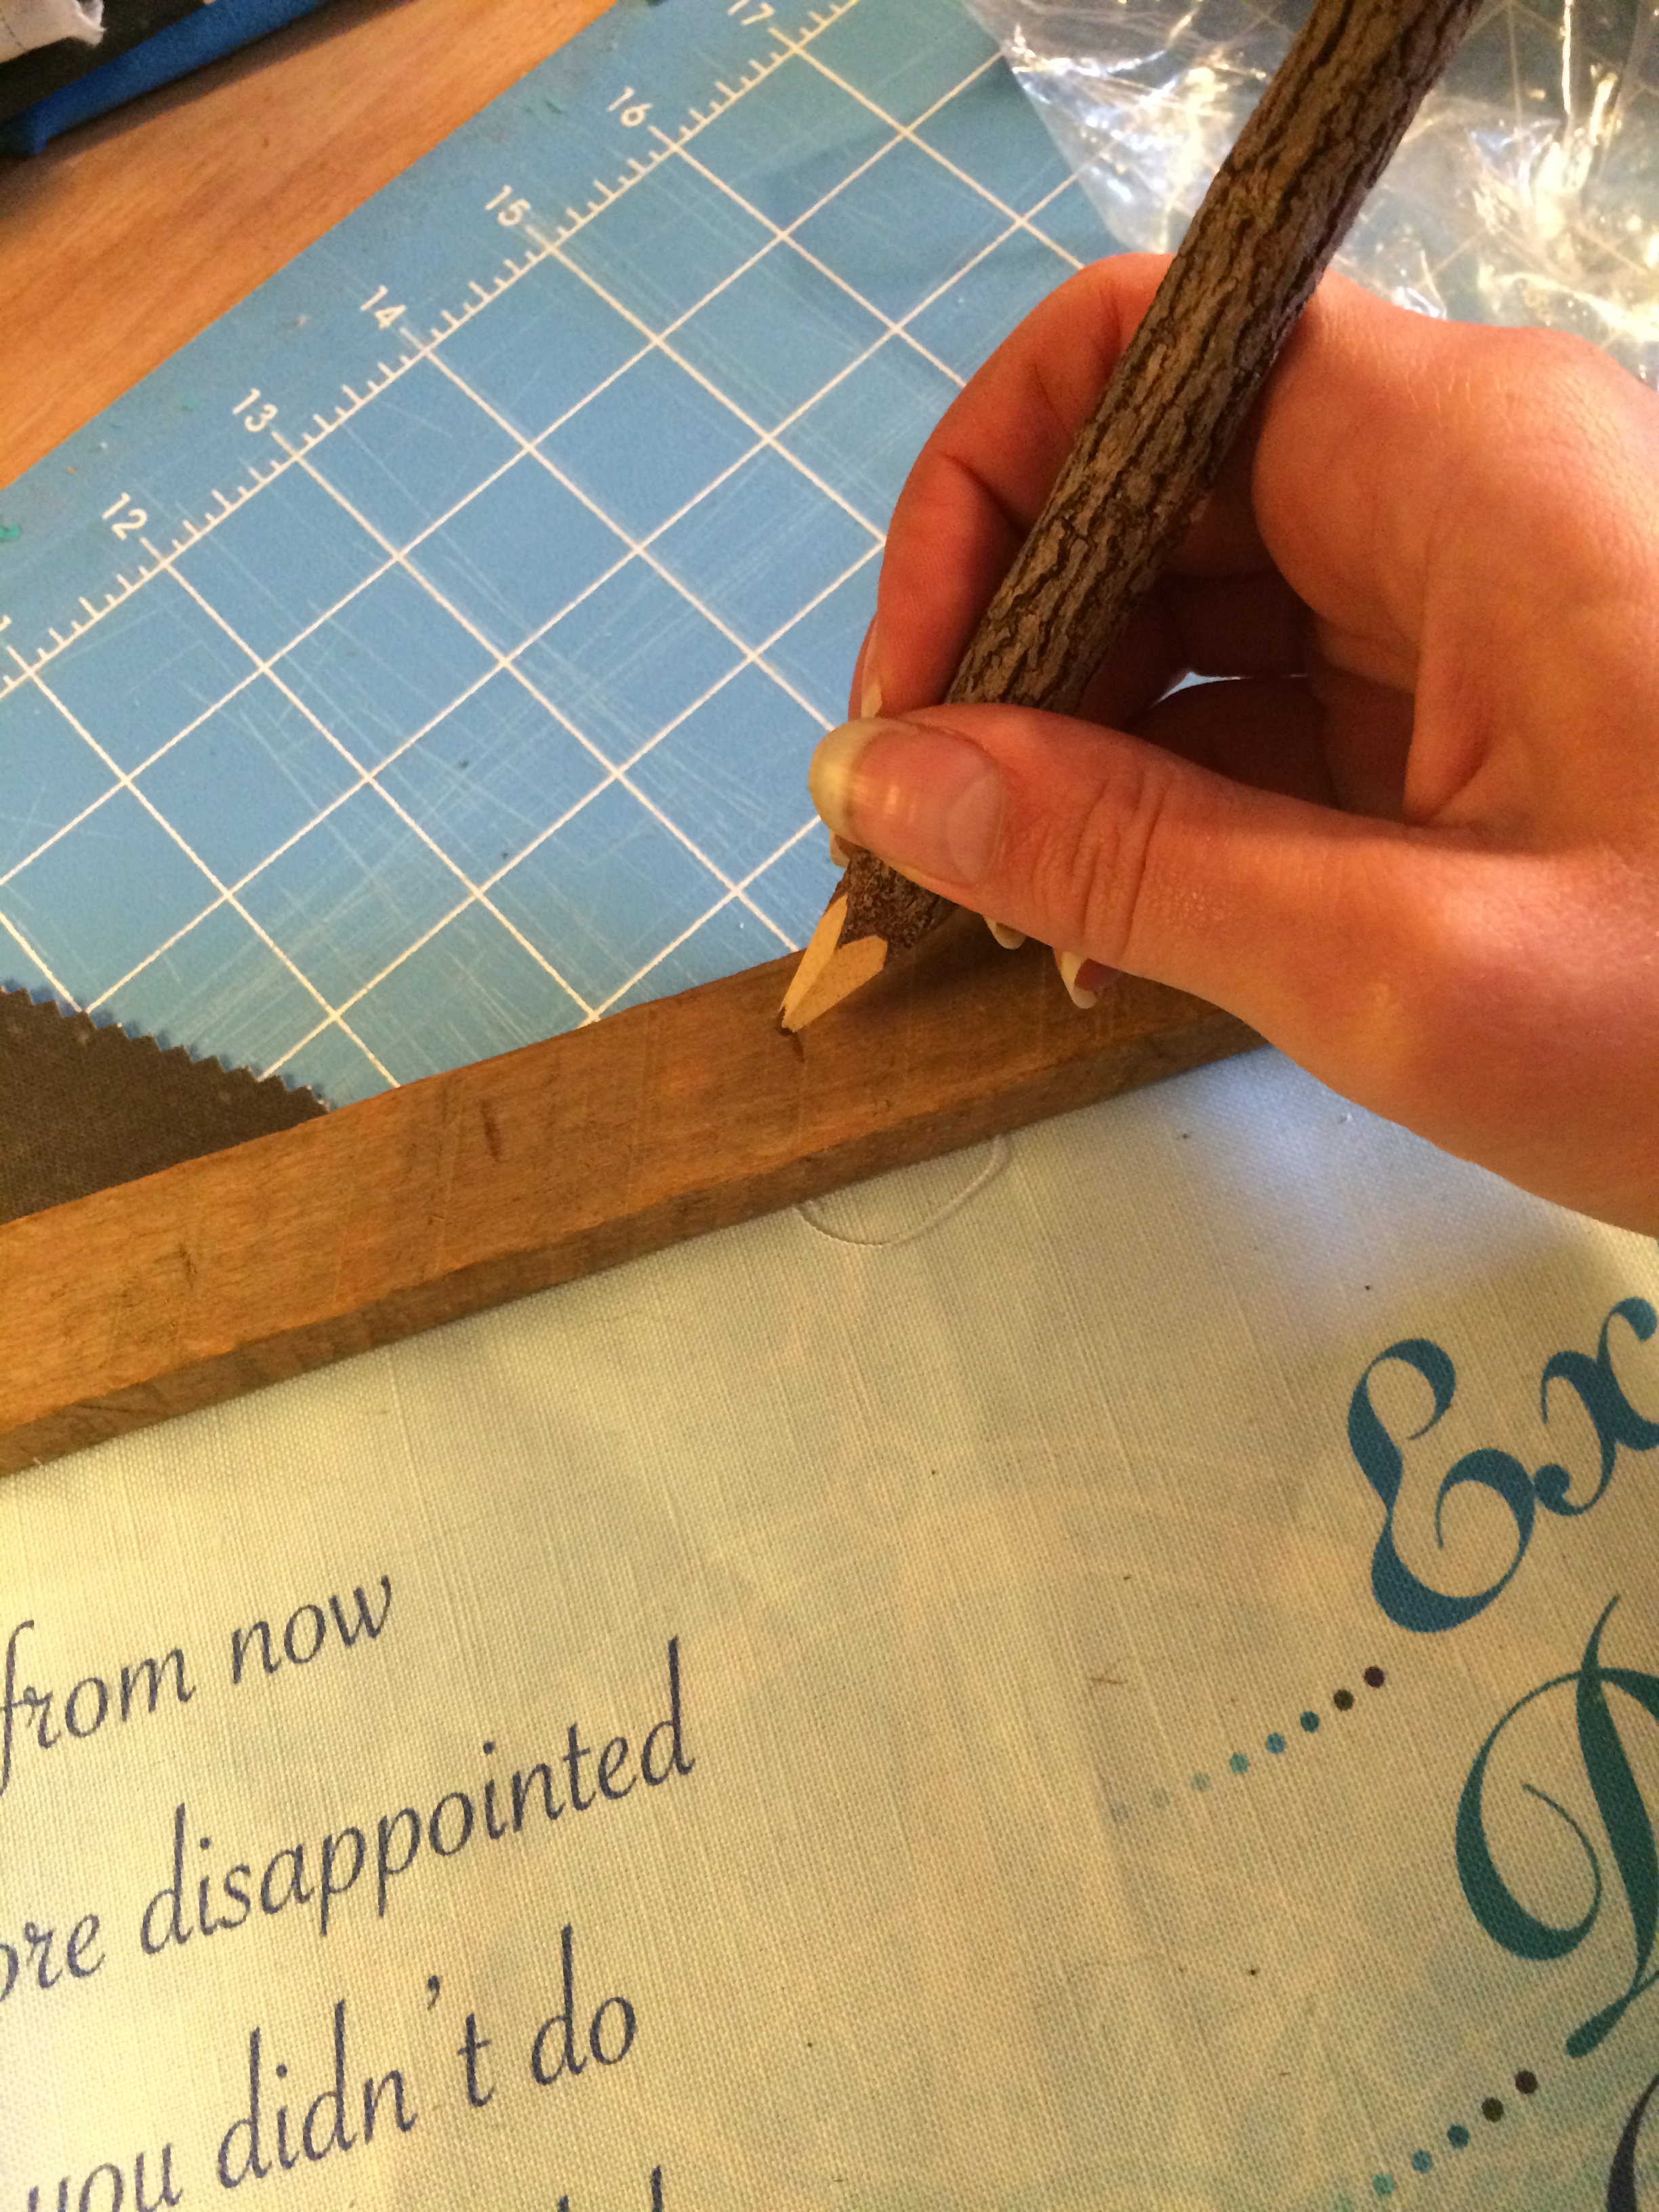
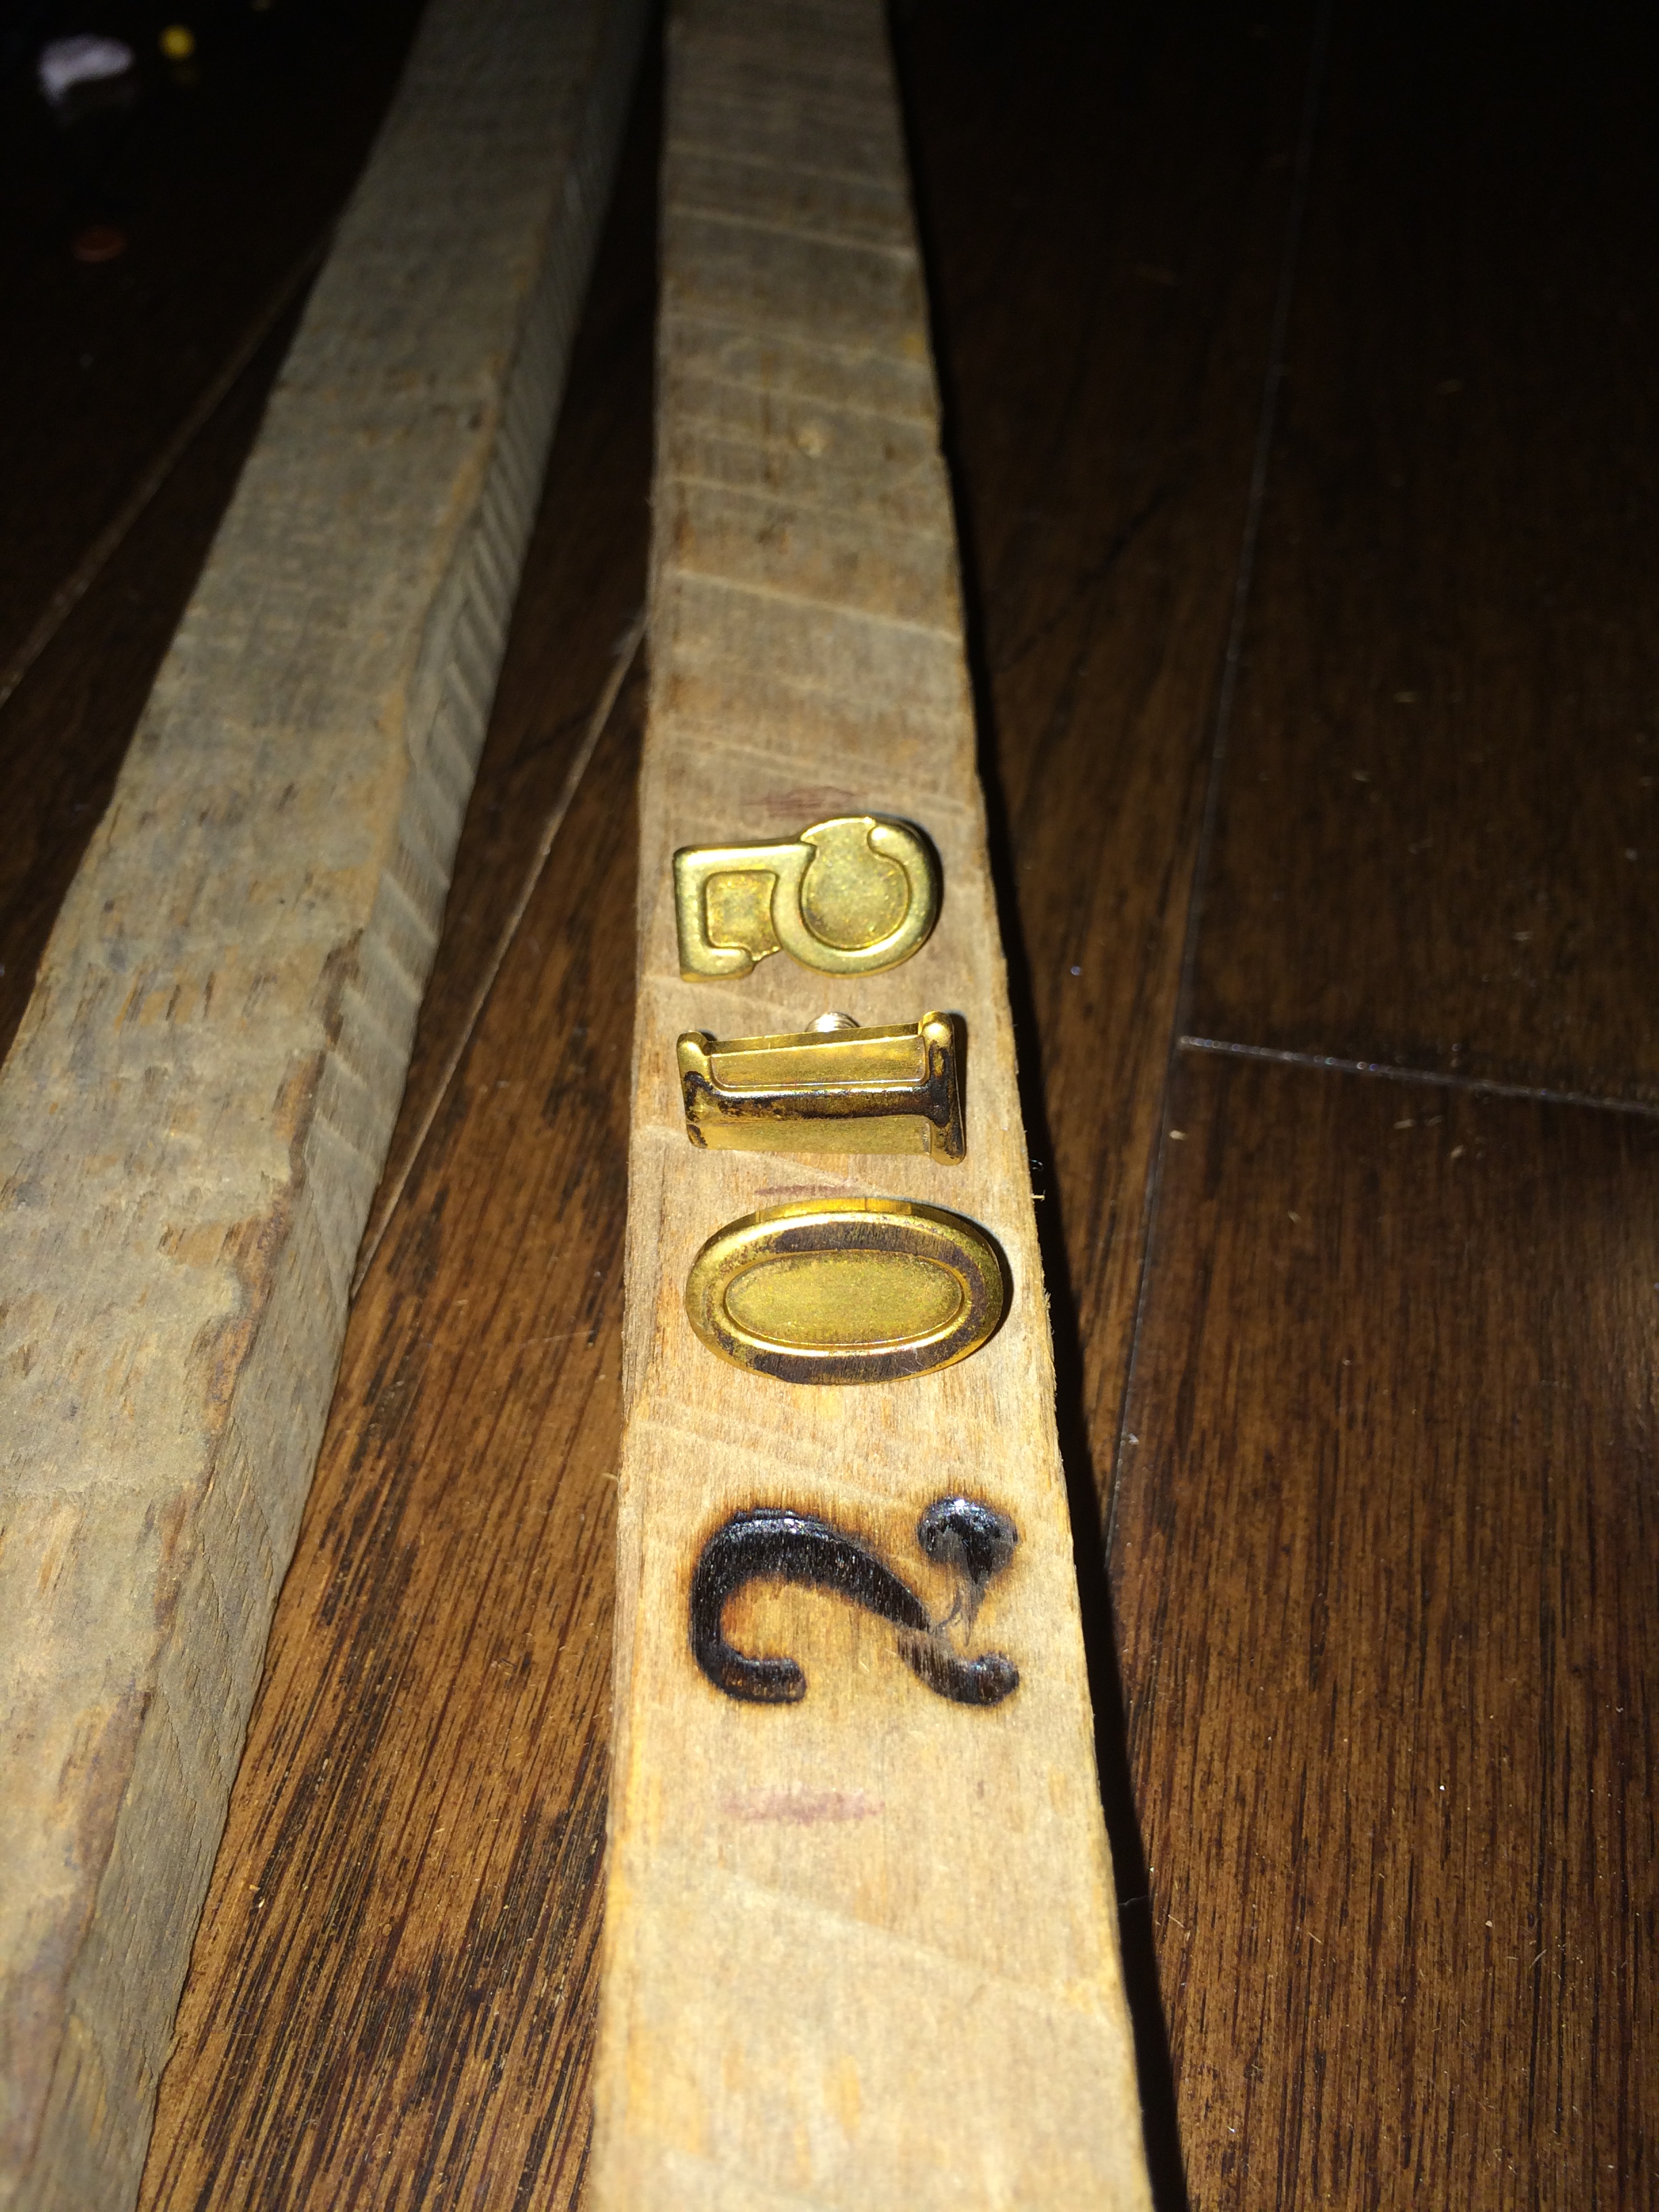
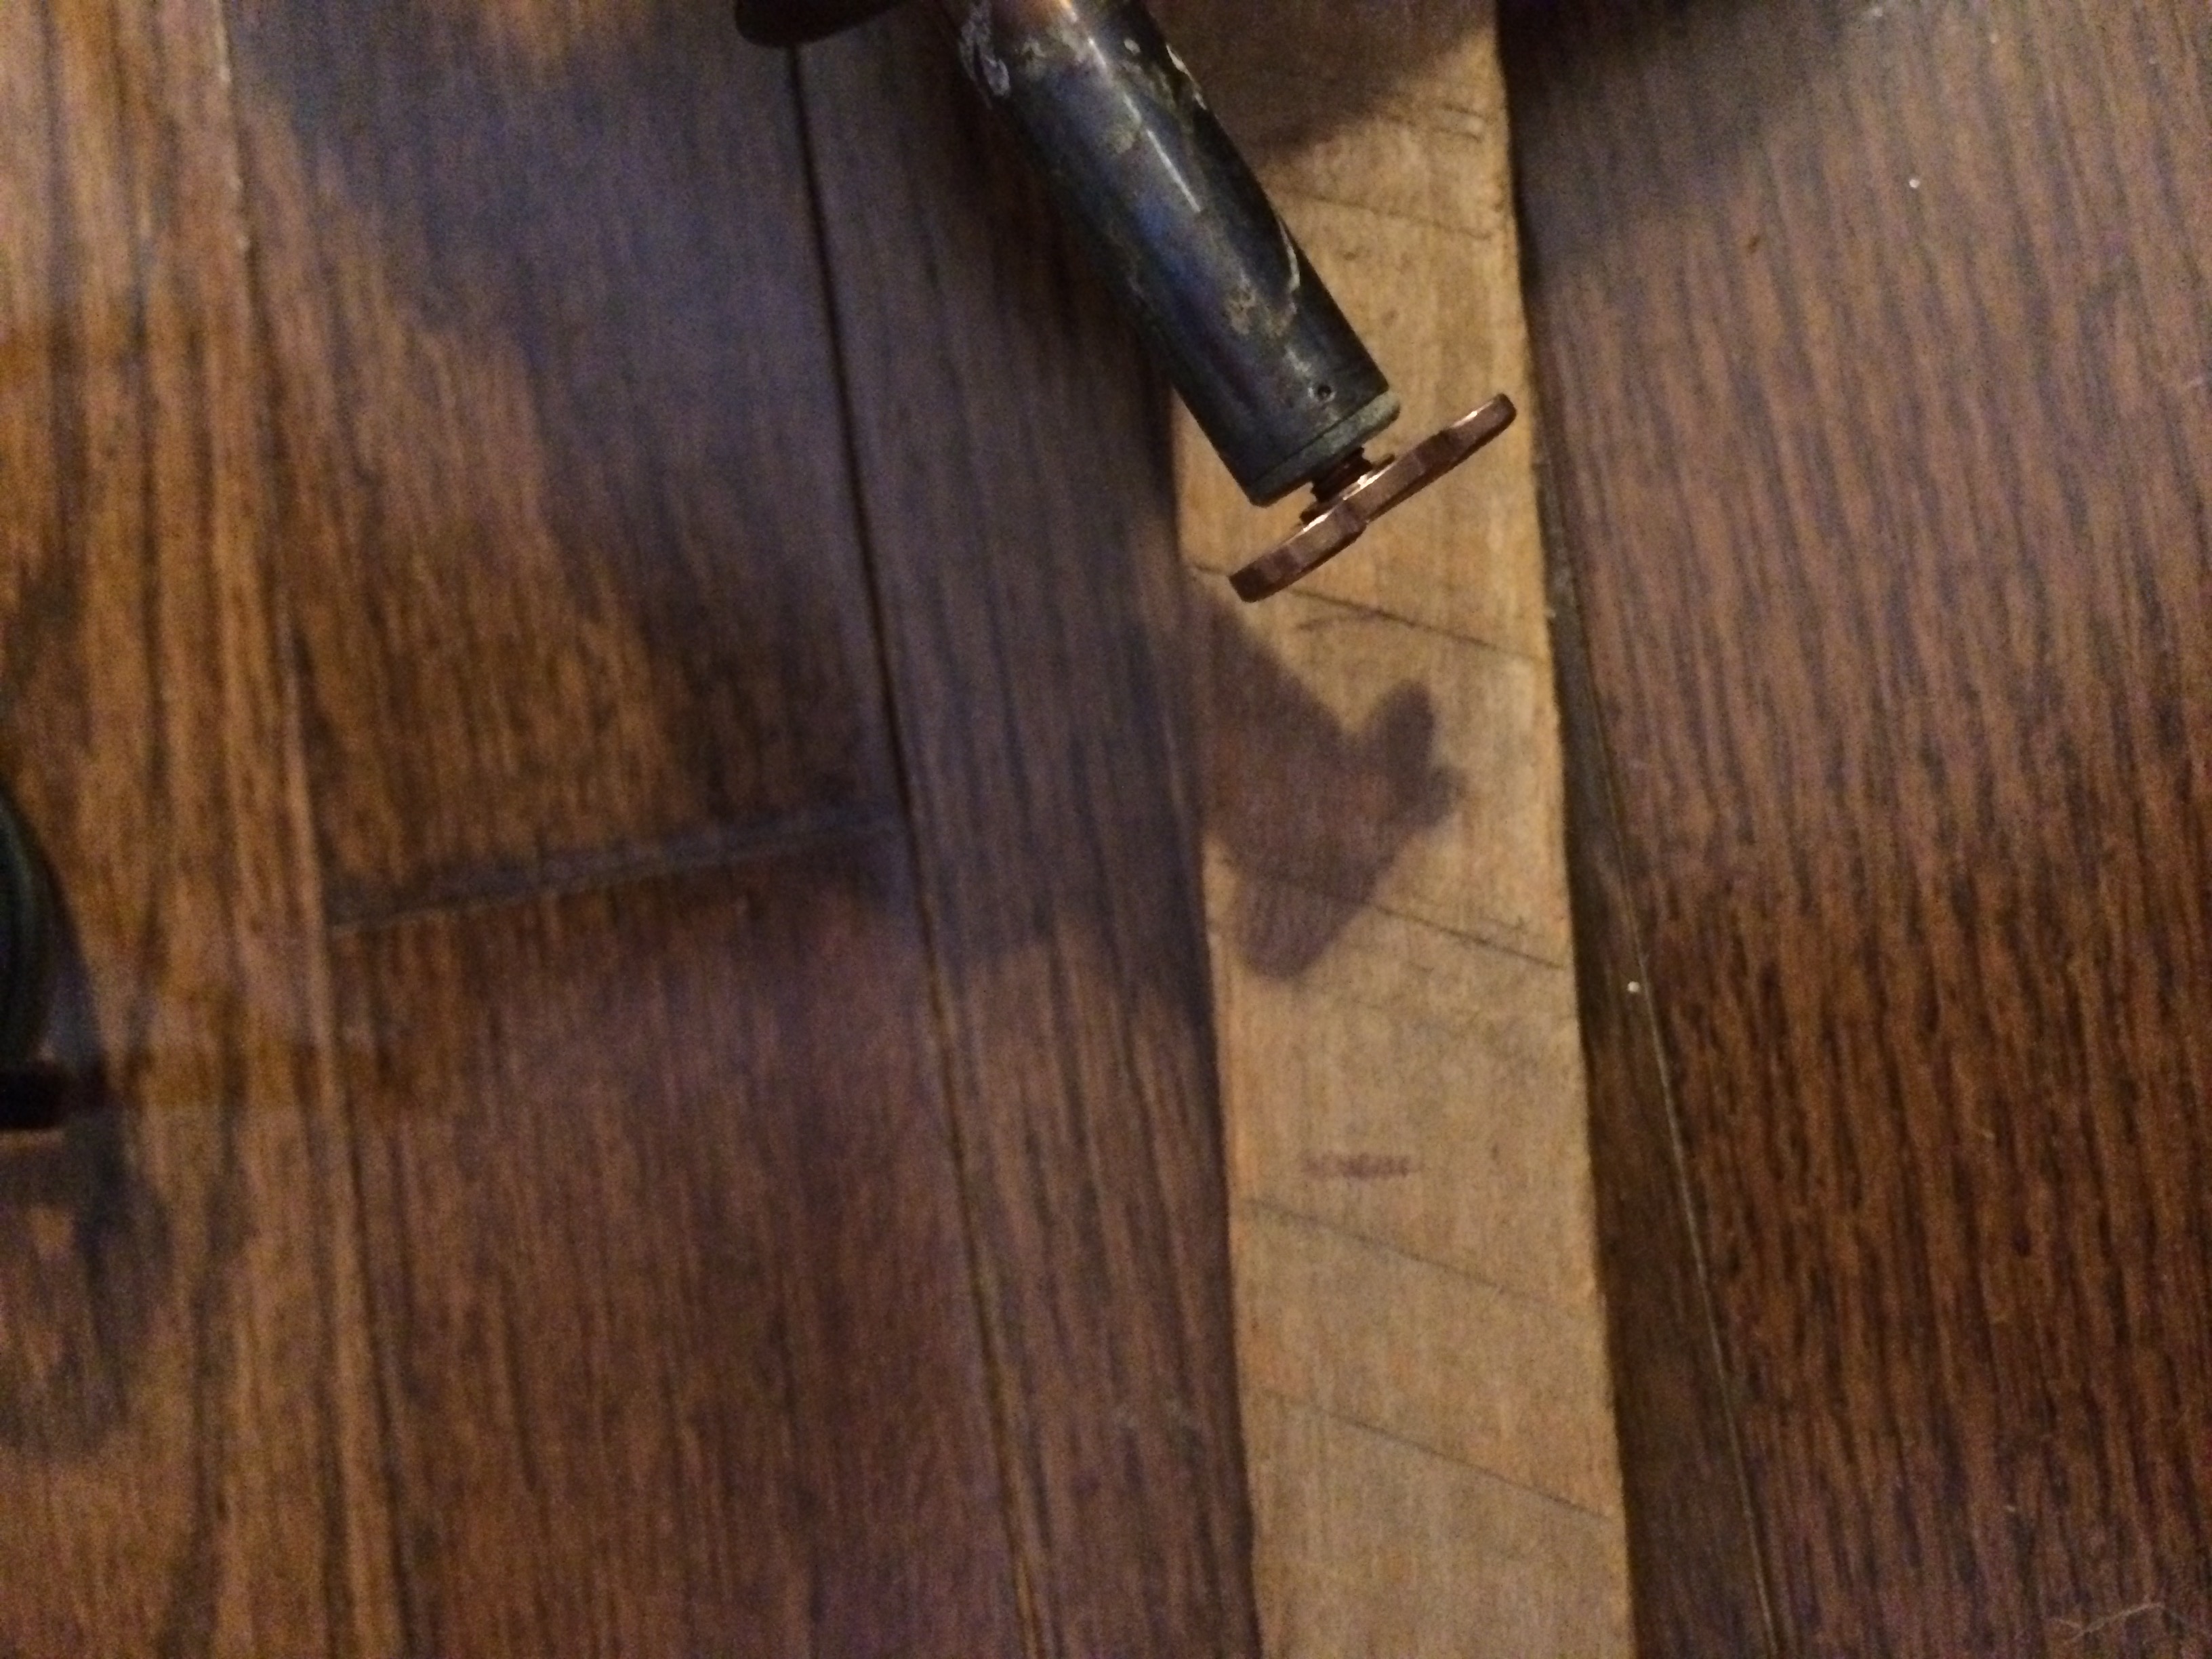
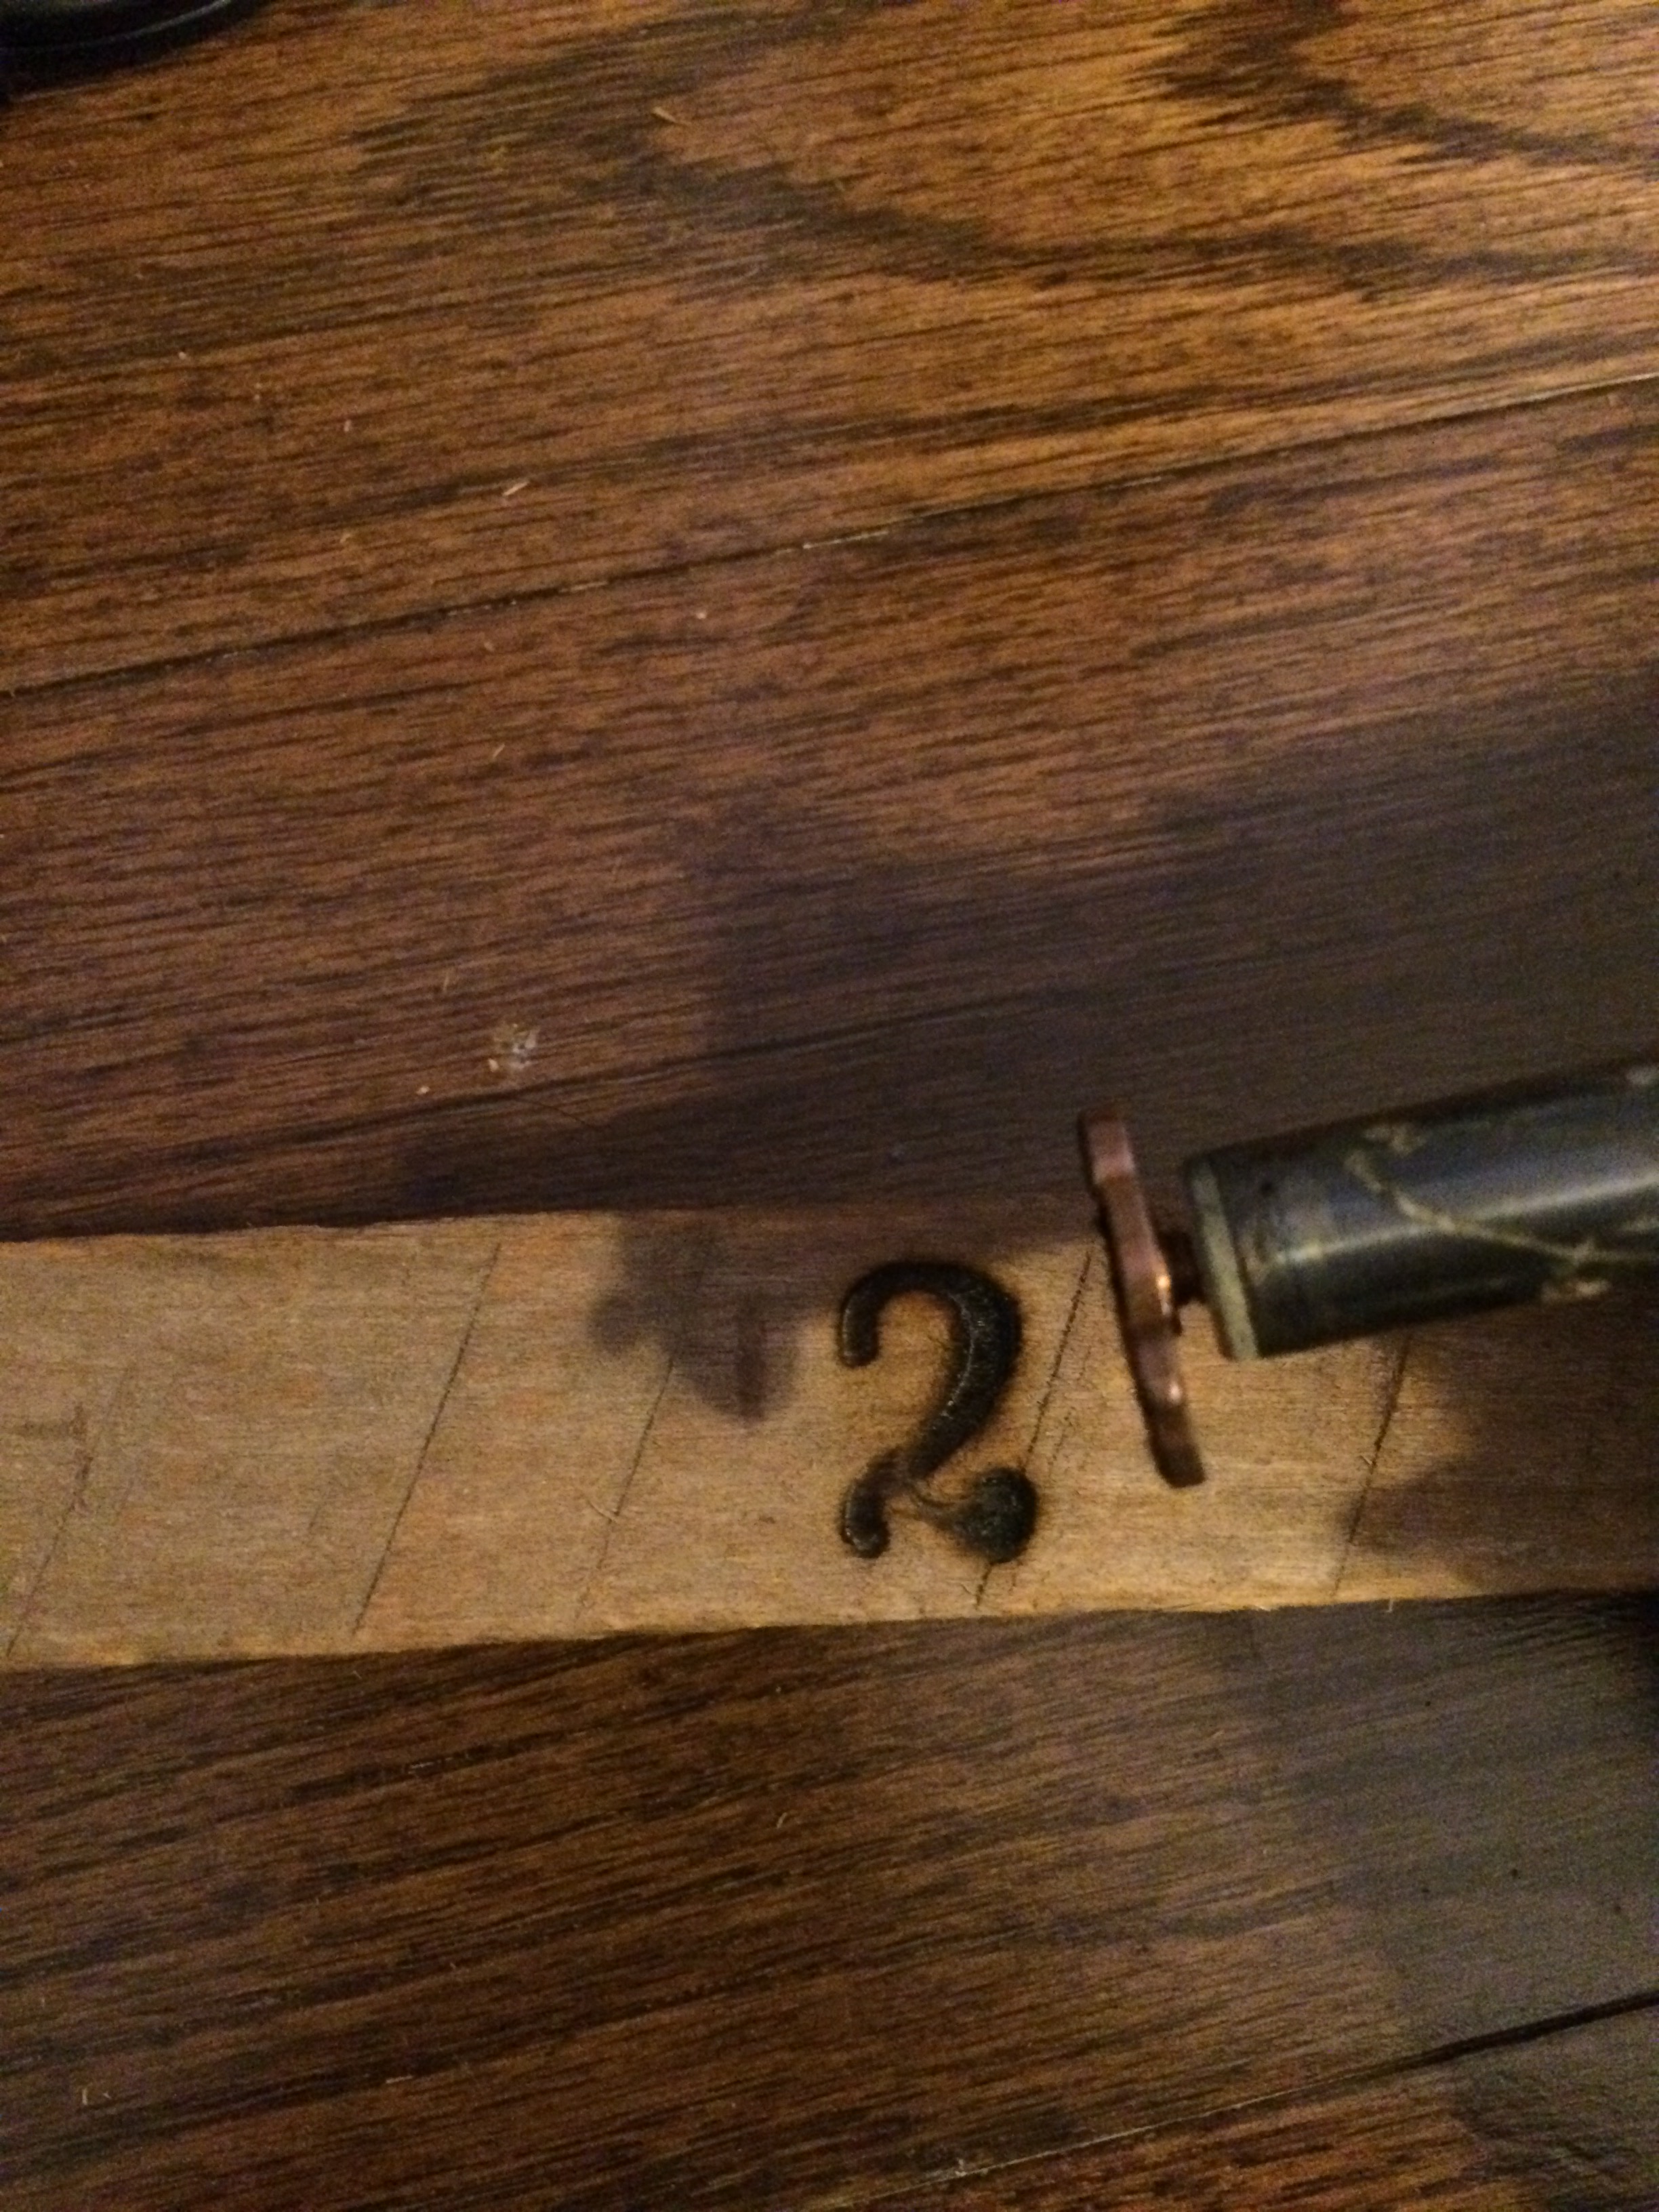
Time for some good ol’ fashioned wood burning! If you don’t have a wood burner, you can decorate it another way or leave it blank. To woodburn, find the center of your tobacco stick and burn “2015” into the wood. I’m impatient, so instead of waiting for the numbers to cool, I use plyers to take them off and put on the next ones.

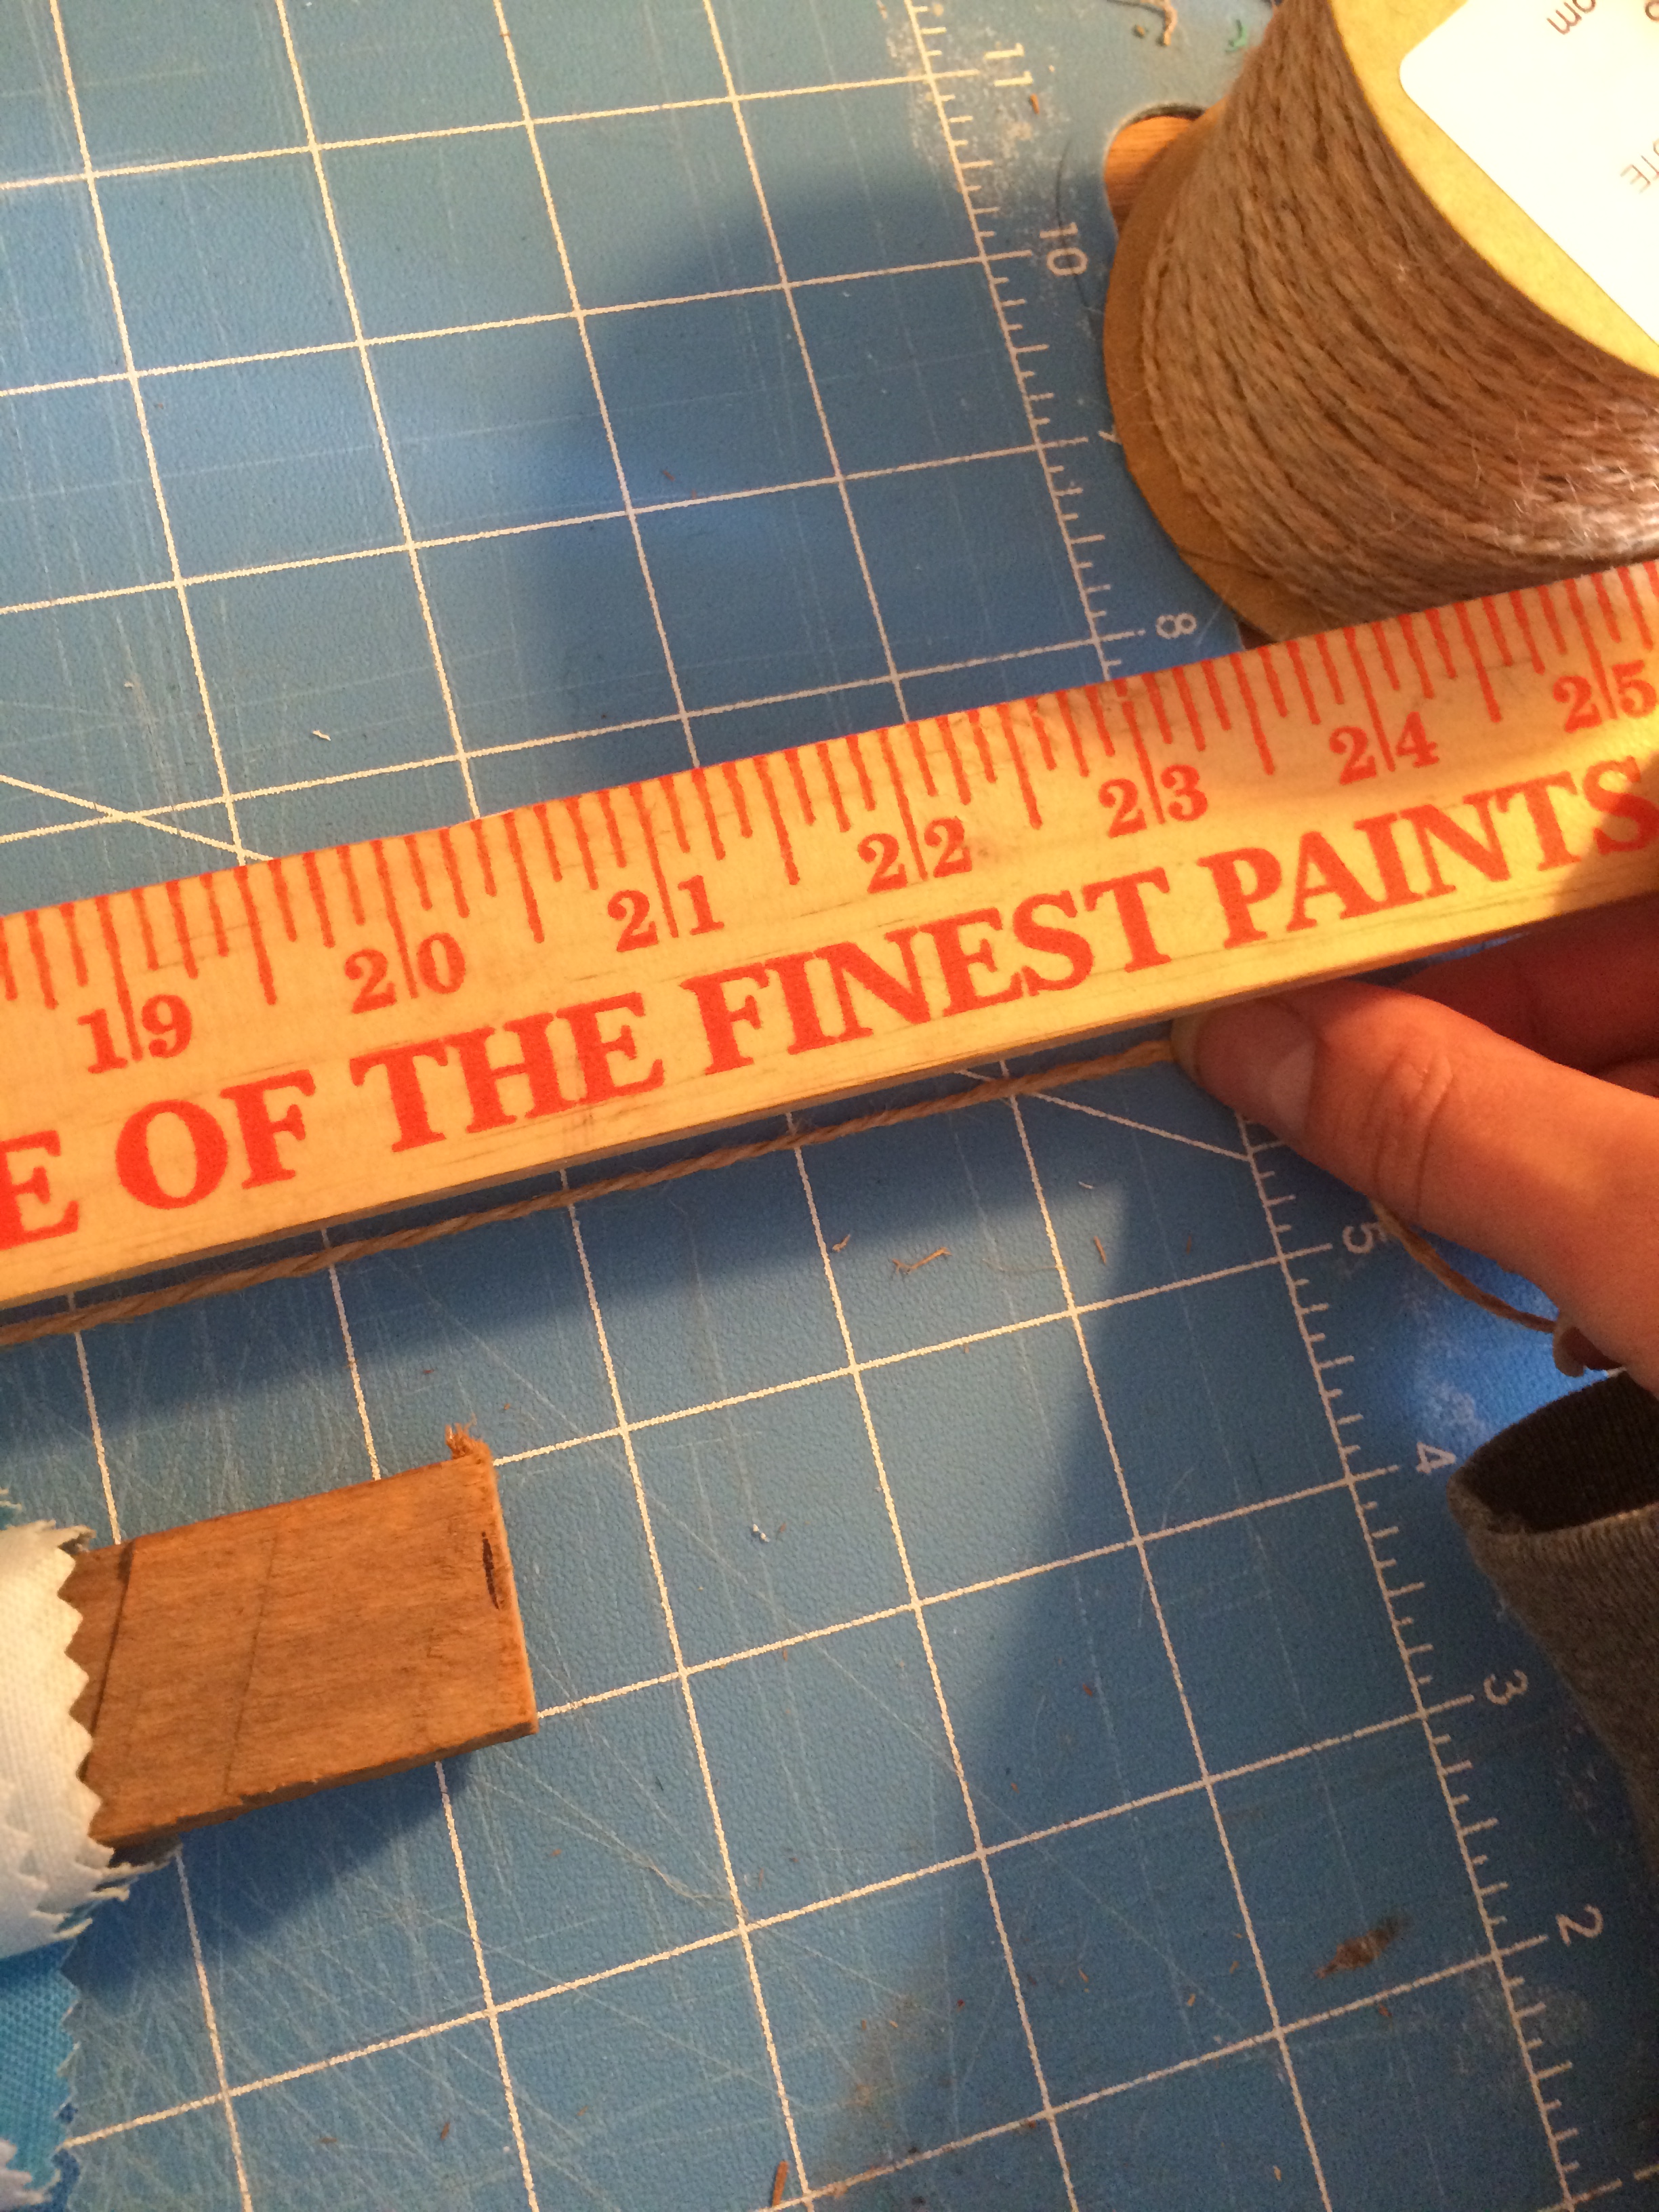
Step 7:
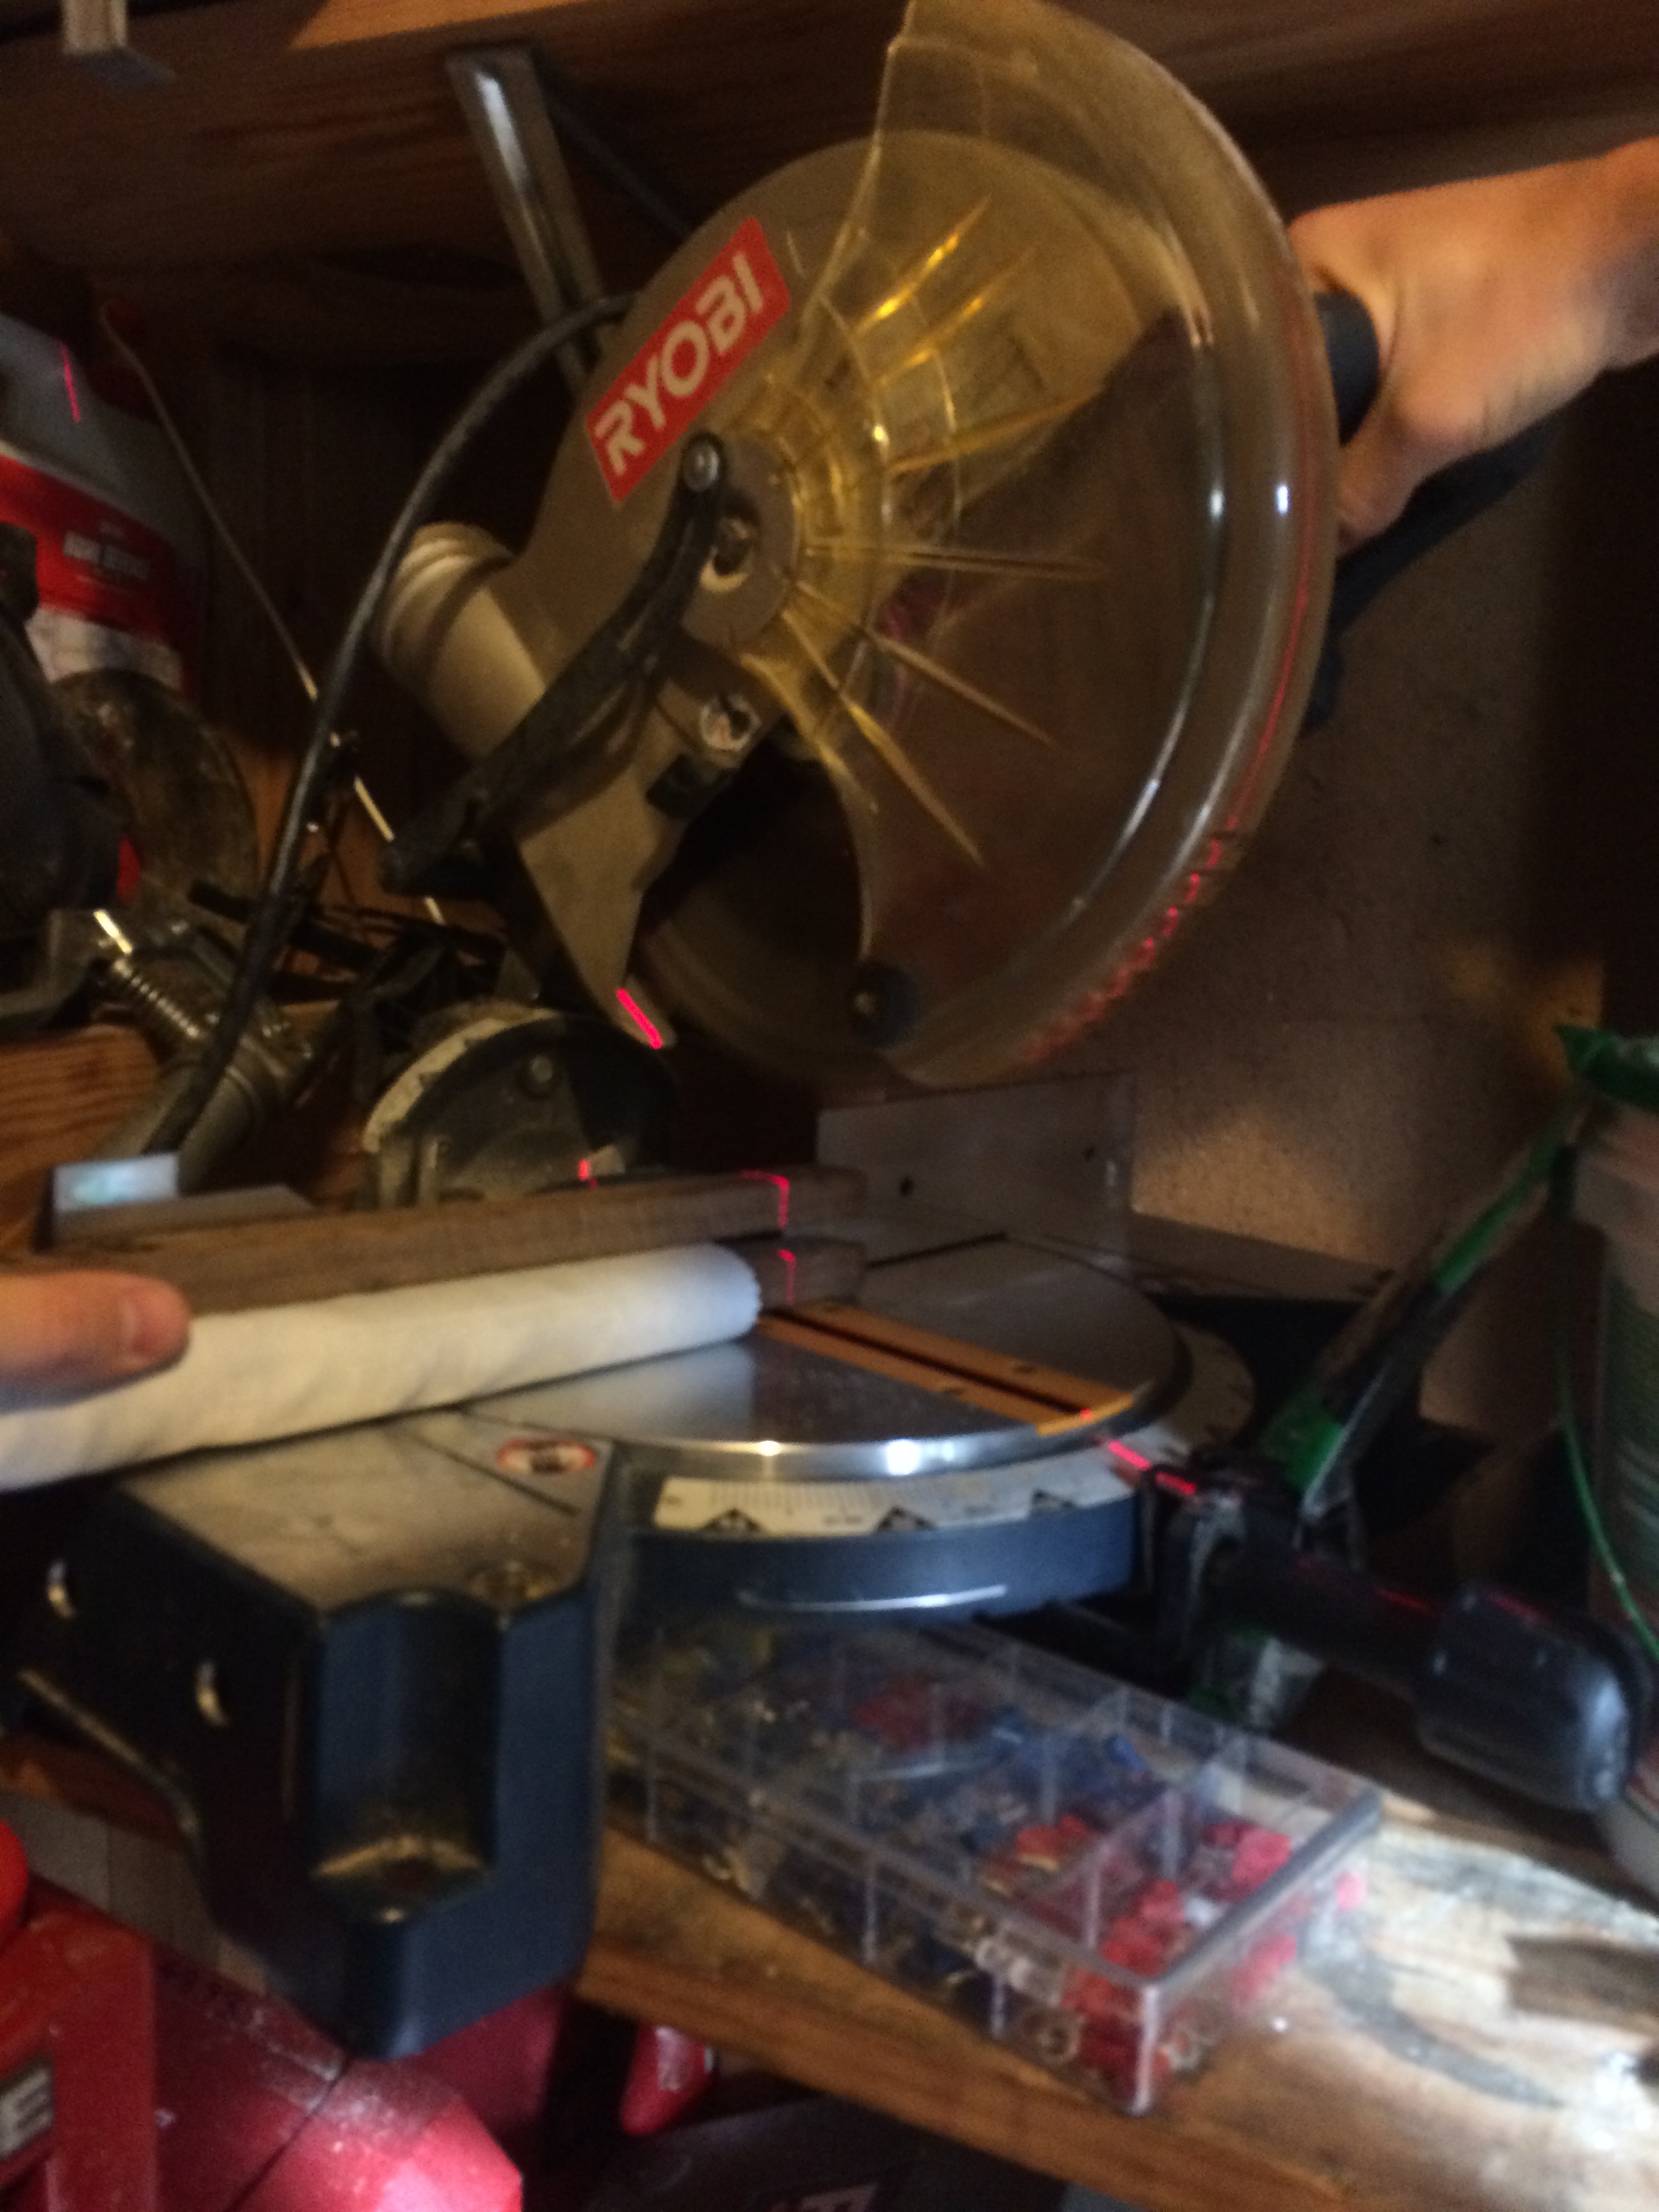
At this step, I decided that my tobacco sticks were too long and that I wanted to trim them down. Next time, I’ll do this step first. I decided to cut 1.5” off each end with the miter saw. You can always use a handsaw if you don’t do power tools! The tobacco stick ends up being about 20” long.

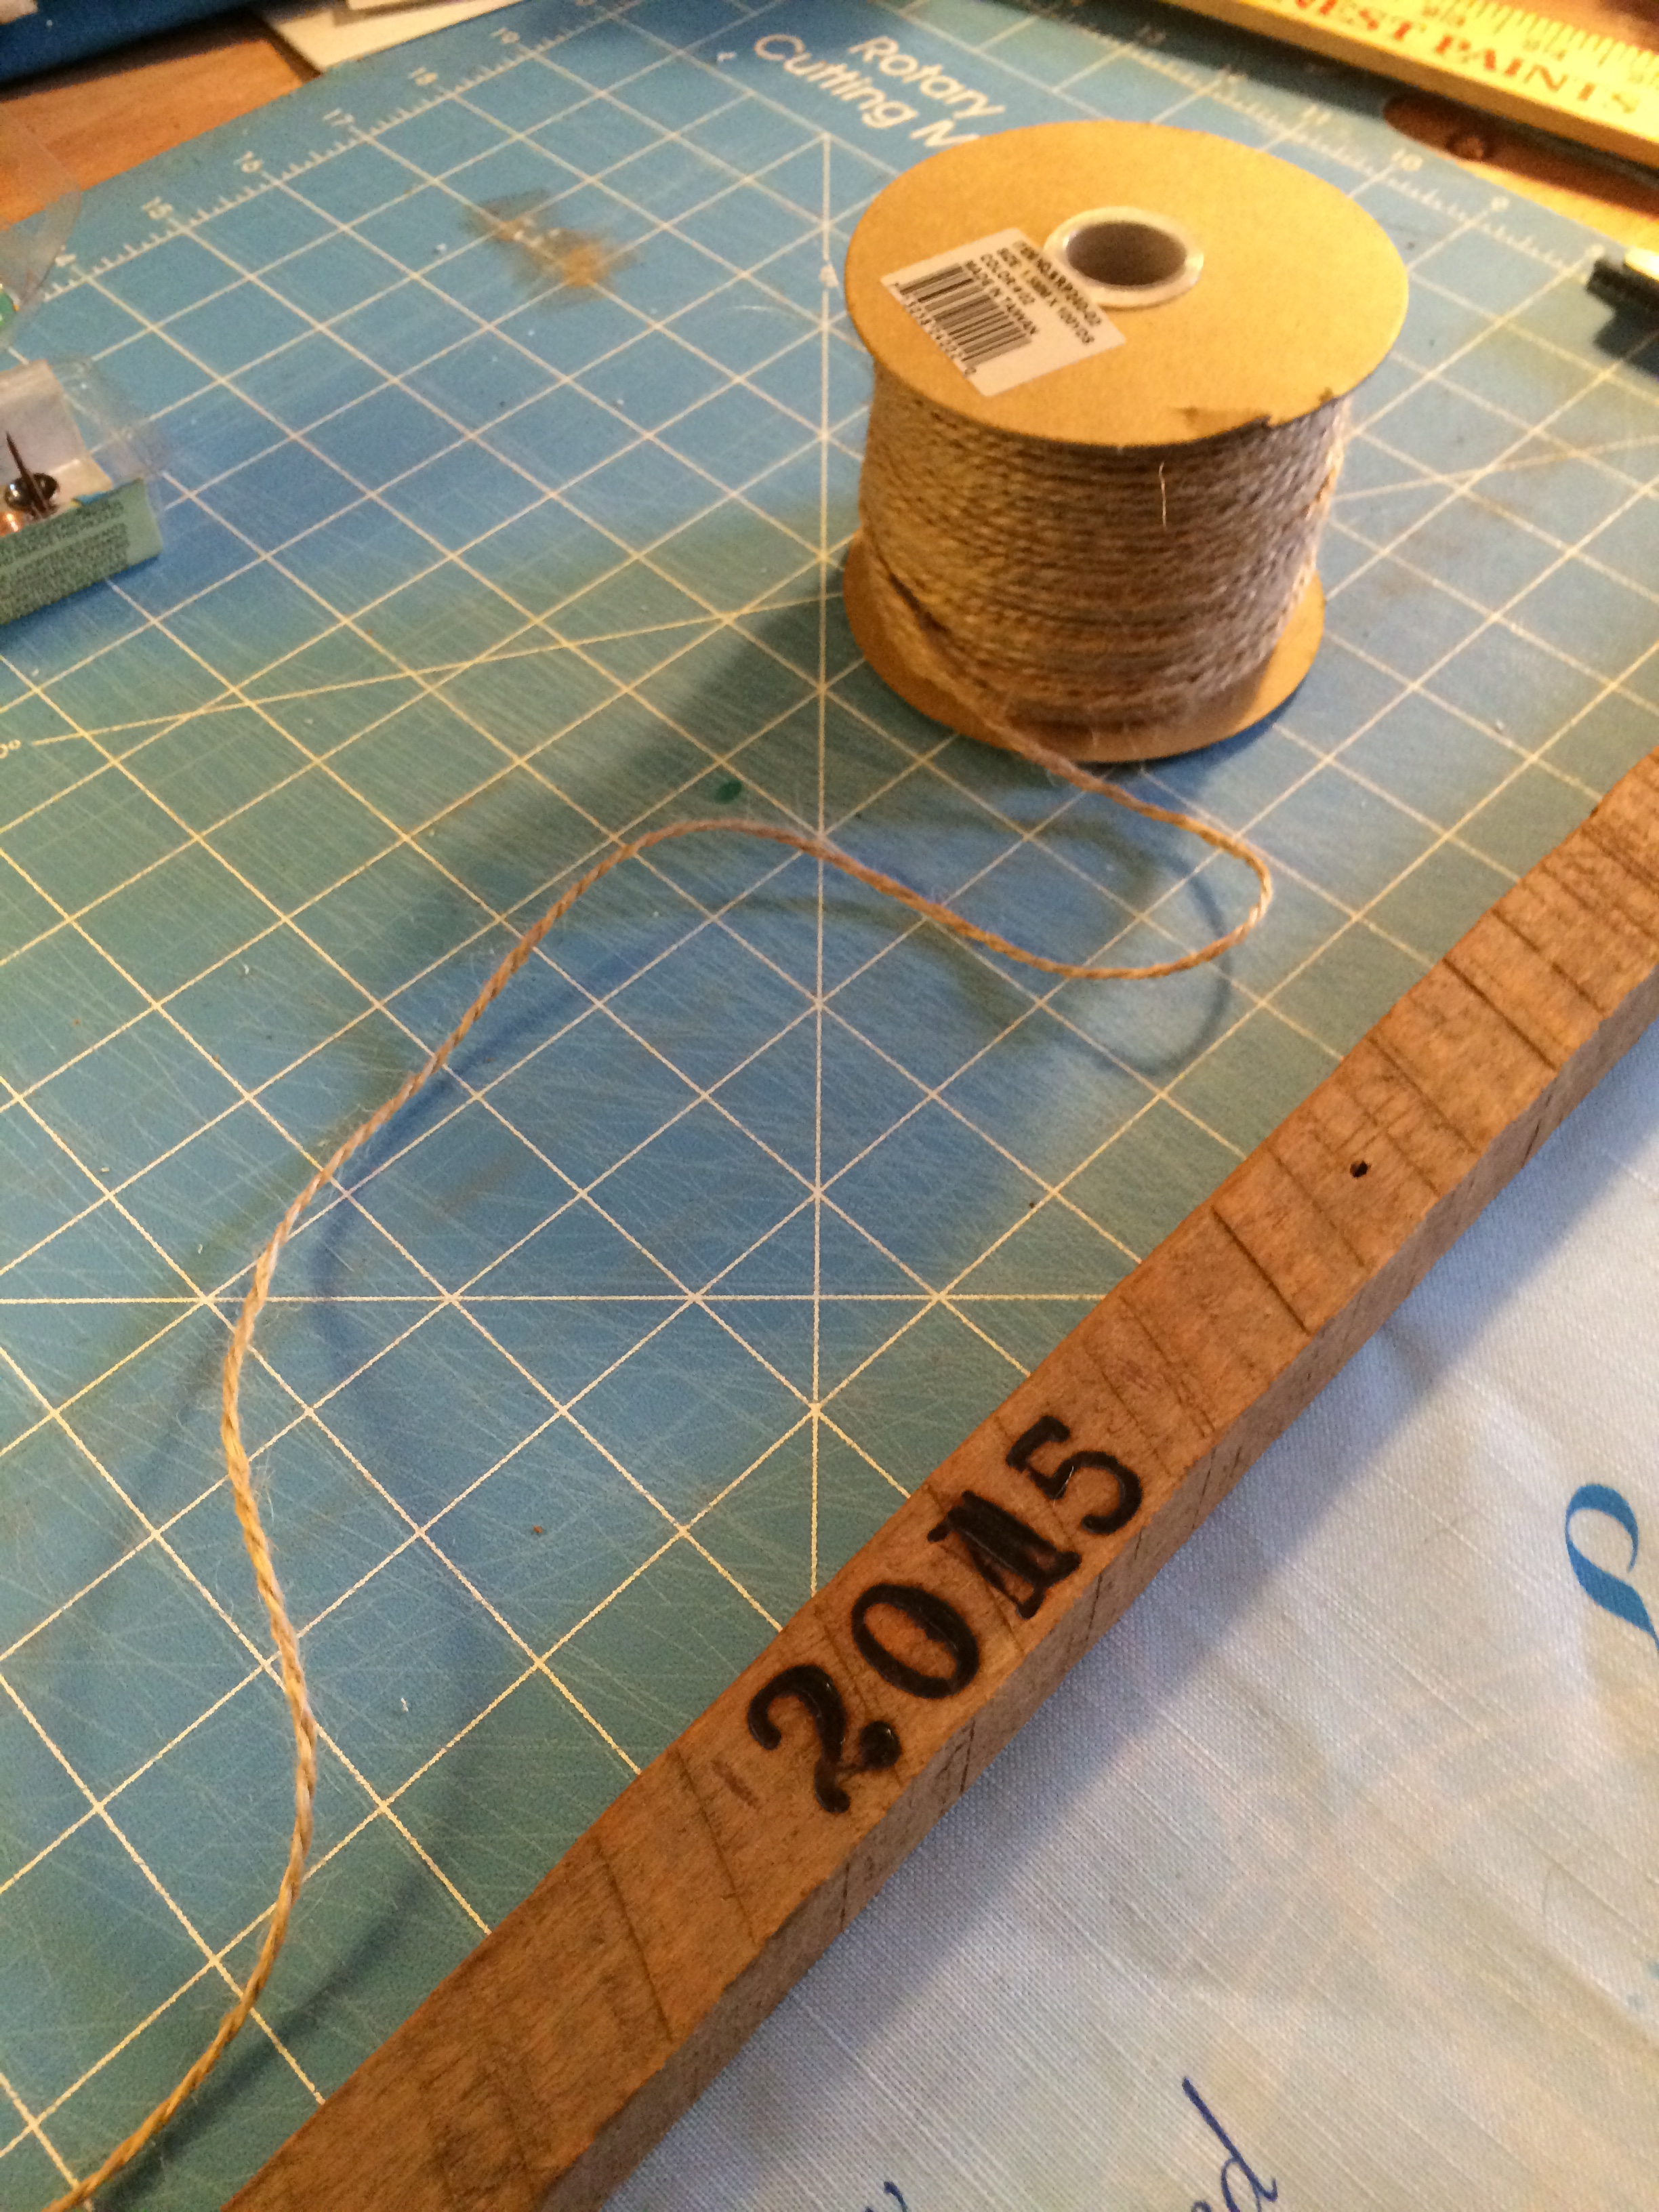
Step 8:
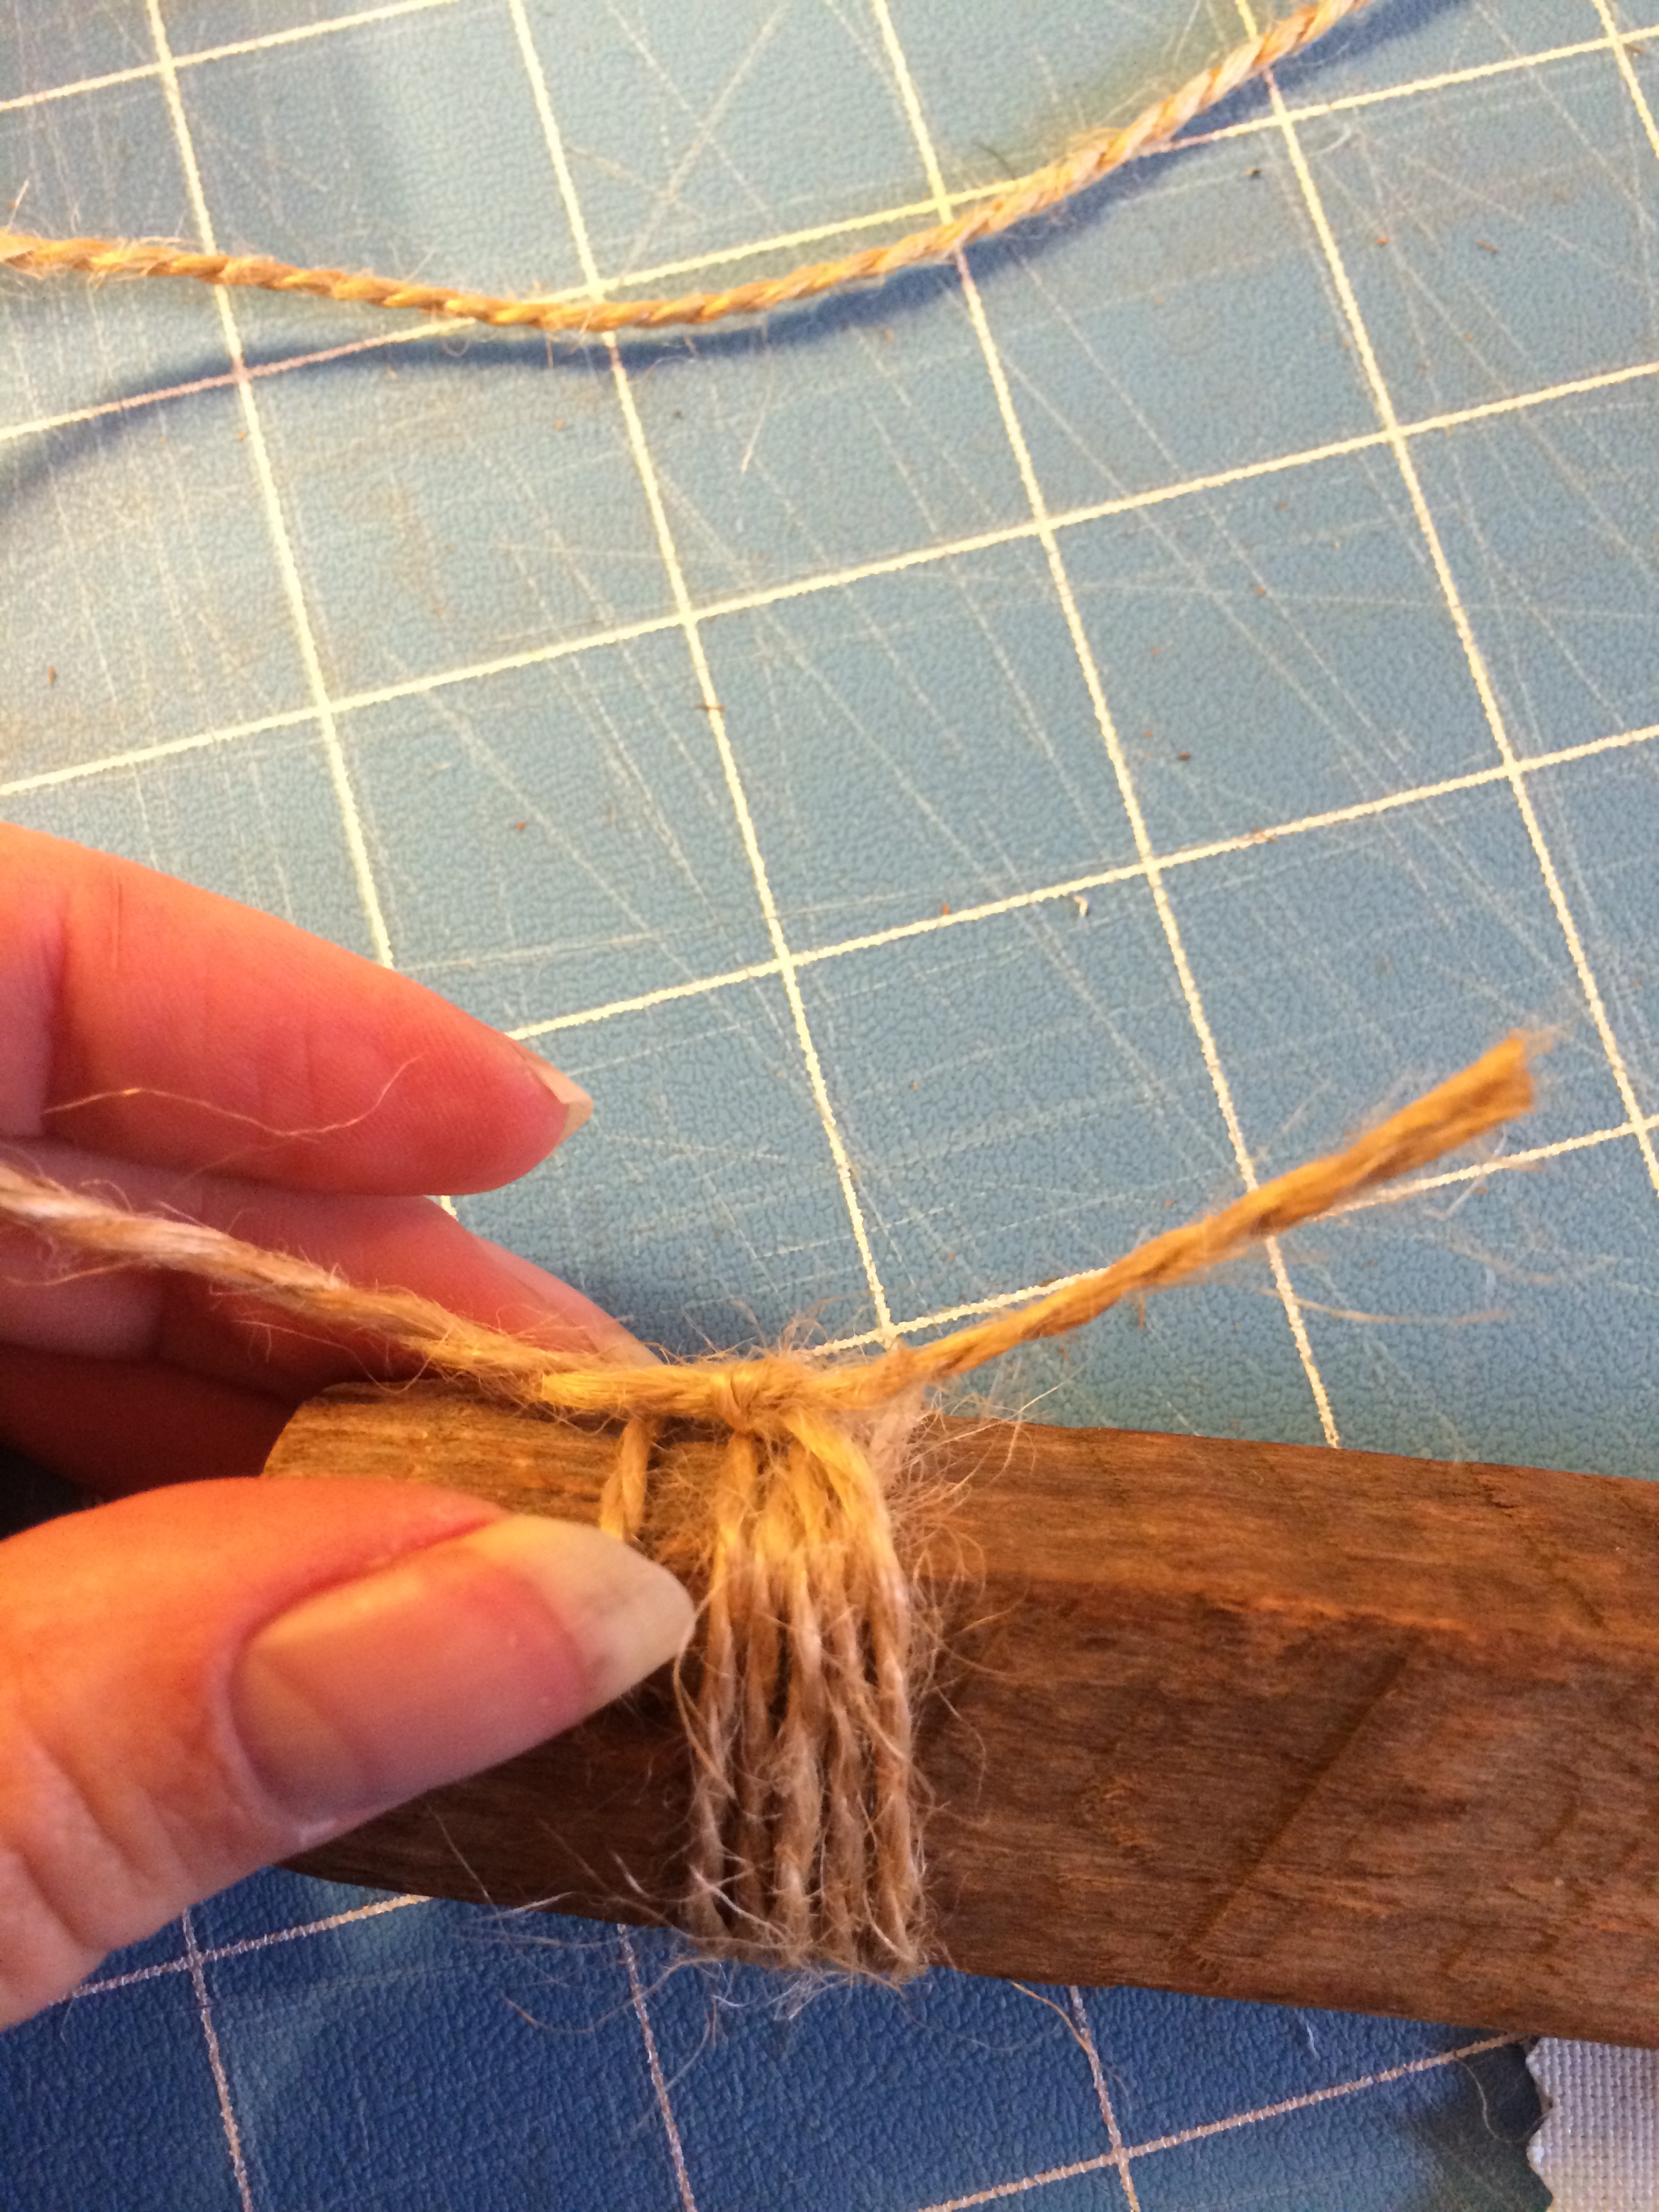
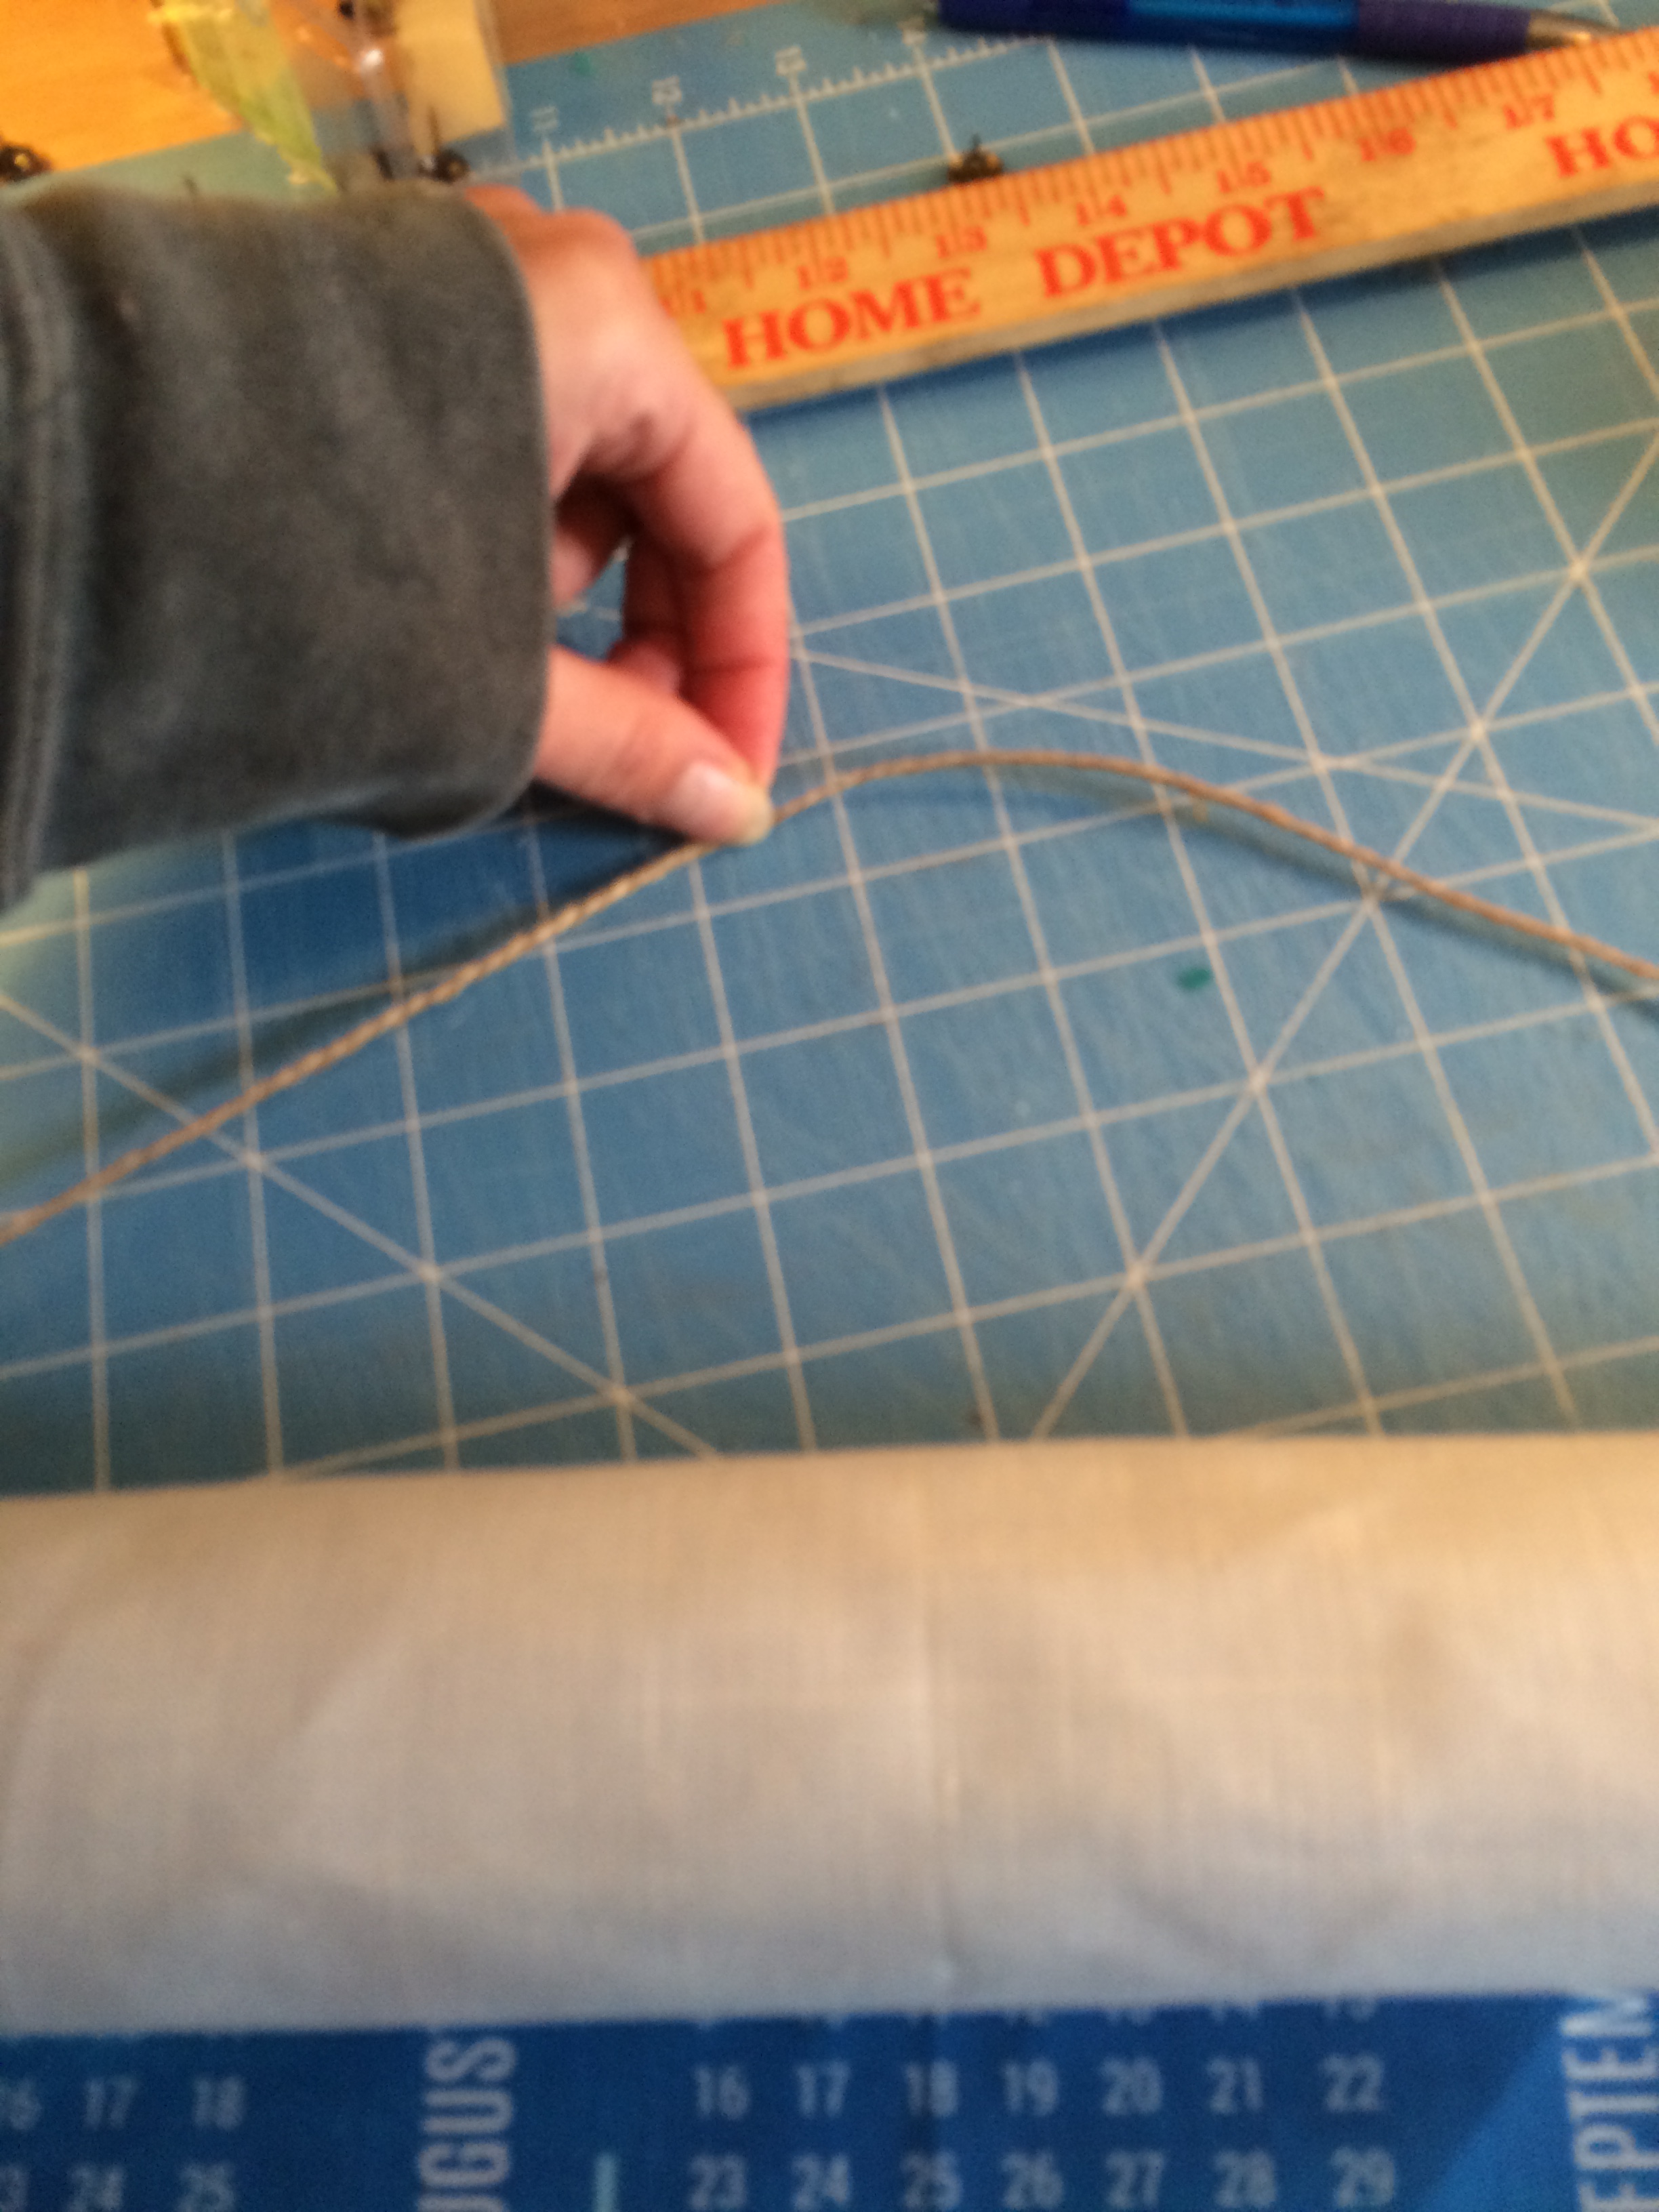
Time for twine! I used twine on these because I love the rustic look of it! I wrapped the twine around the tobacco stick about 5 times and knotted it. Then I pulled the spool of twine over to the right side of the calendar, making sure the twine was slack and left enough room for hanging and repeated the knot on the right side and then cut the line.

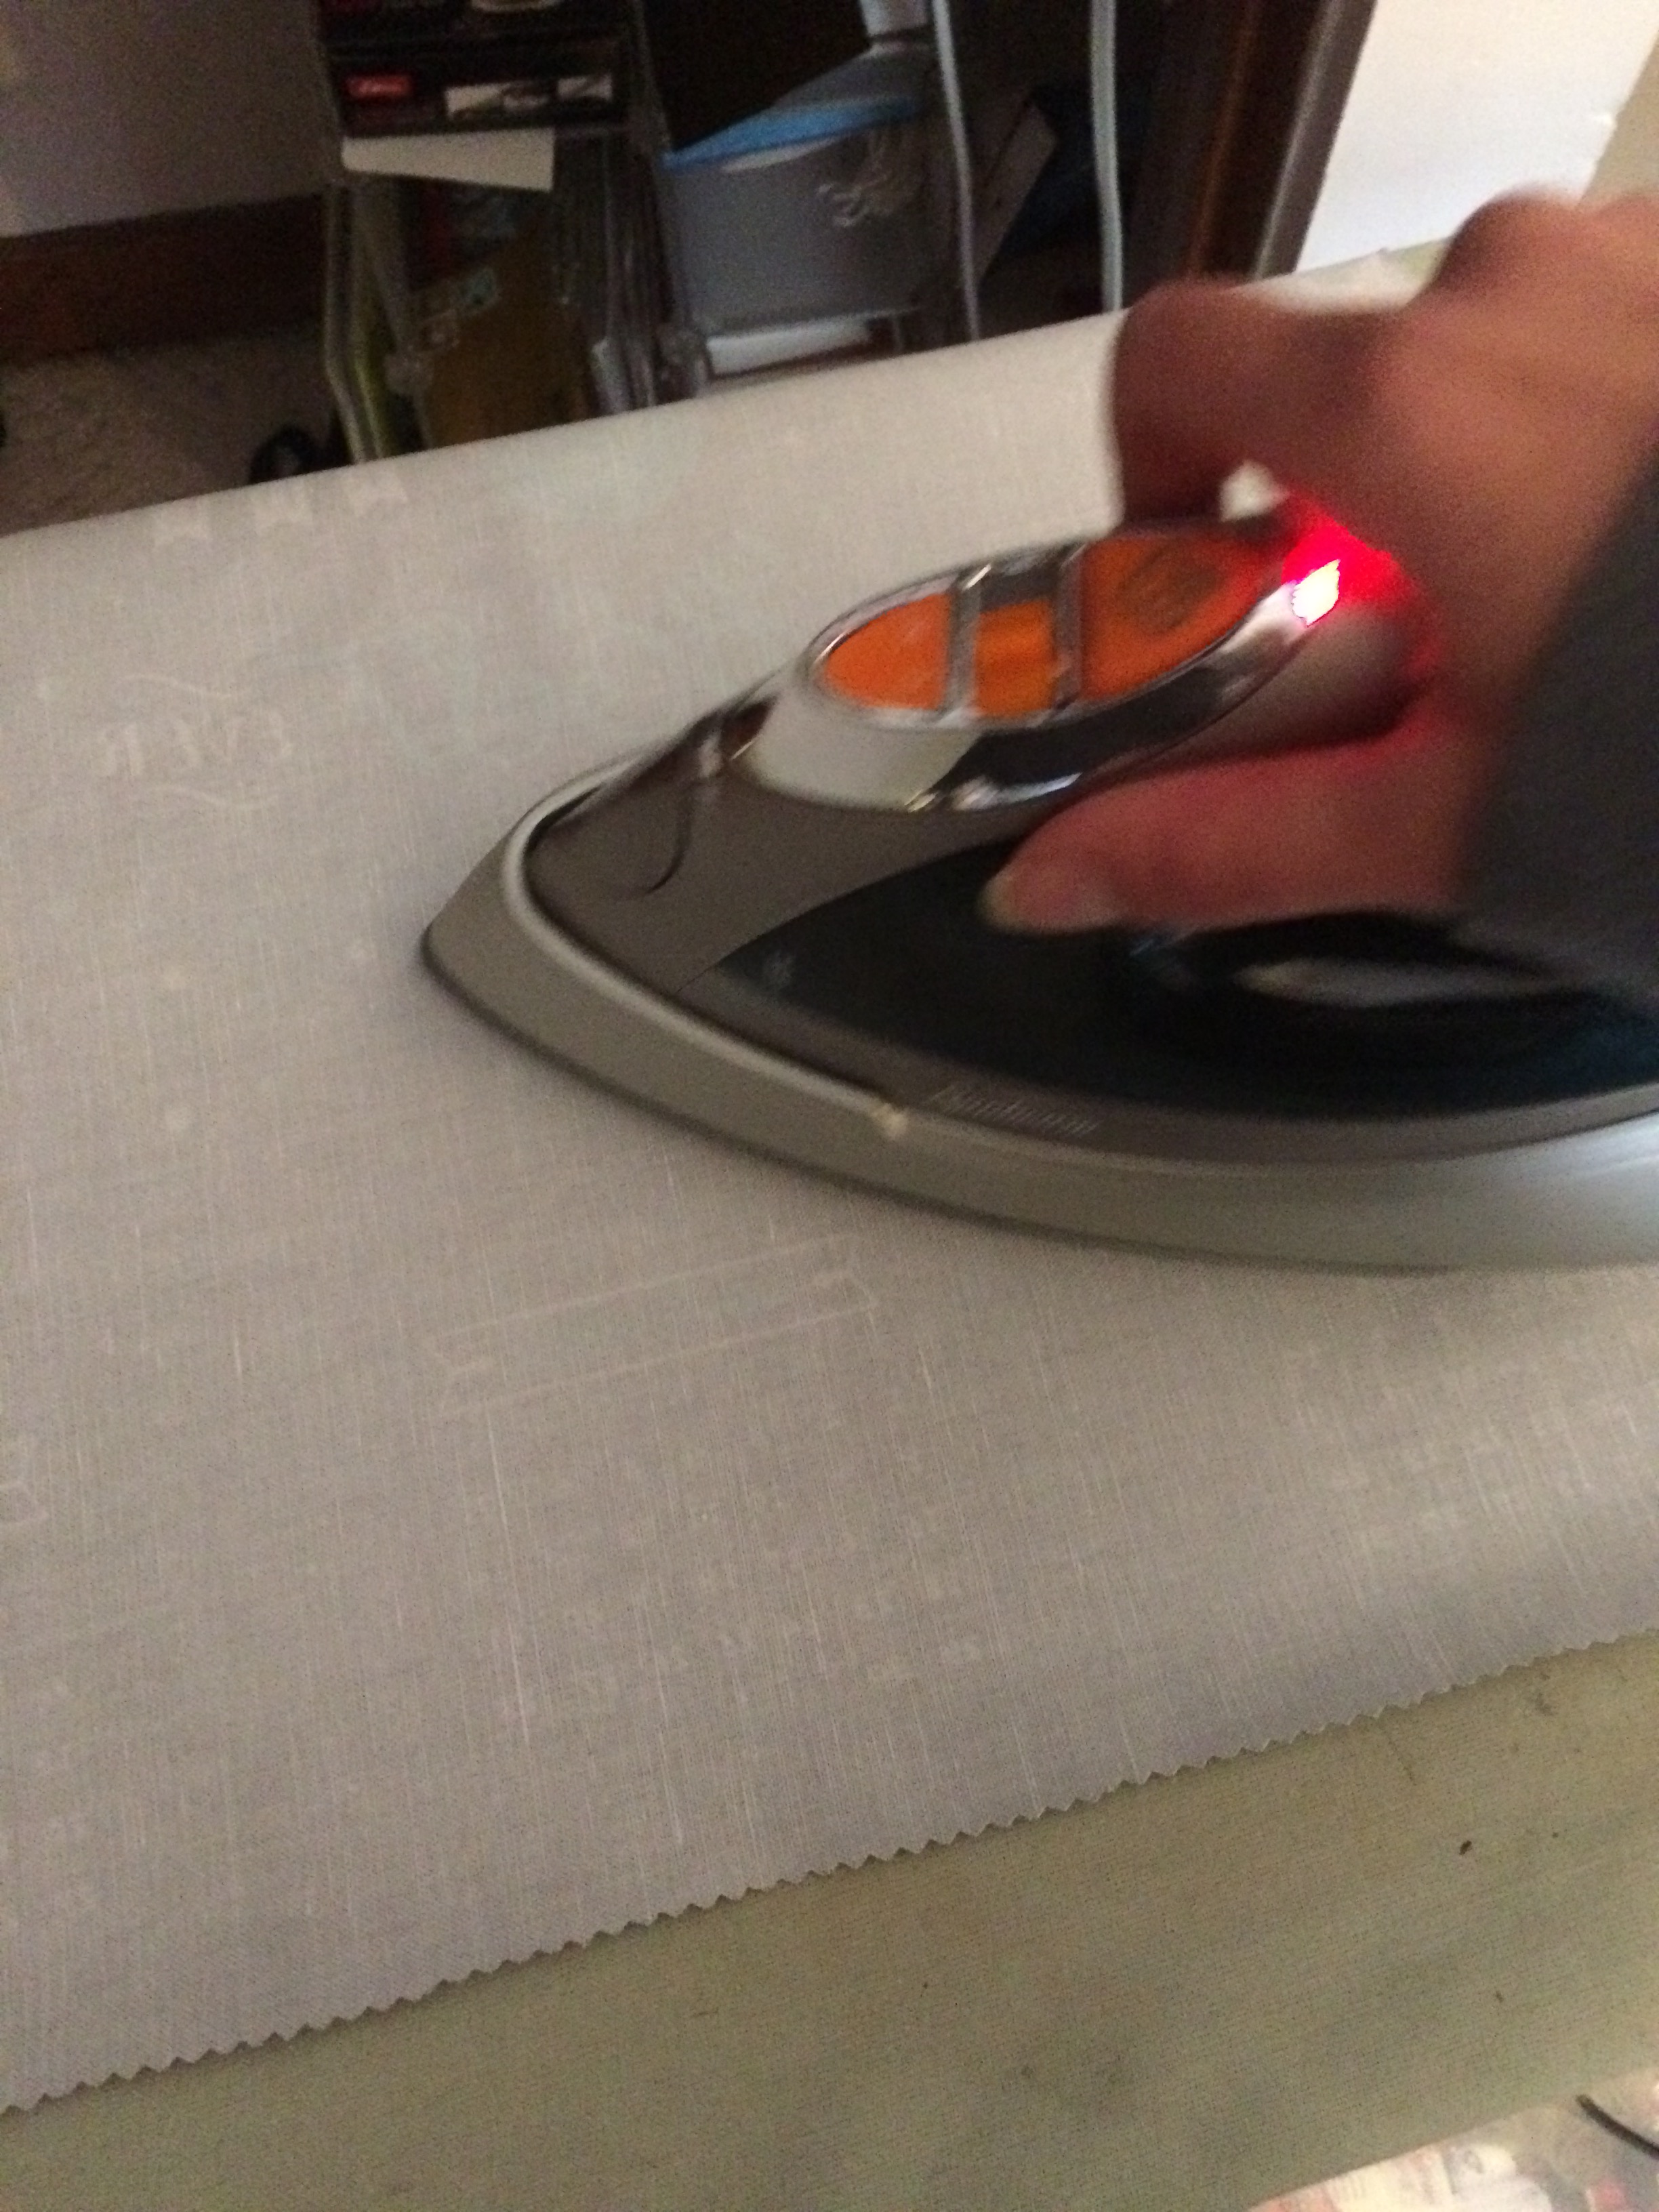
Step 9:
Iron! Your fabric will be extremely wrinkly from being shipped and all the work you’ve been doing! I also know that these calendars will get wrinkly when I sell and ship them through my Etsy shop, so I designed a sticker to add in the packaging so my customers know that it’s safe to iron these!

Step 10:
Admire your work!! It’s time to sell these or give them as Christmas presents!

The completed project
I would love to see your finished tea towel calendars if you used this tutorial! Share them with us when you finish them and who knows, maybe we can enter some designs in next year’s Spoonflower tea towel calendar contest and win! If you don’t have time to make on of these yourself but love the ones I made, feel free to stop by my Etsy shop to pick one up!
About Tracy Maniaci
Tracy Maniaci started her own small business, Autumn Glow Design, and offers creative graphic design services, custom invitations, and handmade items for individuals, businesses and brides. Tracy was born and raised in Buffalo, NY and currently lives in Raleigh, NC. She is a designer and maker who channels her creativity into custom, unique designs and items. Find her online at www.autumnglowdesign.com or www.etsy.com/shop/AutumnGlowDesign