Would you like to have a central location to charge your devices instead of searching around your home to find where you or your family members might have plugged in a phone, tablet, etc.? At my place there aren’t many outlets and I had become weary of reaching down to the floor or behind furniture to plug in, or having to unplug an appliance or lamp to be able to charge my devices in a convenient spot. I created an easy DIY charging station that I’d like to share with you.
Select your wall outlet and gather your materials:
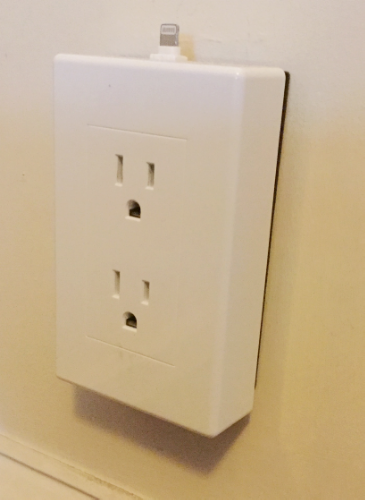
- One thingCHARGER (This product provides 2 electrical outlets, one interchangeable charging tip port, and two USB outlets.)
- One wall-pocket file holder (I bought mine at Staples, but see also the variations below that I found on Etsy.)
- Drill and other necessary tools to install the wall-pocket file holder, depending on manufacturer’s instructions
- 2-3 Cabledrop cable holders
- Your device charging cords
- A pencil
Instructions
- Plug the thingCHARGER into your designated outlet.
- Plug your charging cords into the thingCHARGER and decide how many CableDrops you will need. I went with 3.

- Make sure the inside of your wall pocket is clean and dry. Remove the protective backing from each Cabledrop and stick them on the inside of the front surface of the wall pocket, spacing them about 2 inches from either end and 2-3 inches apart.
- Hold the wall pocket on the wall at the height you’d like it to be installed. Draw each of your charger cords up between the wall and the back of the pocket to see if there is enough length for them to attach to the CableDrops. Make sure there is at least 7 inches of cord extending from the top of the CableDrop to ensure ease of use. Adjust placement of wall pocket as necessary. Before taking the wall pocket away from the wall, mark the wall with your pencil where the hardware should be placed.

- When you have established the perfect height for your wall pocket, follow the manufacturer’s instructions to attach it to the wall.
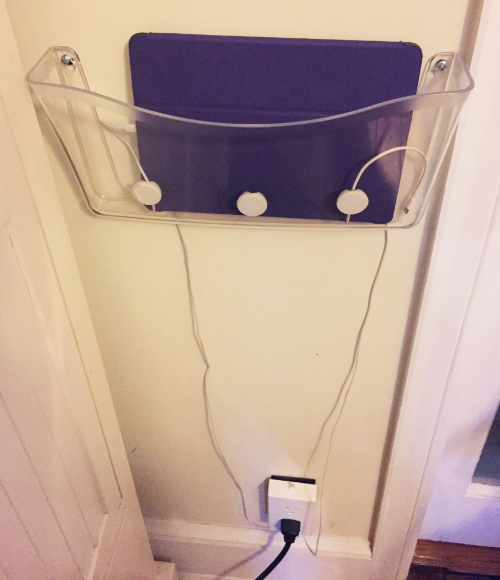
- Once again, draw your charger cords through the space between the wall and the wall pocket and attach them to the the CableDrops. You are ready to charge multiple devices in your new charging station!
I found a selection of decorative wall pockets on Etsy.com, shown below. I can’t promise that the CableDrops will stick to all of these surfaces, but personal style can be an important factor.

TourtilloCreations has several farmhouse-rustic mail organizers in the “Home Decor” section of his shop that will work for tablets and phones.
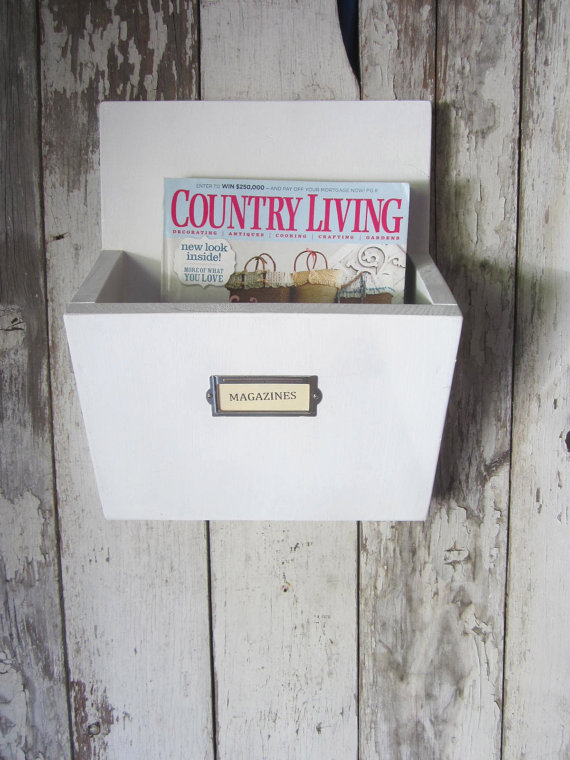
A shabby-chic wooden wall pocket from WestOfChelsea is another great option. If you choose this design or something similar, modifications may be necessary; drilling holes in the bottom to allow the charger cords to pass through, for example.

MooreMagnets of Siler City, North Carolina creates decorative wall pockets out of magnet board and will customize them with an array of fabrics.
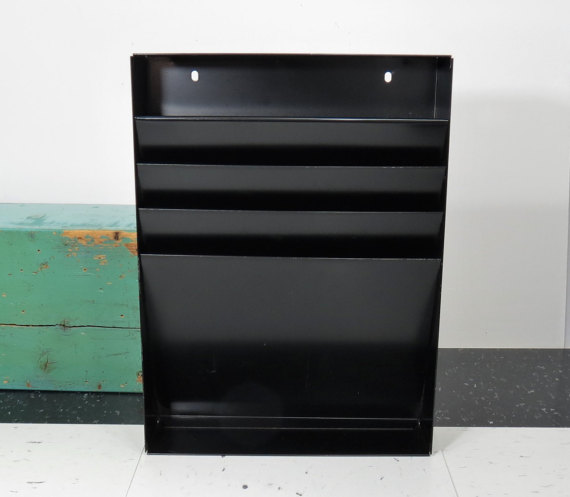
If you prefer an industrial look, 13thStreetEmporium offers a vintage metal file holder.
I hope you found this project helpful. Feel free to leave questions or your own tips regarding this project in the comments.
 About the Author: Nancy C. Sampson is the creative entrepreneur behind The Nancydraws Shop, on Etsy.com, which offers art and greeting cards featuring quirky characters inspired by the cities of New York and Paris. Stay tuned, as a new resident of North Carolina, you never know when locally-based inspiration will strike!
Instagram | Facebook | Linked In | Twitter | Website